Page 2 of 2
Re: Dashtag's MintyPi Build
Posted: Wed Sep 06, 2017 6:17 am
by dashtag
Worked a treat! Thanks Helder

Re: Dashtag's MintyPi Build
Posted: Sat Sep 09, 2017 11:31 am
by dashtag
All components and wires now installed in the base of the tin.

- IMG_8103.JPG (1.68 MiB) Viewed 4614 times
Just waiting on the speakers from China to progress!
One issue I am having is the Pi intermittently rebooting.
I've attached the Pi to the button pcb, and installed the battery monitor with the two wires to the gpio holes. All the soldering tests well for continuity.
So, I've connected a monitor, a keyboard and used a power supply connected to the micro USB plug.
It boots ok fully, but then reboots after about a minute or so.
I thought it must be a ground or power problem with the soldering, but as I've used a power supply with the micro USB port, I assume it can't be?
Re: Dashtag's MintyPi Build
Posted: Sat Sep 09, 2017 7:37 pm
by Abunchahicks
Probably a ground problem. Make sure to get the big battery monitor ground soldered good. This connection requires a bit more time and heat to get a goon connection.
Re: Dashtag's MintyPi Build
Posted: Tue Sep 12, 2017 10:41 am
by dashtag
Still struggling with my 3D prints

The thin bit on the left hand side of the screen bezel prints ok for about 4 or 5 layers, but then starts to curl up, & when I push it back down, it never goes to the right exact spot.
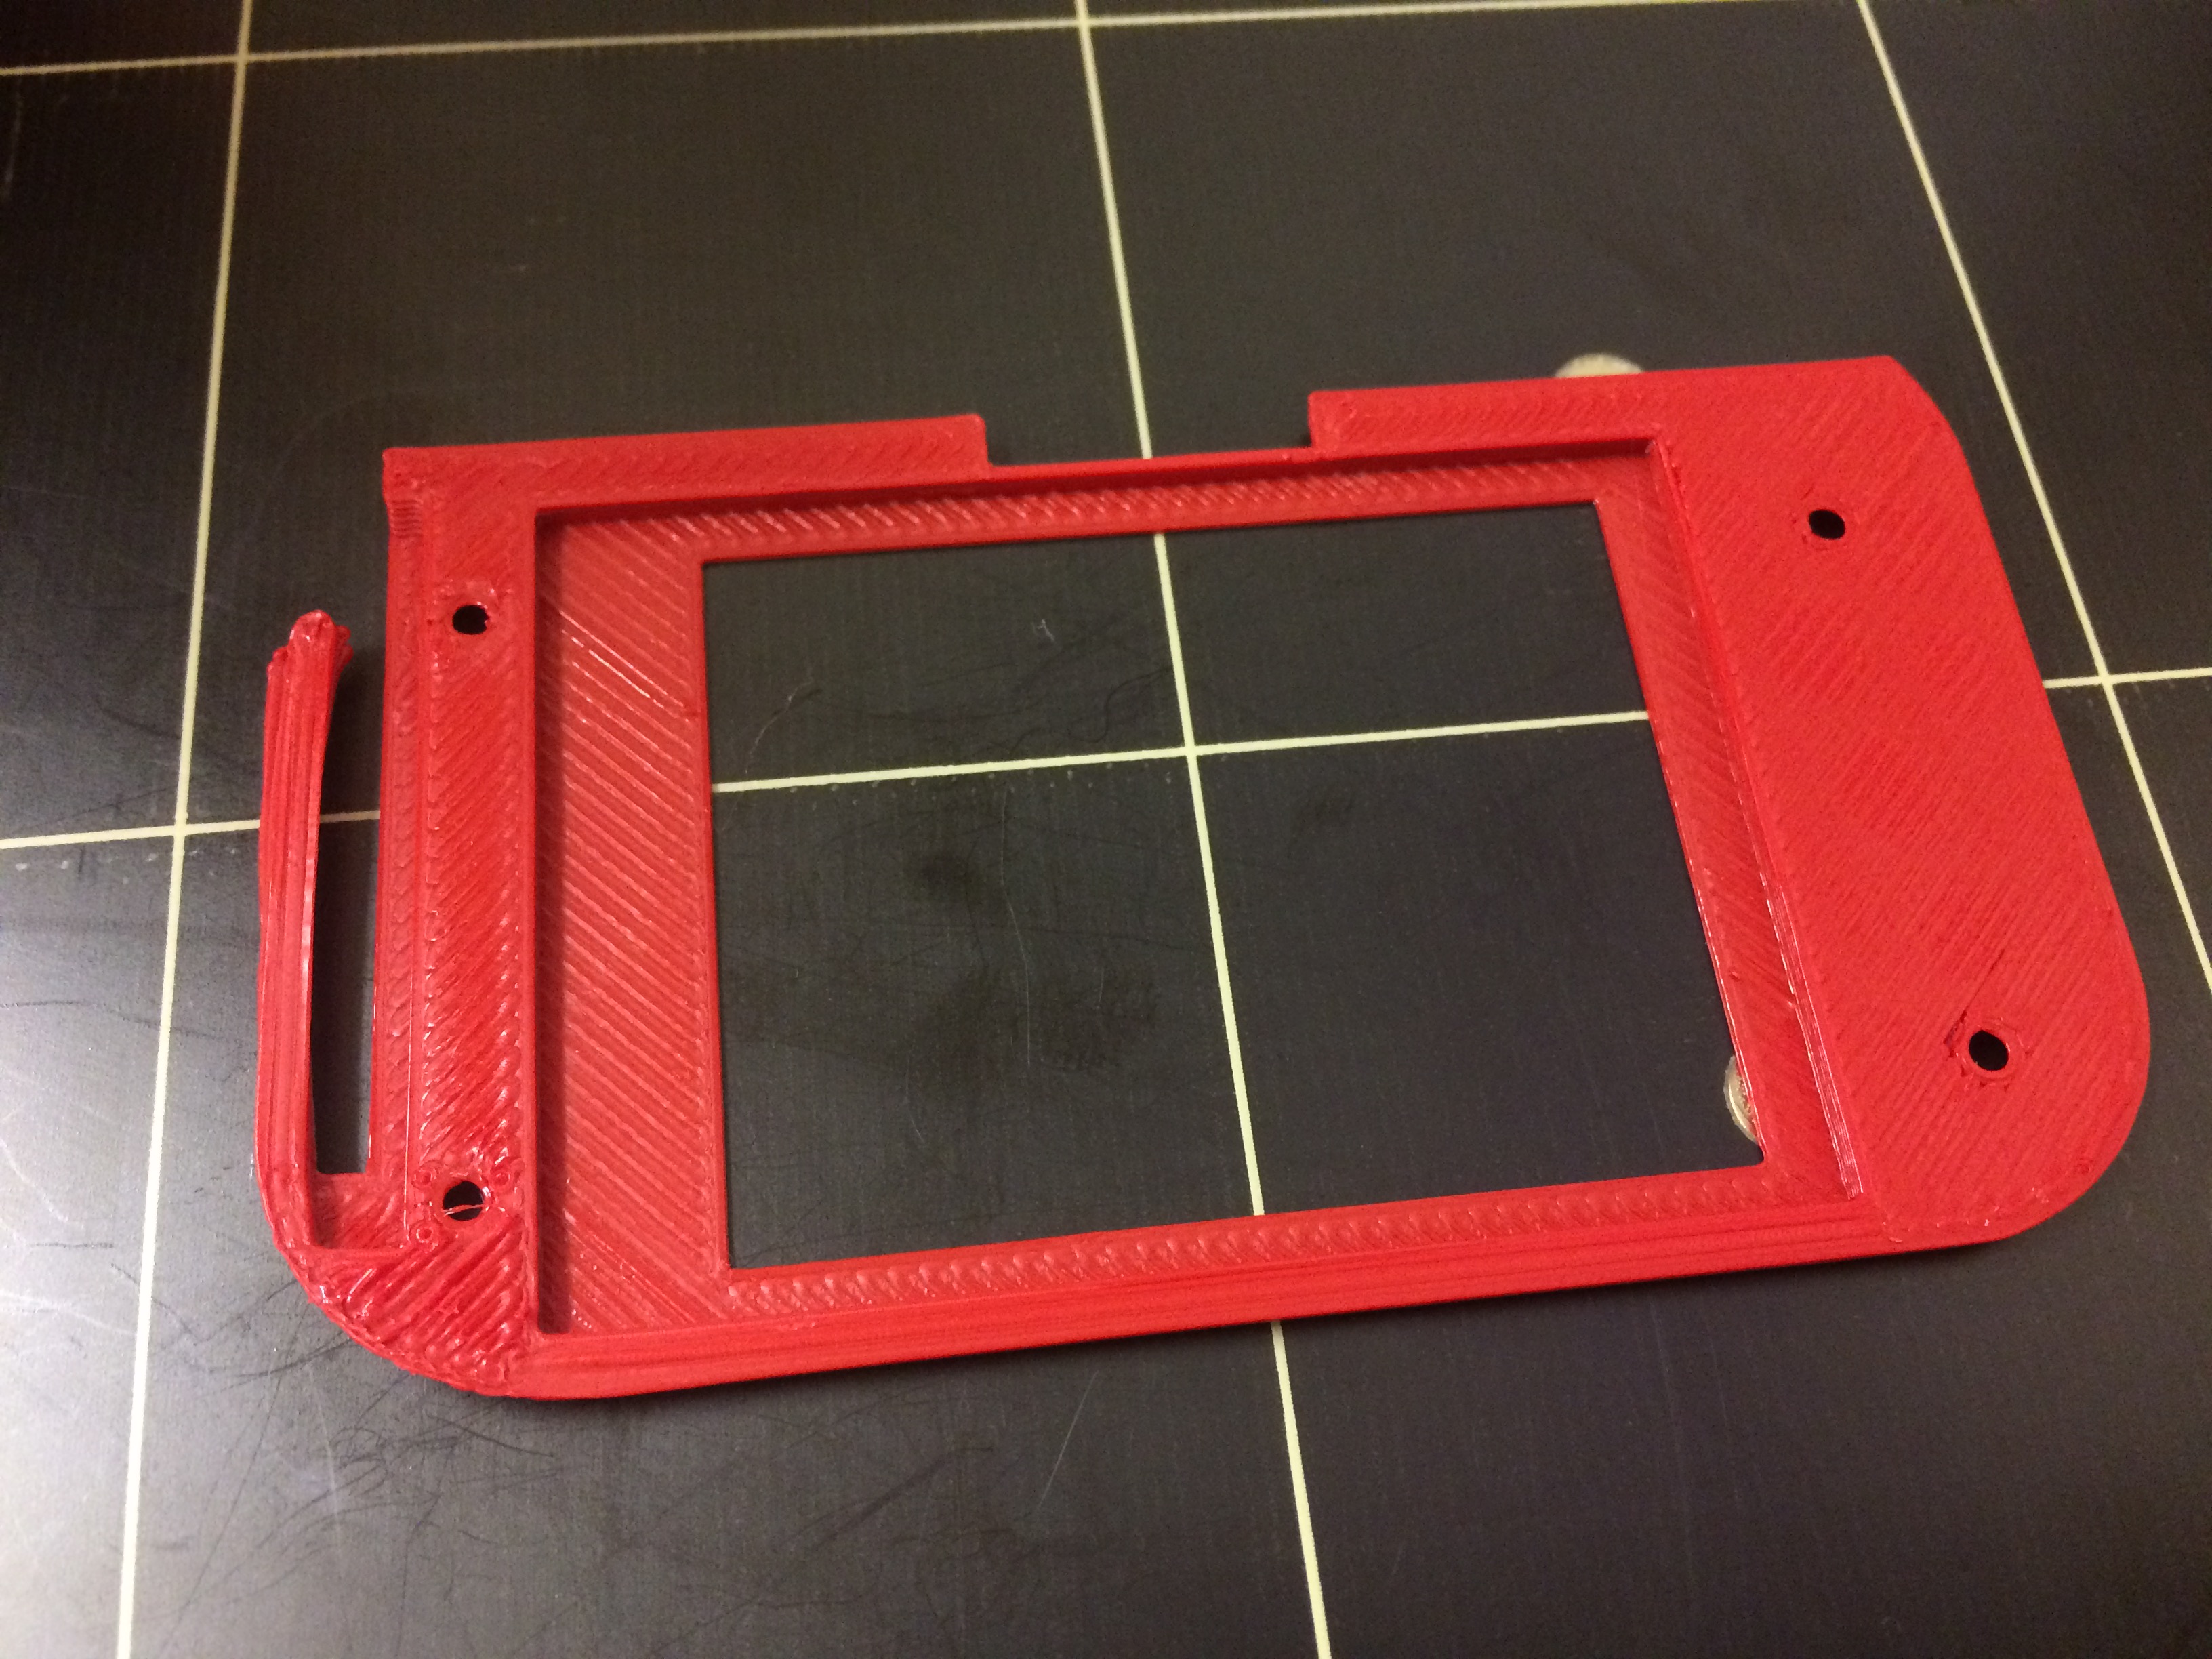
- IMG_8104.JPG (1.28 MiB) Viewed 4576 times
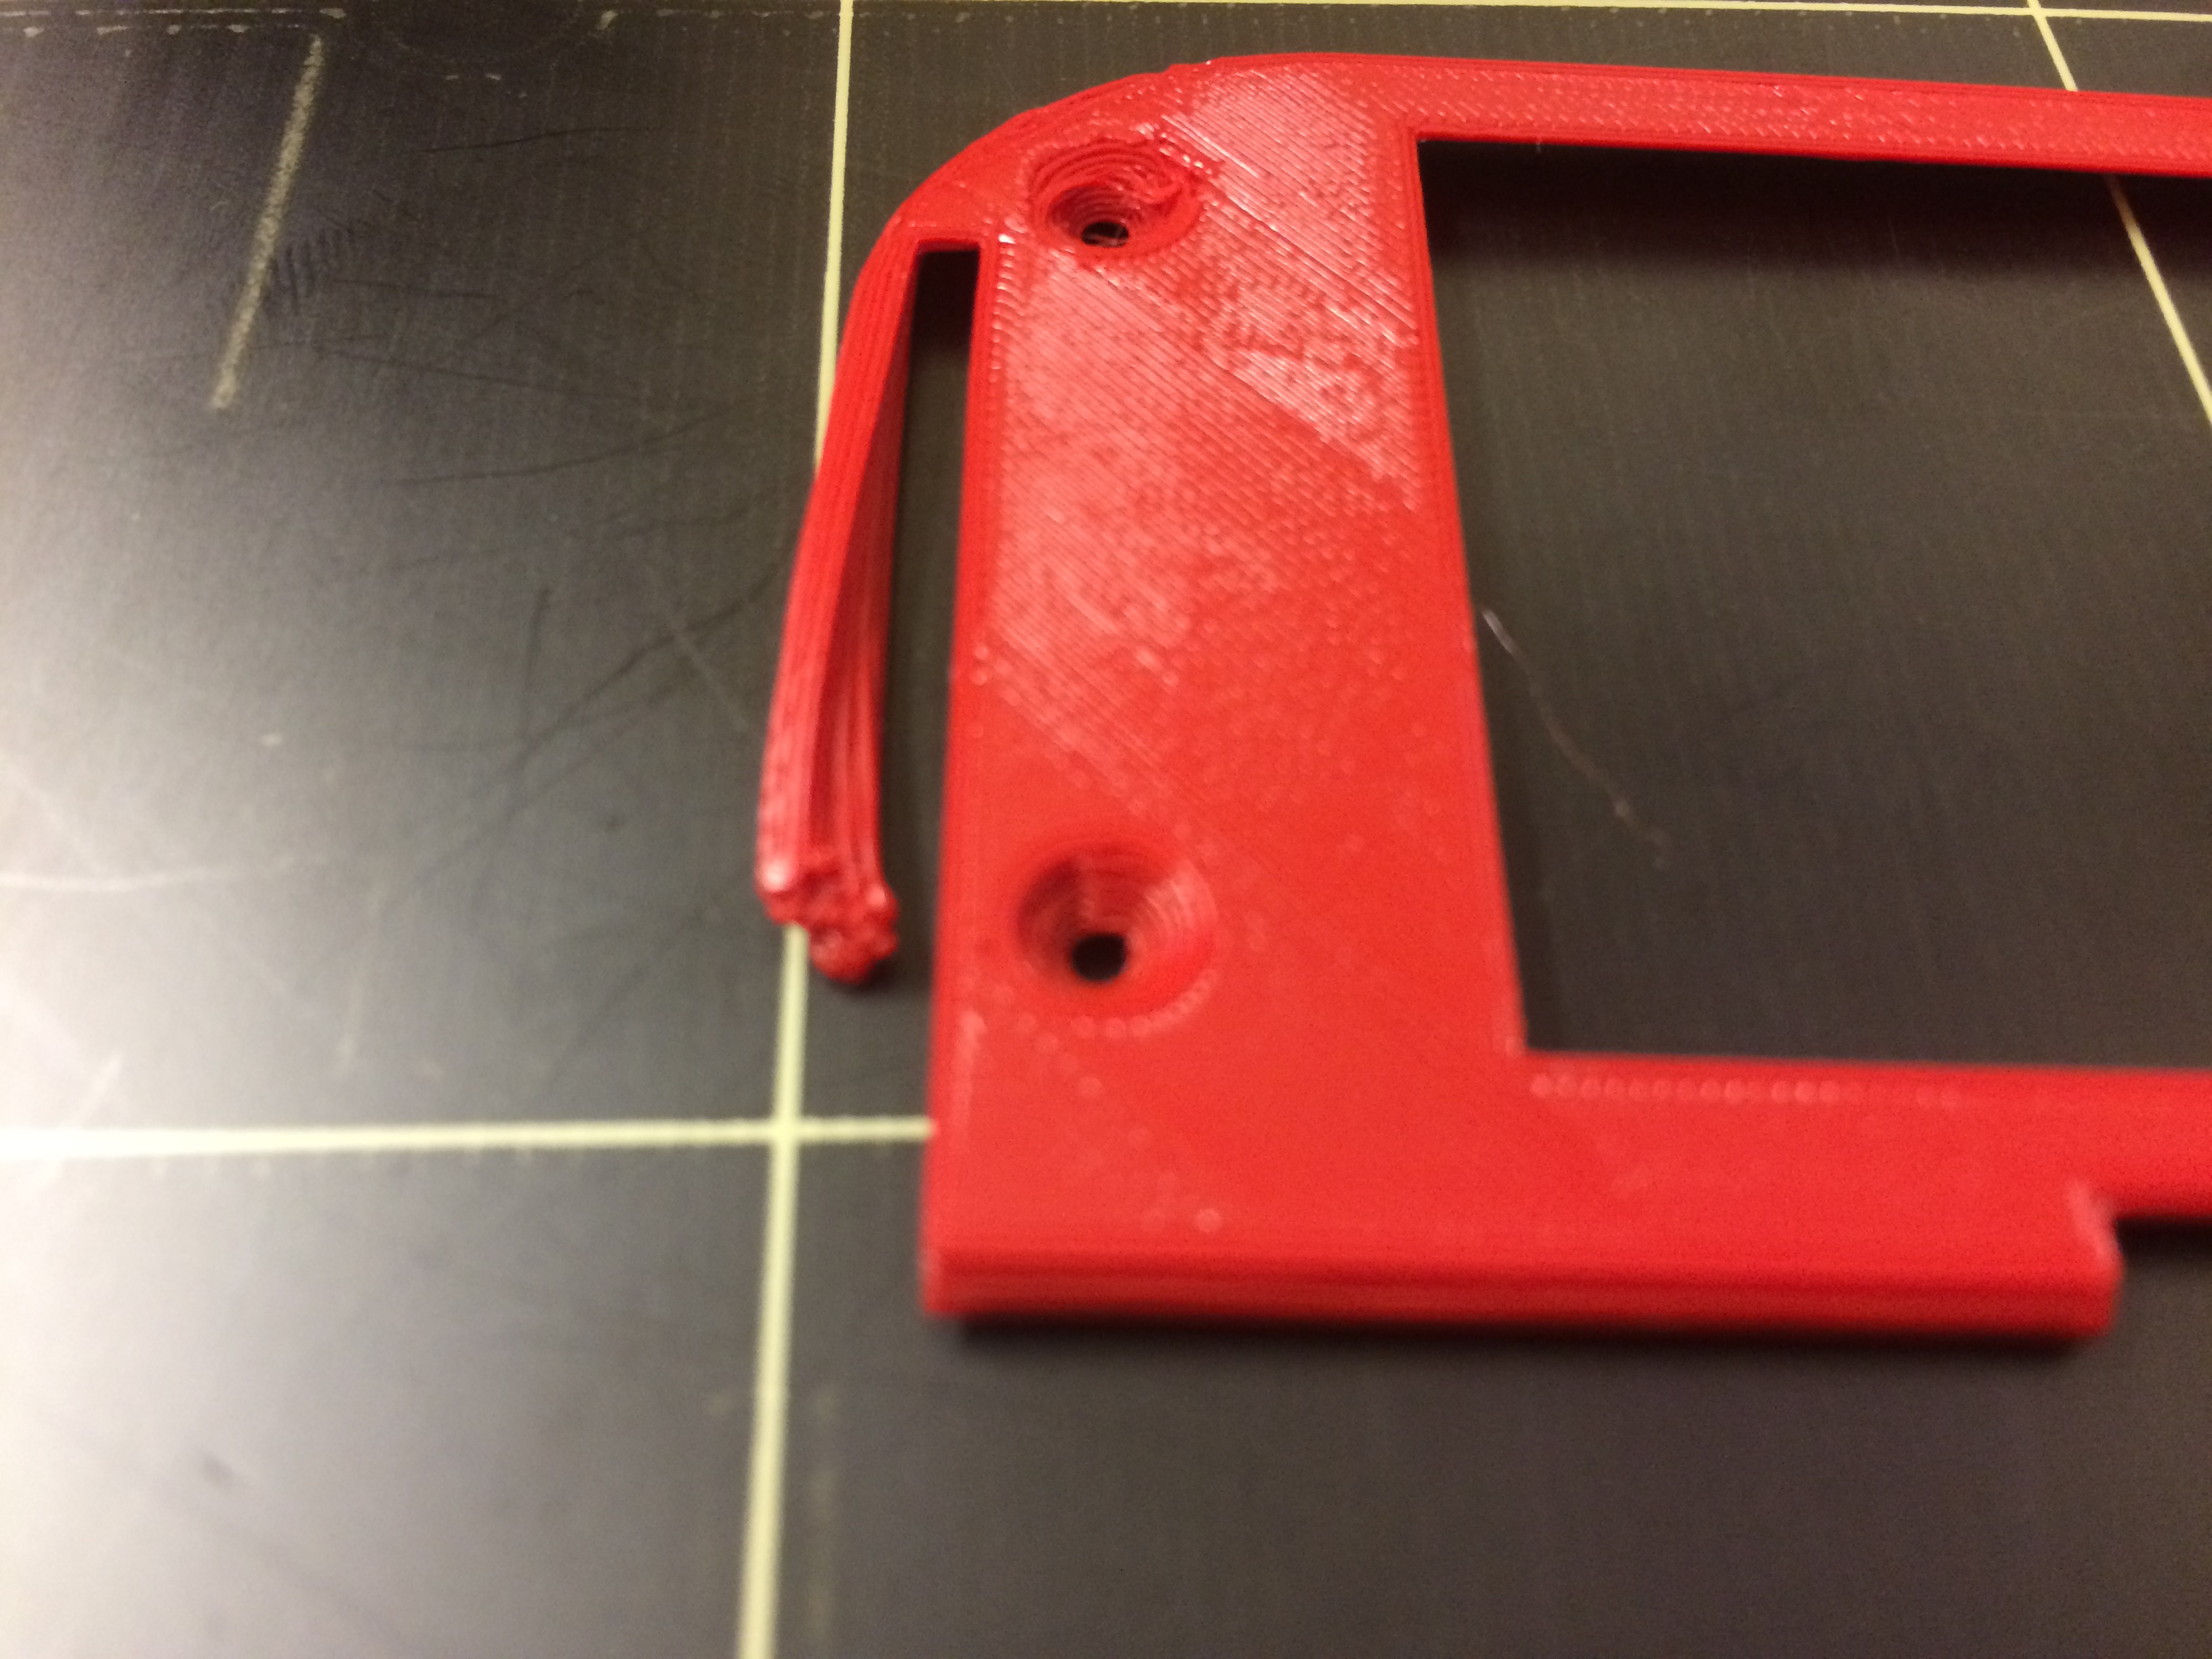
- IMG_8106.JPG (1017.16 KiB) Viewed 4576 times
Re: Dashtag's MintyPi Build
Posted: Tue Sep 12, 2017 1:16 pm
by Helder
The bed is uneven. I had the same problem this week till I redid the bed level.