Cheaper than Teensy
Posted: Wed Jun 01, 2016 2:42 pm
[spoiler="This post in a nutshell"]So,
Arduino pro micro are way cheaper than Teensy, so I used them.
Demo here: https://www.youtube.com/watch?v=KqMsXyjs0Yo
In order to do the same, download this library and open the Gamepad.cpp in Notepad++, then remove every "sendUpdate();" lines (Except the function sendUpdate) then create a new sketch with this code, and upload it. Arduino pro micro needs to be set as an Arduino Leonardo in order to be able to put the code on the chip.
Beyond that, Helder is working on a fully arduino integrated pcb for the controller, replacing the "Common ground pcb" and saving a lot of space in cables. He has done insane amount of stuff, giving us a fully populated board including: Gamepad, PWM audio, USB Hub and Amplifier.[/spoiler]
Hi,
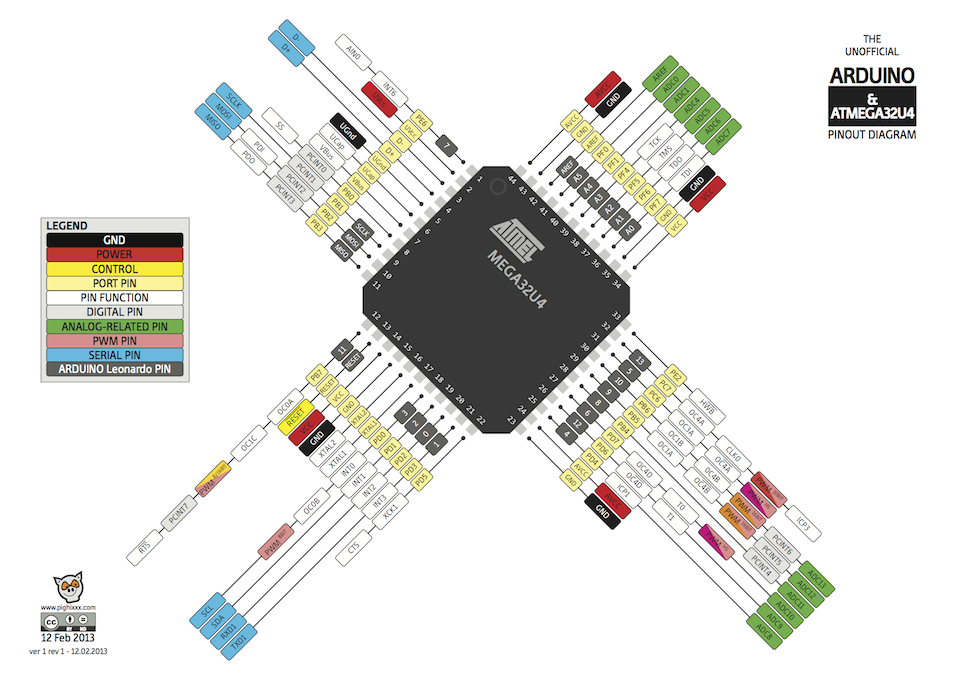
I don't think that i'm the first one to propose this, but replacing the Teensy which costs 20$ with an Arduino pro micro which is way cheaper (4$ on ebay) looks like working correctly, I've done it. The only problem is that there is not enough digital ports so we need to use some analog too, and the Pro Micro has a ATMEGA32u4 instead of a 328, this allows him to be used as a keyboard.
I made this to try on mine and it works nicely:
My goal is to implement a Atmega32u4 on the design of the common ground pcb, it would save a lot of space in the case, no need for the wires to the teensy + no external board.
I'm working on that, probably post untested schematics in the beggining of the next week.
See you
Arduino pro micro are way cheaper than Teensy, so I used them.
Demo here: https://www.youtube.com/watch?v=KqMsXyjs0Yo
In order to do the same, download this library and open the Gamepad.cpp in Notepad++, then remove every "sendUpdate();" lines (Except the function sendUpdate) then create a new sketch with this code, and upload it. Arduino pro micro needs to be set as an Arduino Leonardo in order to be able to put the code on the chip.
Code: Select all
#include <Gamepad.h>
Gamepad gb;

#define BTN_DOWN 0
#define BTN_UP 1
#define BTN_LEFT 2
#define BTN_RIGHT 3
#define BTN_A 4
#define BTN_START 5
#define BTN_Y 6
#define BTN_L1 7
#define BTN_X 8
#define BTN_R1 9
#define BTN_R2 10
#define BTN_L2 11
#define BTN_B 12
#define BTN_SELECT 13

void setup() {
  for (int x = 0; x<13; x++){
      pinMode(x, INPUT_PULLUP);
  }
}

void loop() {

  bool downSet  = digitalRead(BTN_DOWN);
  bool upSet    = digitalRead(BTN_UP); // No pun intended
  bool leftSet  = digitalRead(BTN_LEFT);
  bool rightSet = digitalRead(BTN_RIGHT);

  gb.setLeftXaxis(!leftSet ? -127 : !rightSet ? 127 : 0);
  gb.setLeftYaxis(!downSet ? 127 : !upSet ? -127 : 0);

  gb.setButtonState(1, !digitalRead(BTN_A));
  gb.setButtonState(2, !digitalRead(BTN_B));
  gb.setButtonState(3, !digitalRead(BTN_X));
  gb.setButtonState(4, !digitalRead(BTN_Y));
  gb.setButtonState(5, !digitalRead(BTN_SELECT));
  gb.setButtonState(6, !digitalRead(BTN_START));
  gb.setButtonState(7, !digitalRead(BTN_L1));
  gb.setButtonState(8, !digitalRead(BTN_R1));
  gb.setButtonState(9, !digitalRead(BTN_L2));
  gb.setButtonState(10, !digitalRead(BTN_R2));

  gb.sendUpdate();
}Hi,
I don't think that i'm the first one to propose this, but replacing the Teensy which costs 20$ with an Arduino pro micro which is way cheaper (4$ on ebay) looks like working correctly, I've done it. The only problem is that there is not enough digital ports so we need to use some analog too, and the Pro Micro has a ATMEGA32u4 instead of a 328, this allows him to be used as a keyboard.
I made this to try on mine and it works nicely:
Code: Select all
#include "Keyboard.h"

void setup() {
  pinMode(2, INPUT_PULLUP);
  pinMode(3, INPUT_PULLUP);
  pinMode(4, INPUT_PULLUP);
  pinMode(5, INPUT_PULLUP);
  pinMode(6, INPUT_PULLUP);
  pinMode(7, INPUT_PULLUP);
  pinMode(8, INPUT_PULLUP);
  pinMode(9, INPUT_PULLUP);
  Keyboard.begin();
  Serial.begin(9600);
}

void loop() {
  if(digitalRead(2) == LOW) {
    Serial.println("Up");
    Keyboard.press(KEY_UP_ARROW);
  }

  if(digitalRead(3) == LOW) {
    Serial.println("Left");
    Keyboard.press(KEY_LEFT_ARROW);
  }

  if(digitalRead(4) == LOW) {
    Serial.println("Down");
    Keyboard.press(KEY_DOWN_ARROW);
  }

  if(digitalRead(5) == LOW) {
    Serial.println("Right");
    Keyboard.press(KEY_RIGHT_ARROW);
  }

  if(digitalRead(6) == LOW) {
    Serial.println("A");
    Keyboard.press(KEY_BACKSPACE);
  }
  if(digitalRead(7) == LOW) {
    Serial.println("B");
    Keyboard.press(KEY_END);
  }


  if(digitalRead(8) == LOW) {
    Serial.println("Select");
    Keyboard.press(KEY_PAGE_UP);
  }

  if(digitalRead(9) == LOW) {
    Serial.println("Start");
    Keyboard.press(KEY_PAGE_DOWN);
  }
  delay(100);
  Keyboard.releaseAll();
}I'm working on that, probably post untested schematics in the beggining of the next week.
See you