Wow, this has been an awesome weekend. The three months I spent by gathering all the materials (if someone from Europe is interested in a parts list,
here's mine with links to shops that deliver to Europe – I hope it'll be helpful!) finally ended up with a weekend spent at my friend's workshop.
That's actually the reason why I called this thing a “YOLO” build in the thread title – since it's not my workshop and my friend is a busy bee, the whole build had to be done over the course of a day and a half, so there was absolutely no time for testing any sort of wiring or anything – it just had to work on first try. Unbelievably and surprisingly enough, it actually did – the first time we turned the thing on (slightly intoxicated from three beers each at 4 AM), we had the display working, audio working, cartridge reader reading the cartridge, buttons working, USB ports working, everything working! I still think it's a small miracle, to be honest – and the fact that I had zero previous experience with soldering and my friend didn't have much more certainly didn't improve our odds. But all is good in the end and here are some photos in case you're interested!

- All of the components laid out… How is this ever going to fit in?
- IMG_0213.jpg (1.86 MiB) Viewed 3733 times

- Okay, let's start! GameBoy shell: check! Dremel: check! MacBook Air that's SURELY not going to get damaged: check! (Just kidding, MBA actually survived without any damage. But damn, was I scared!)
- IMG_0214.jpg (2.13 MiB) Viewed 3733 times
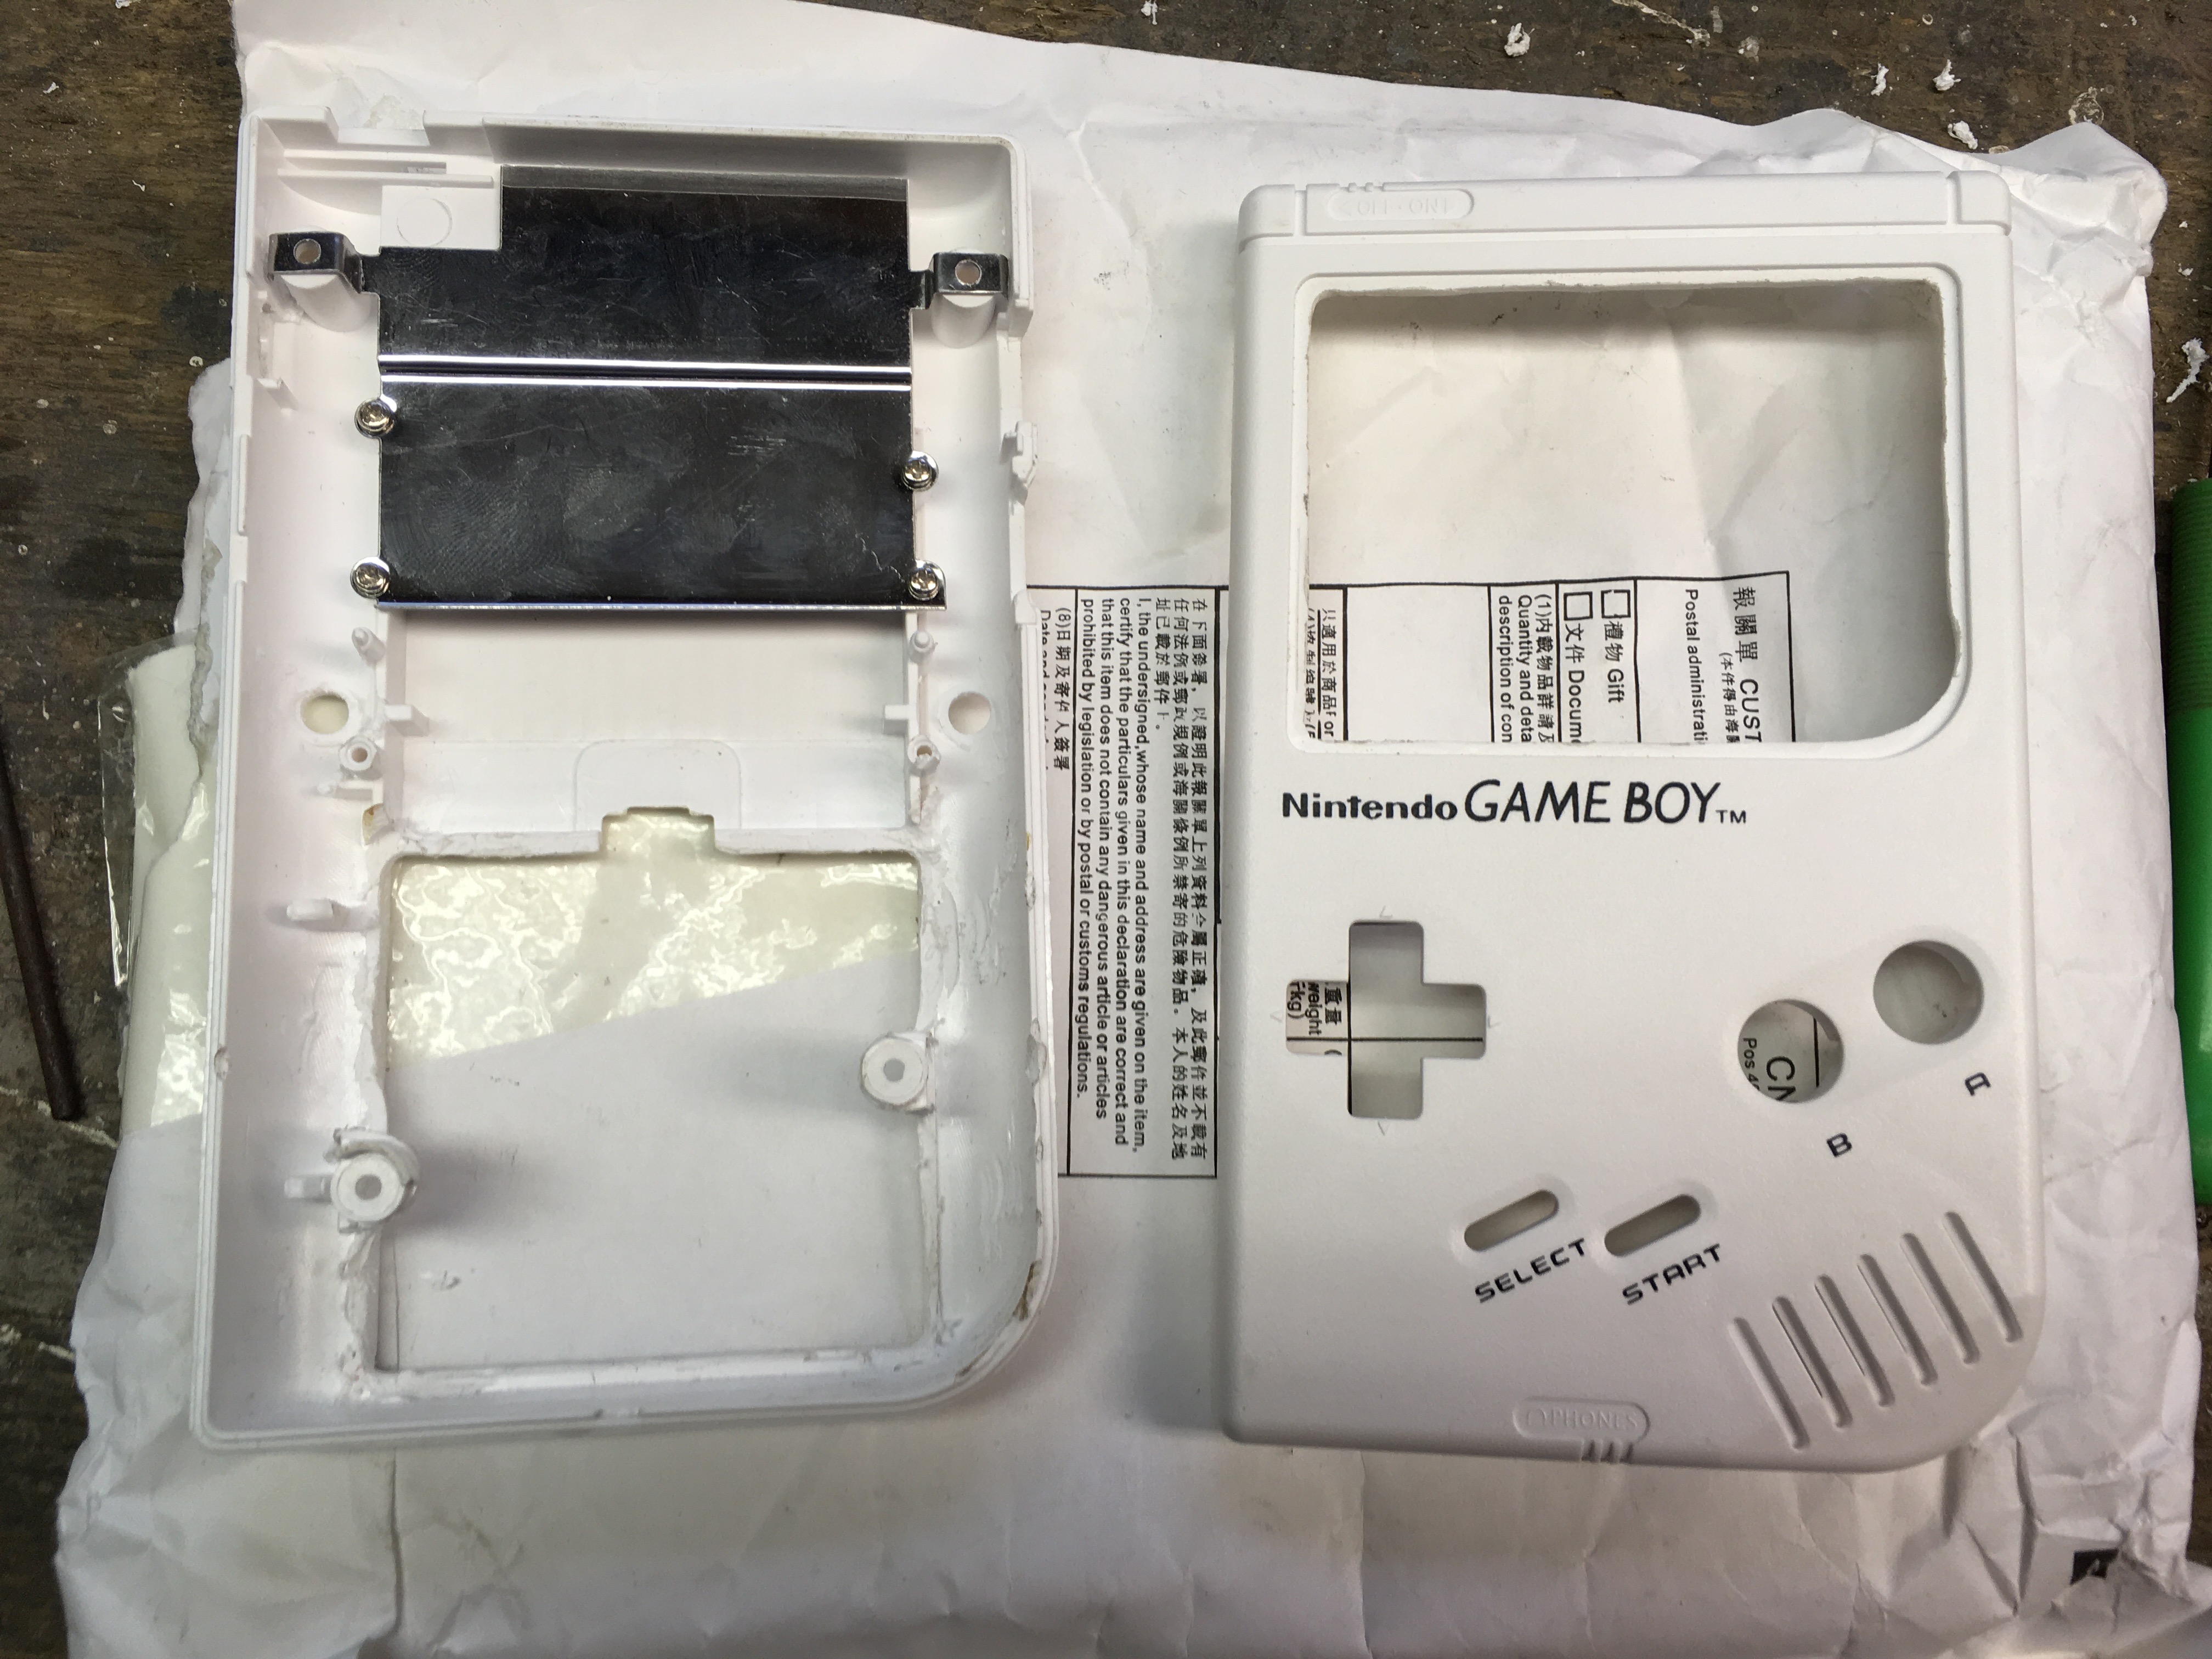
- Battery compartment removed, screw holes removed to made space for L/R buttons, space for screen extended.
- IMG_0292.jpg (1.83 MiB) Viewed 3733 times

- And screen's glued in place!
- IMG_0293.jpg (3.12 MiB) Viewed 3733 times
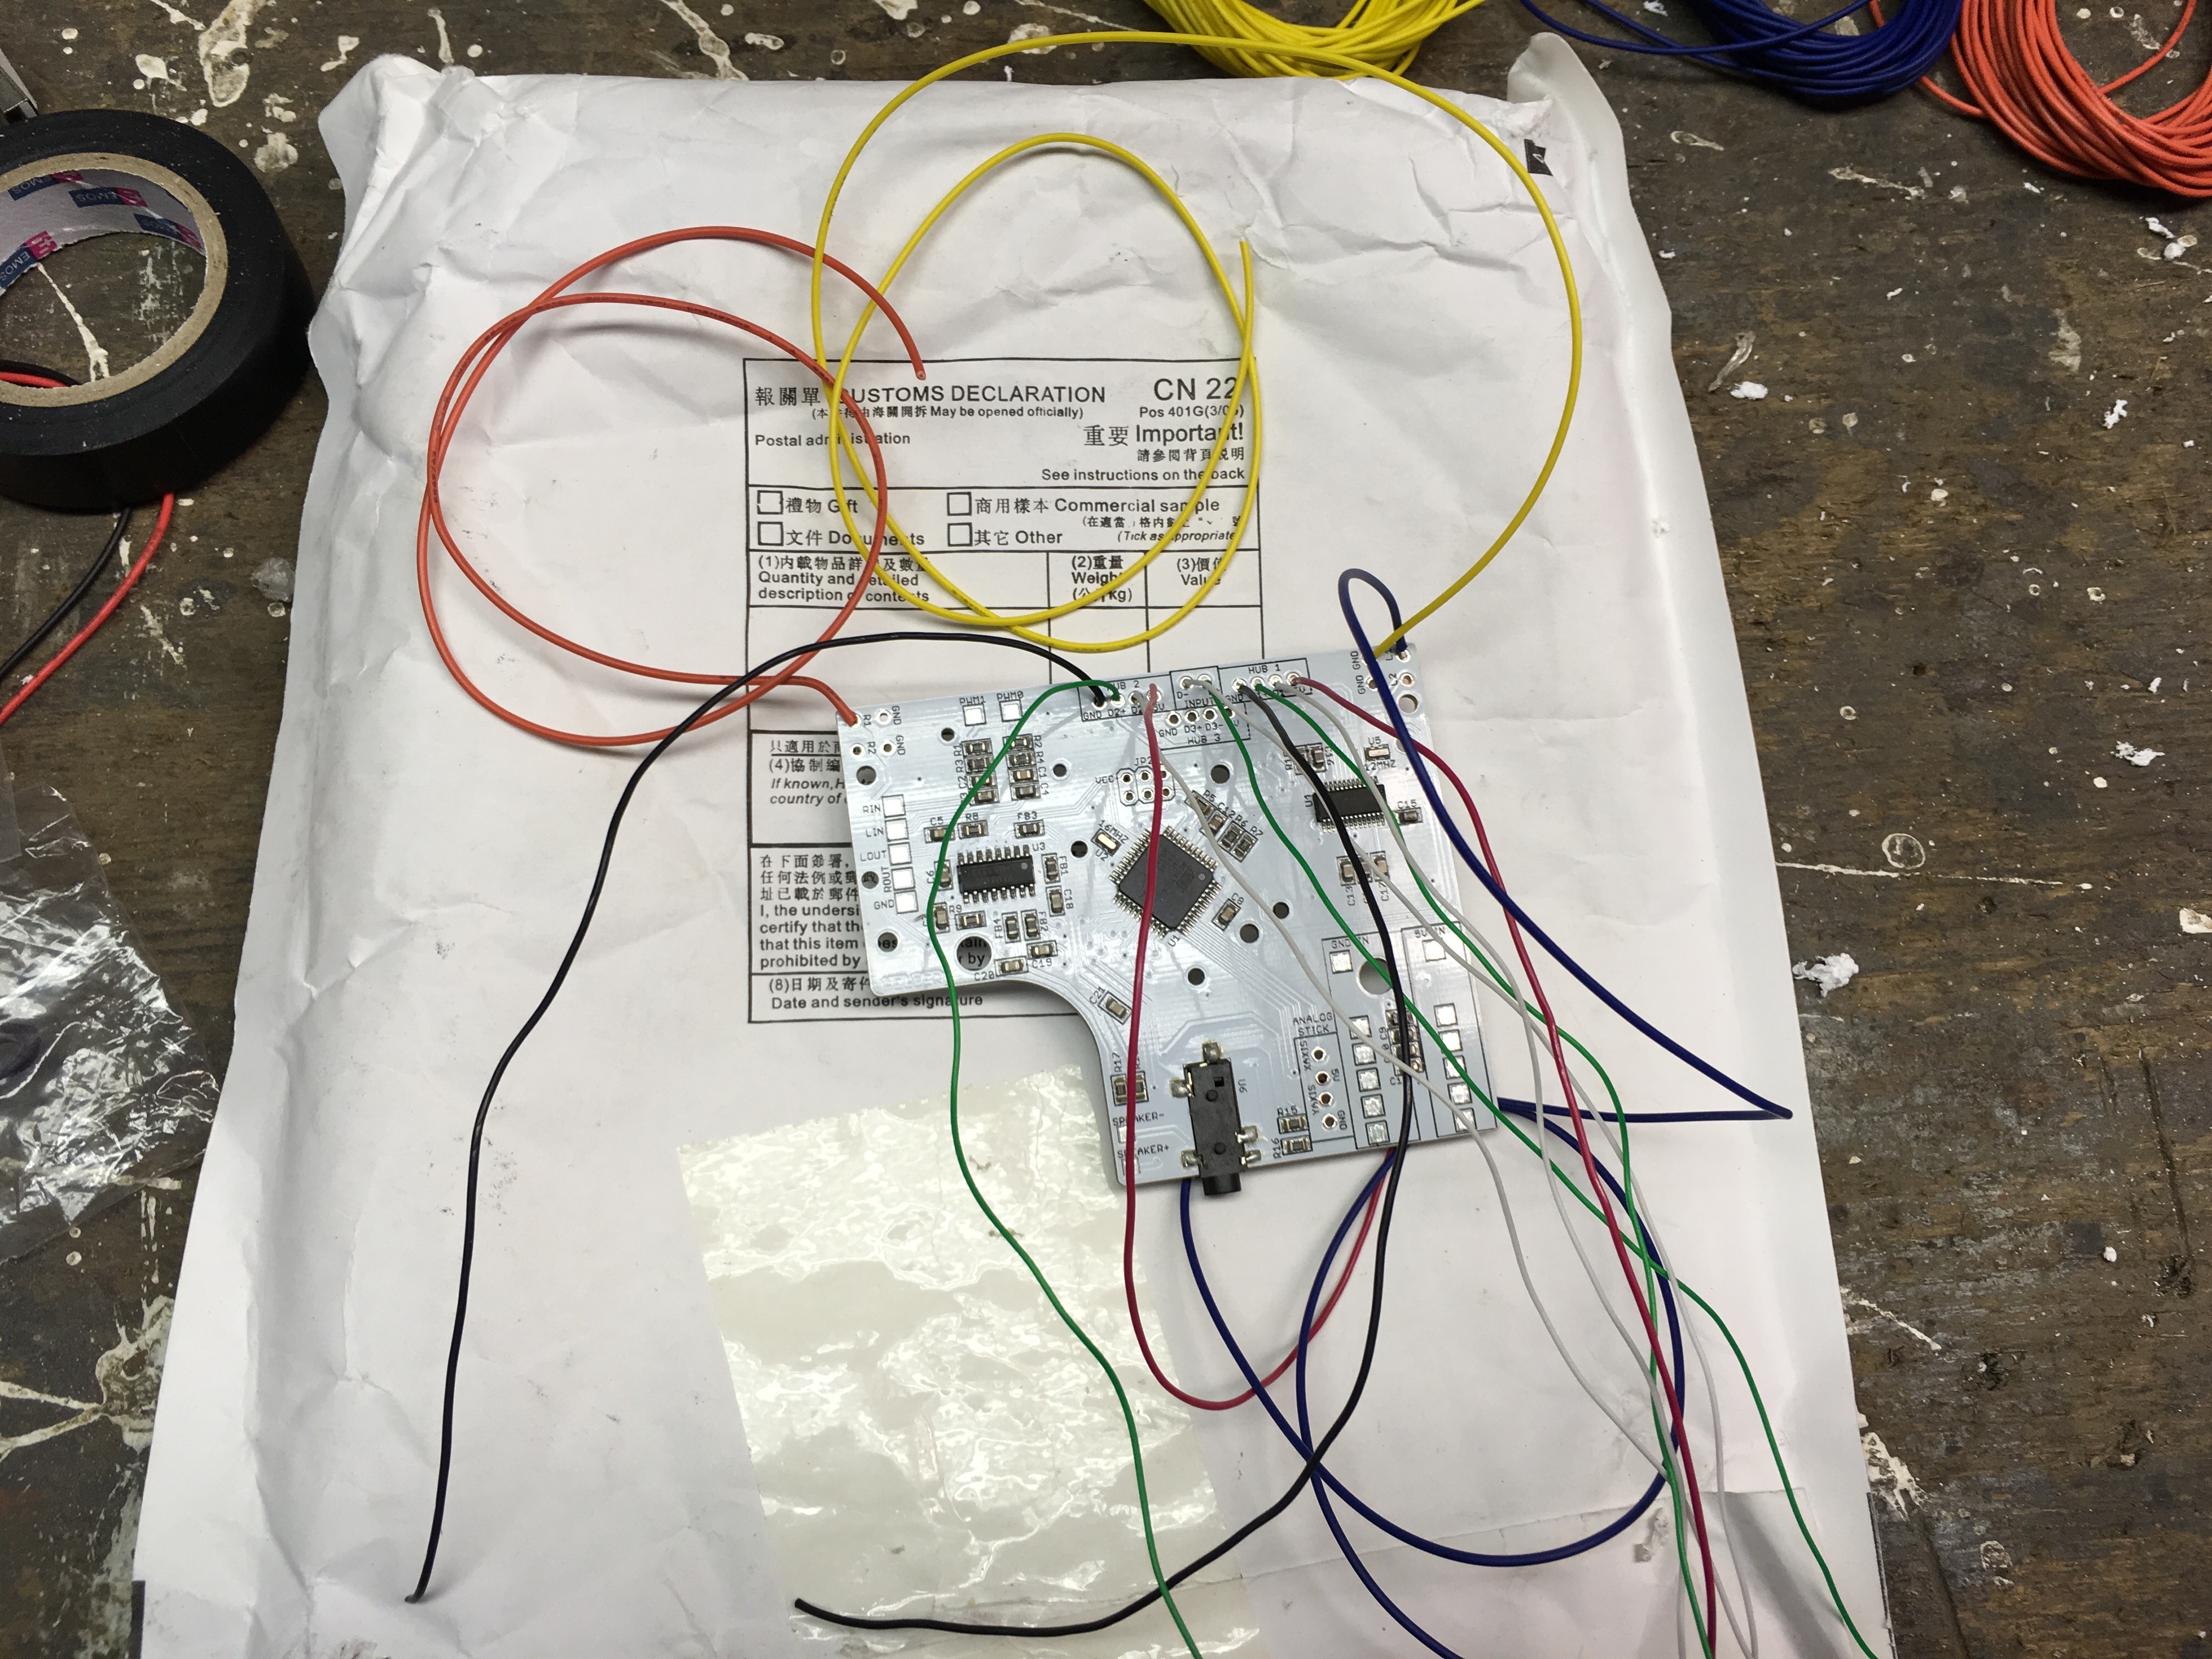
- All through-hole wires for logic board soldered in.
- IMG_0294.jpg (2.45 MiB) Viewed 3733 times
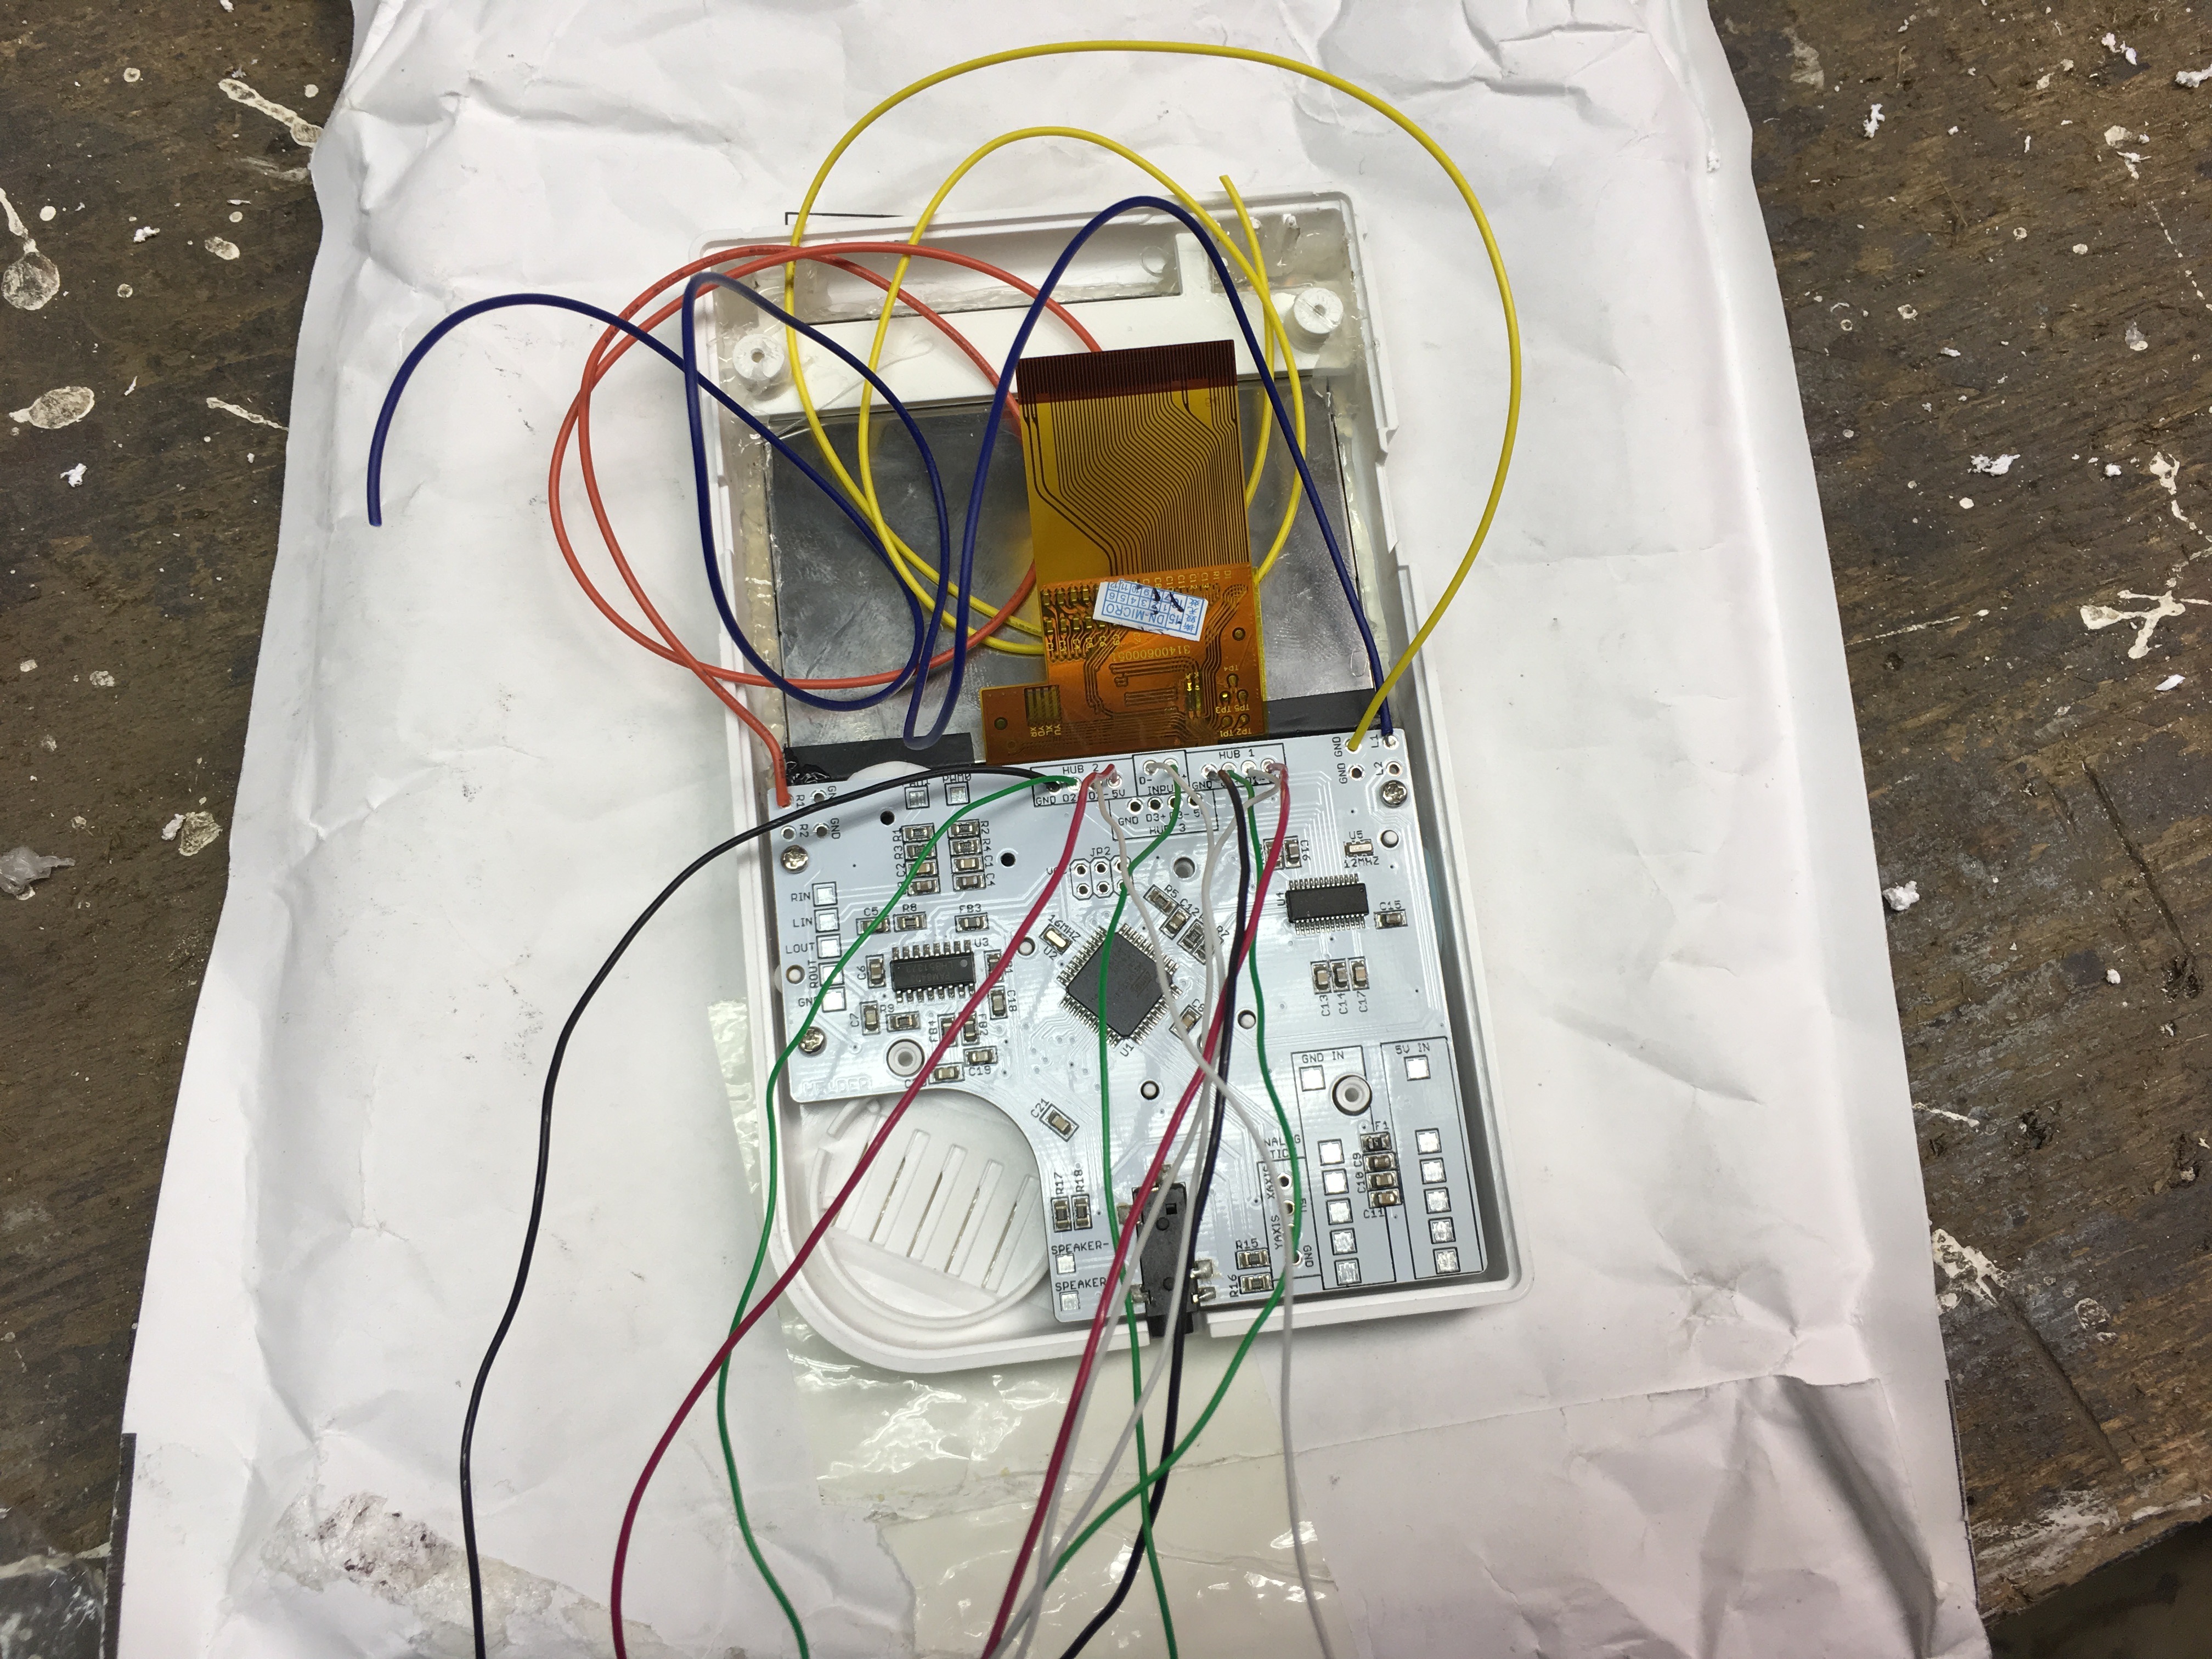
- And logic board is also in place!
- IMG_0295.jpg (2.41 MiB) Viewed 3733 times
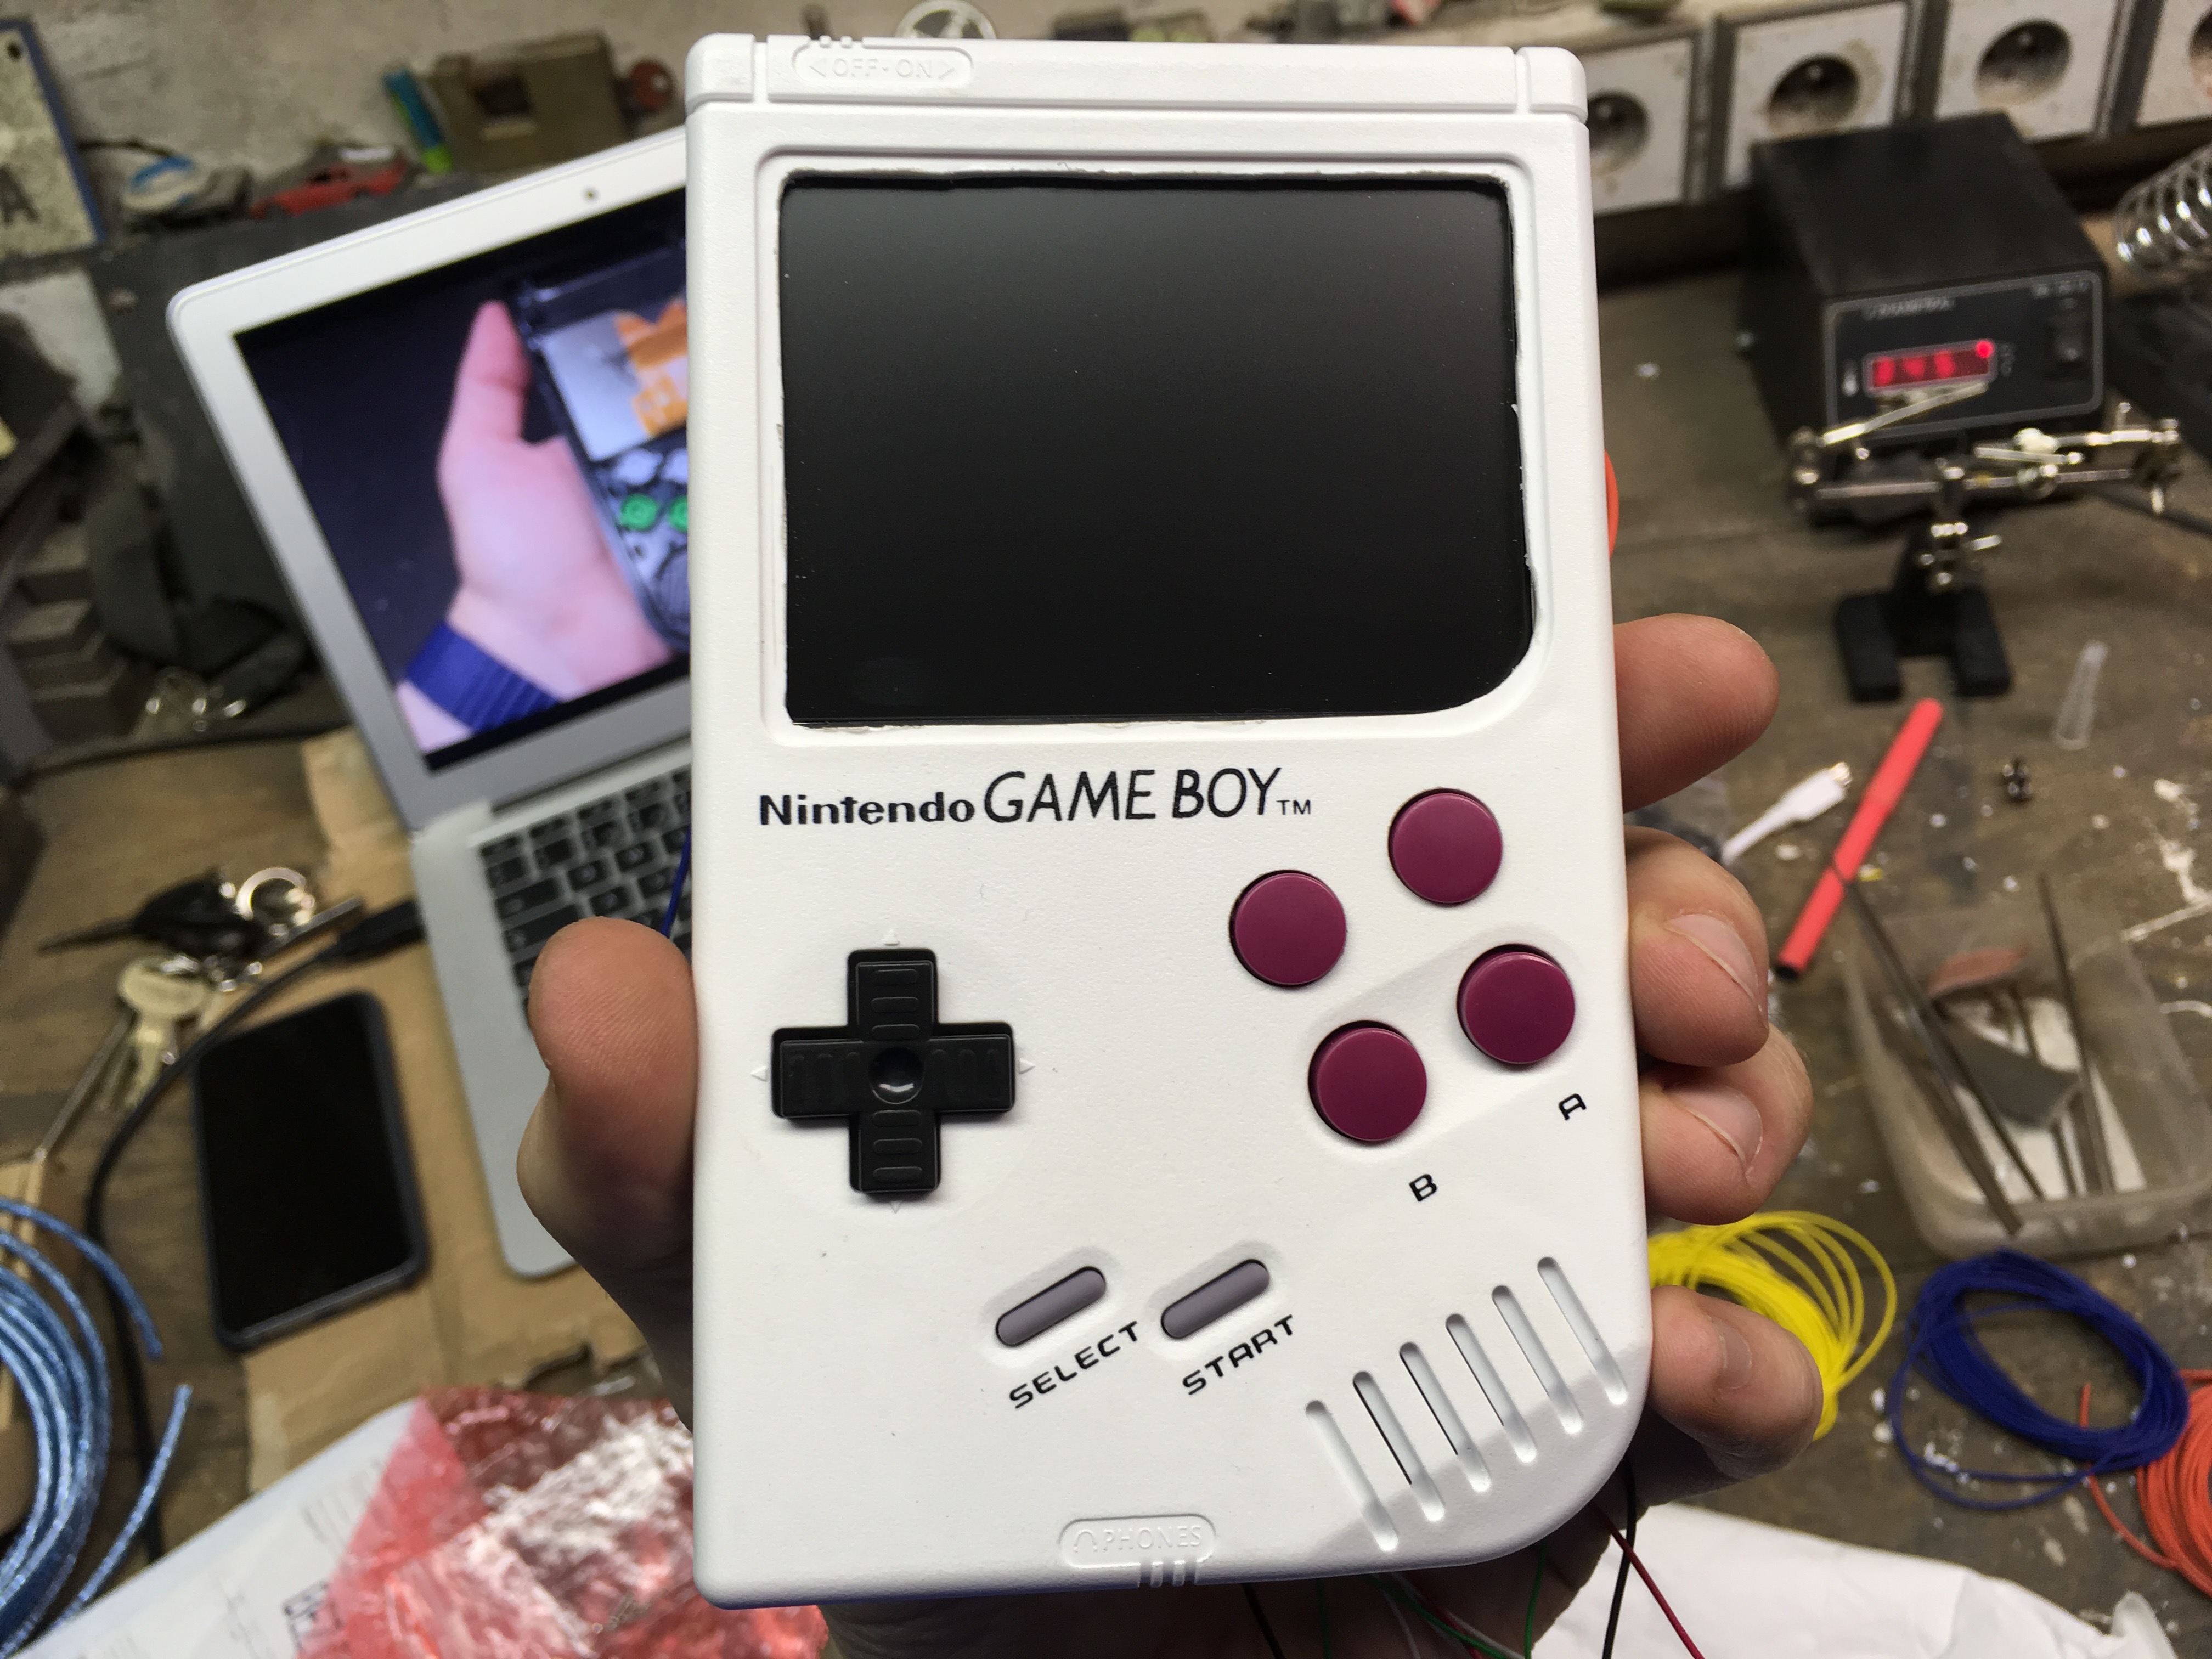
- It's a beauty already!
- IMG_0296.jpg (1.96 MiB) Viewed 3733 times

- Well, speaker part was really easy with Helder's AIO 2.2.
- IMG_0298.jpg (2 MiB) Viewed 3733 times

- PowerBoost is in place. Fingers crossed it won't bump into anything on the other side!
- IMG_0299.jpg (2 MiB) Viewed 3733 times
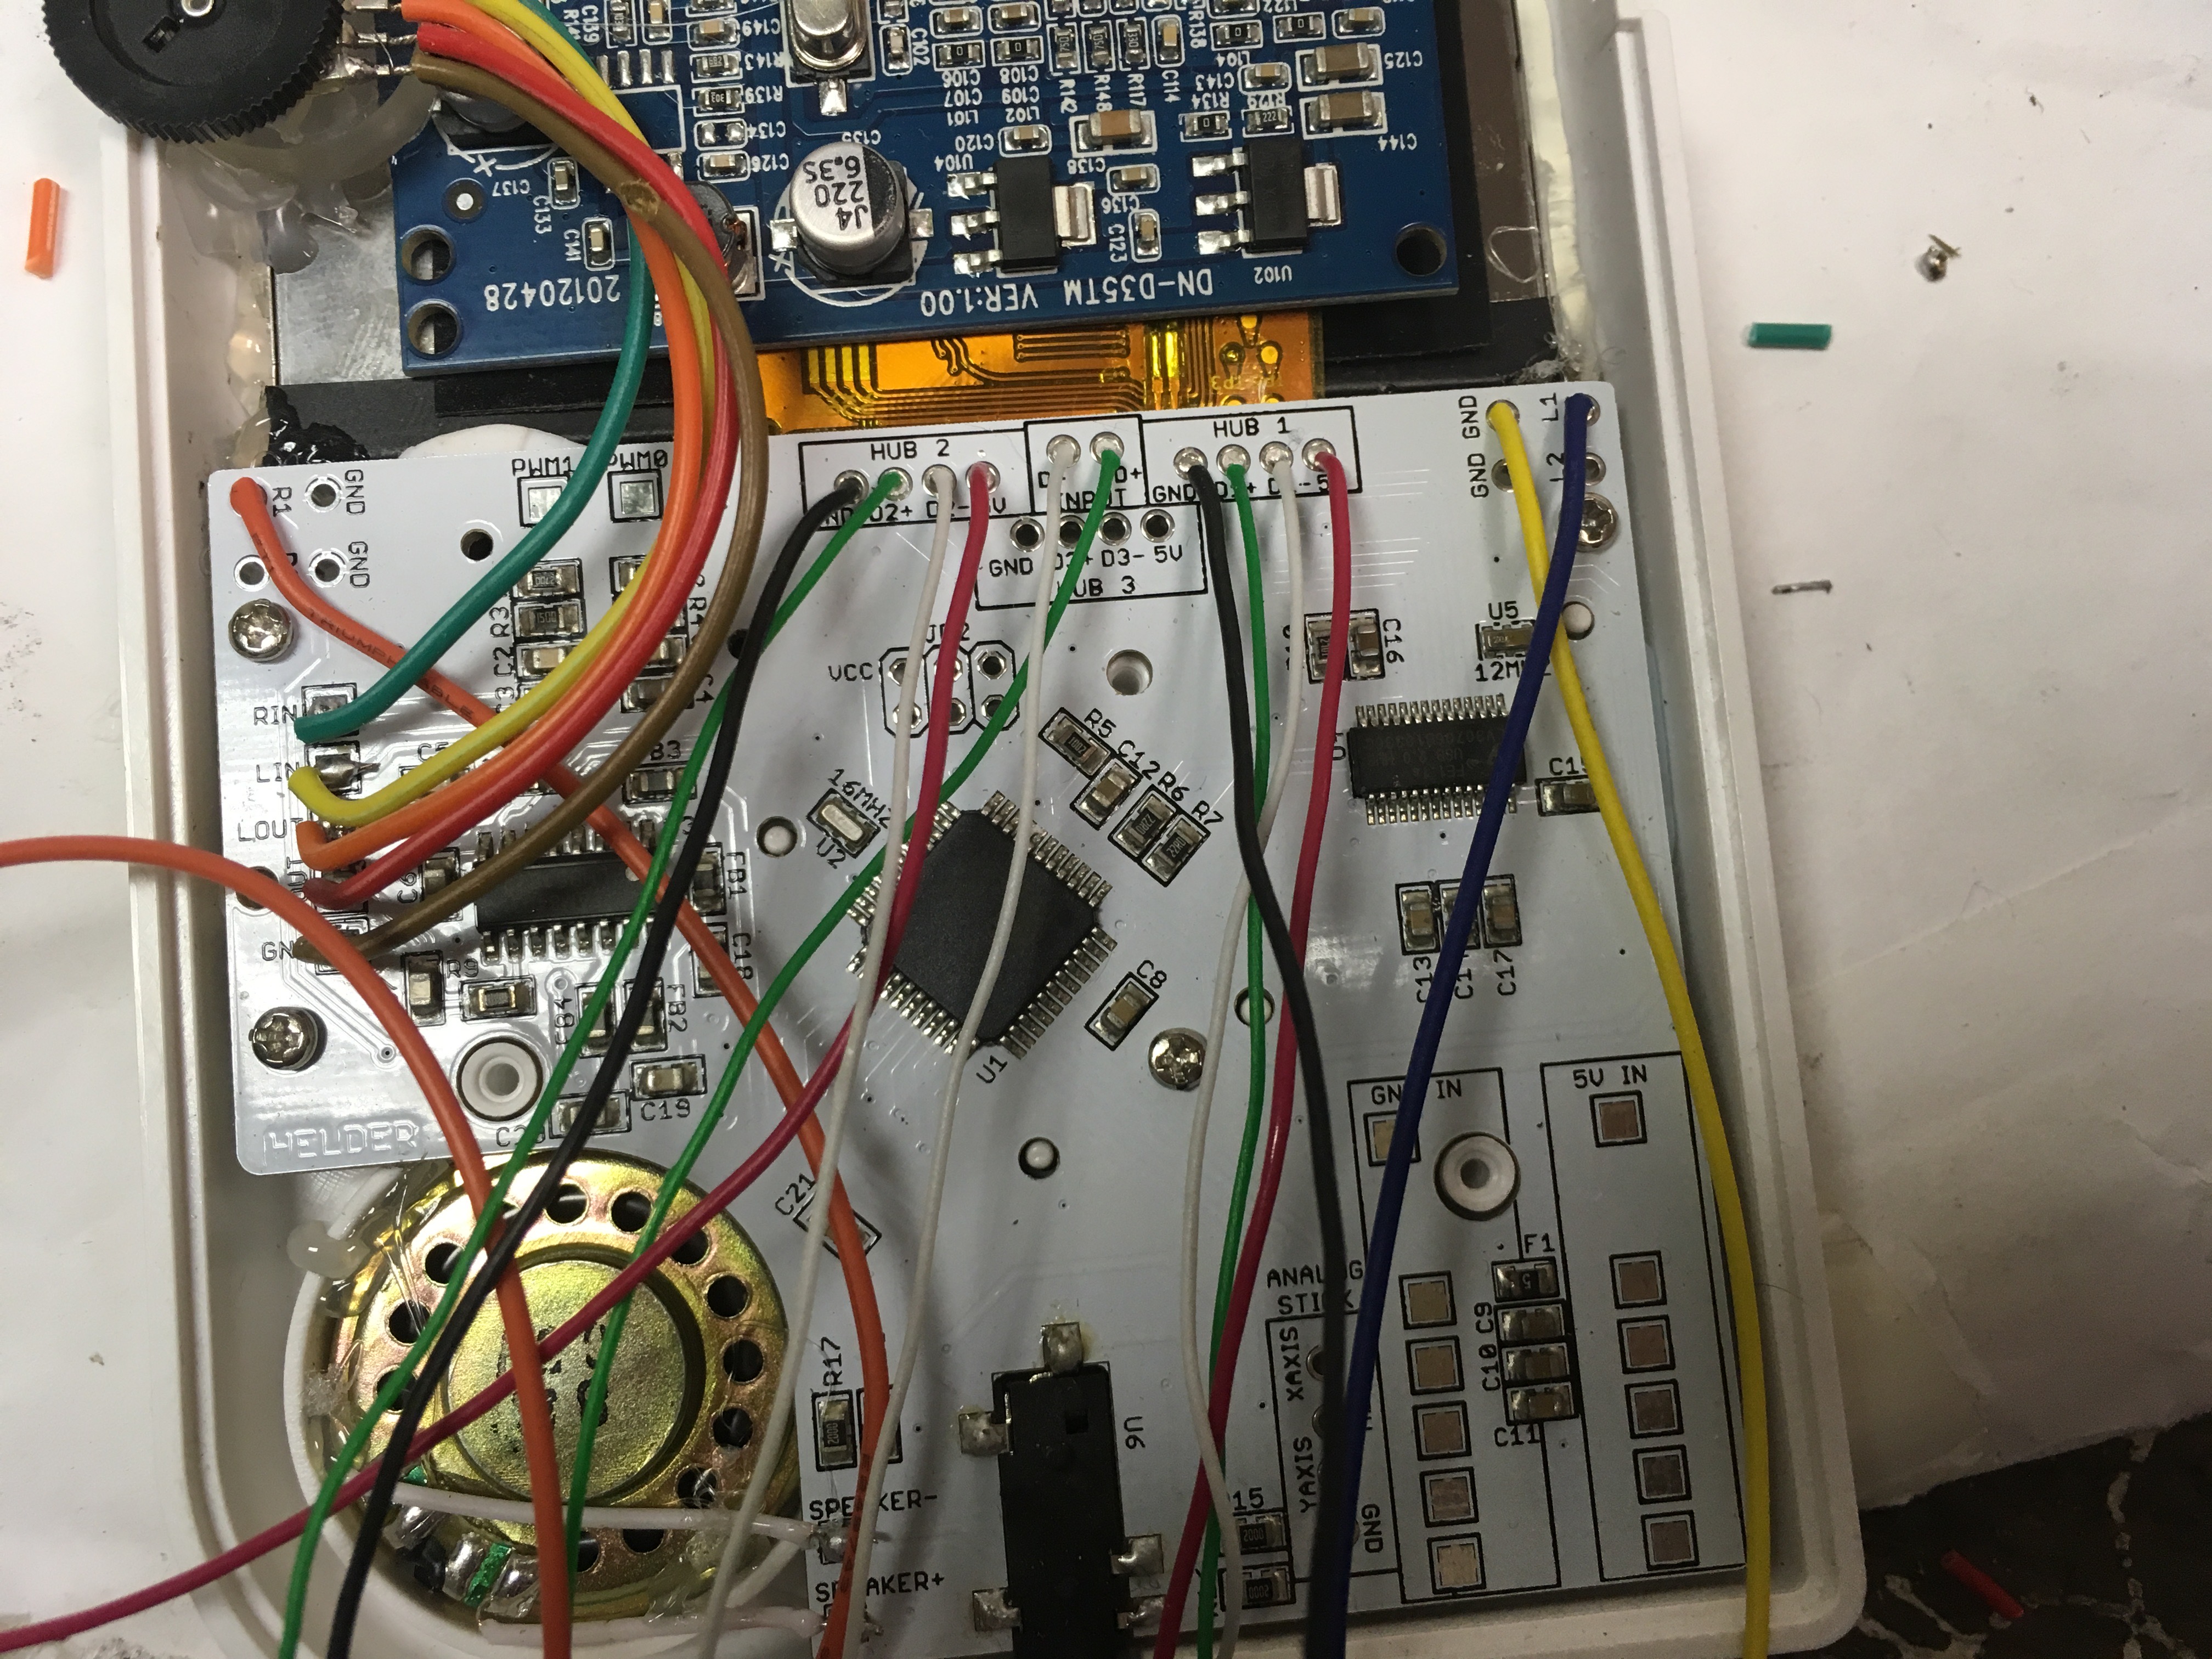
- Screen's controller board is in place and so is the volume wheel. Would've make more sense to solder the volume wheel's wires the other way around but nobody said we're smart people.
- IMG_0300.jpg (2.44 MiB) Viewed 3733 times
More images in the next post

