Page 1 of 2
smoki's GBZ
Posted: Mon Aug 01, 2016 12:57 am
by smoki86
Hello

because everyone is doing it I'm going to post my progress too.
Stuff
I want to take my time and make everything easily replaceable, so no hot glue.
It will be a setup with a kitsch 4 button board, pi zero, usb sound and powerboost for power/battery/charging.
Part 1 - Display
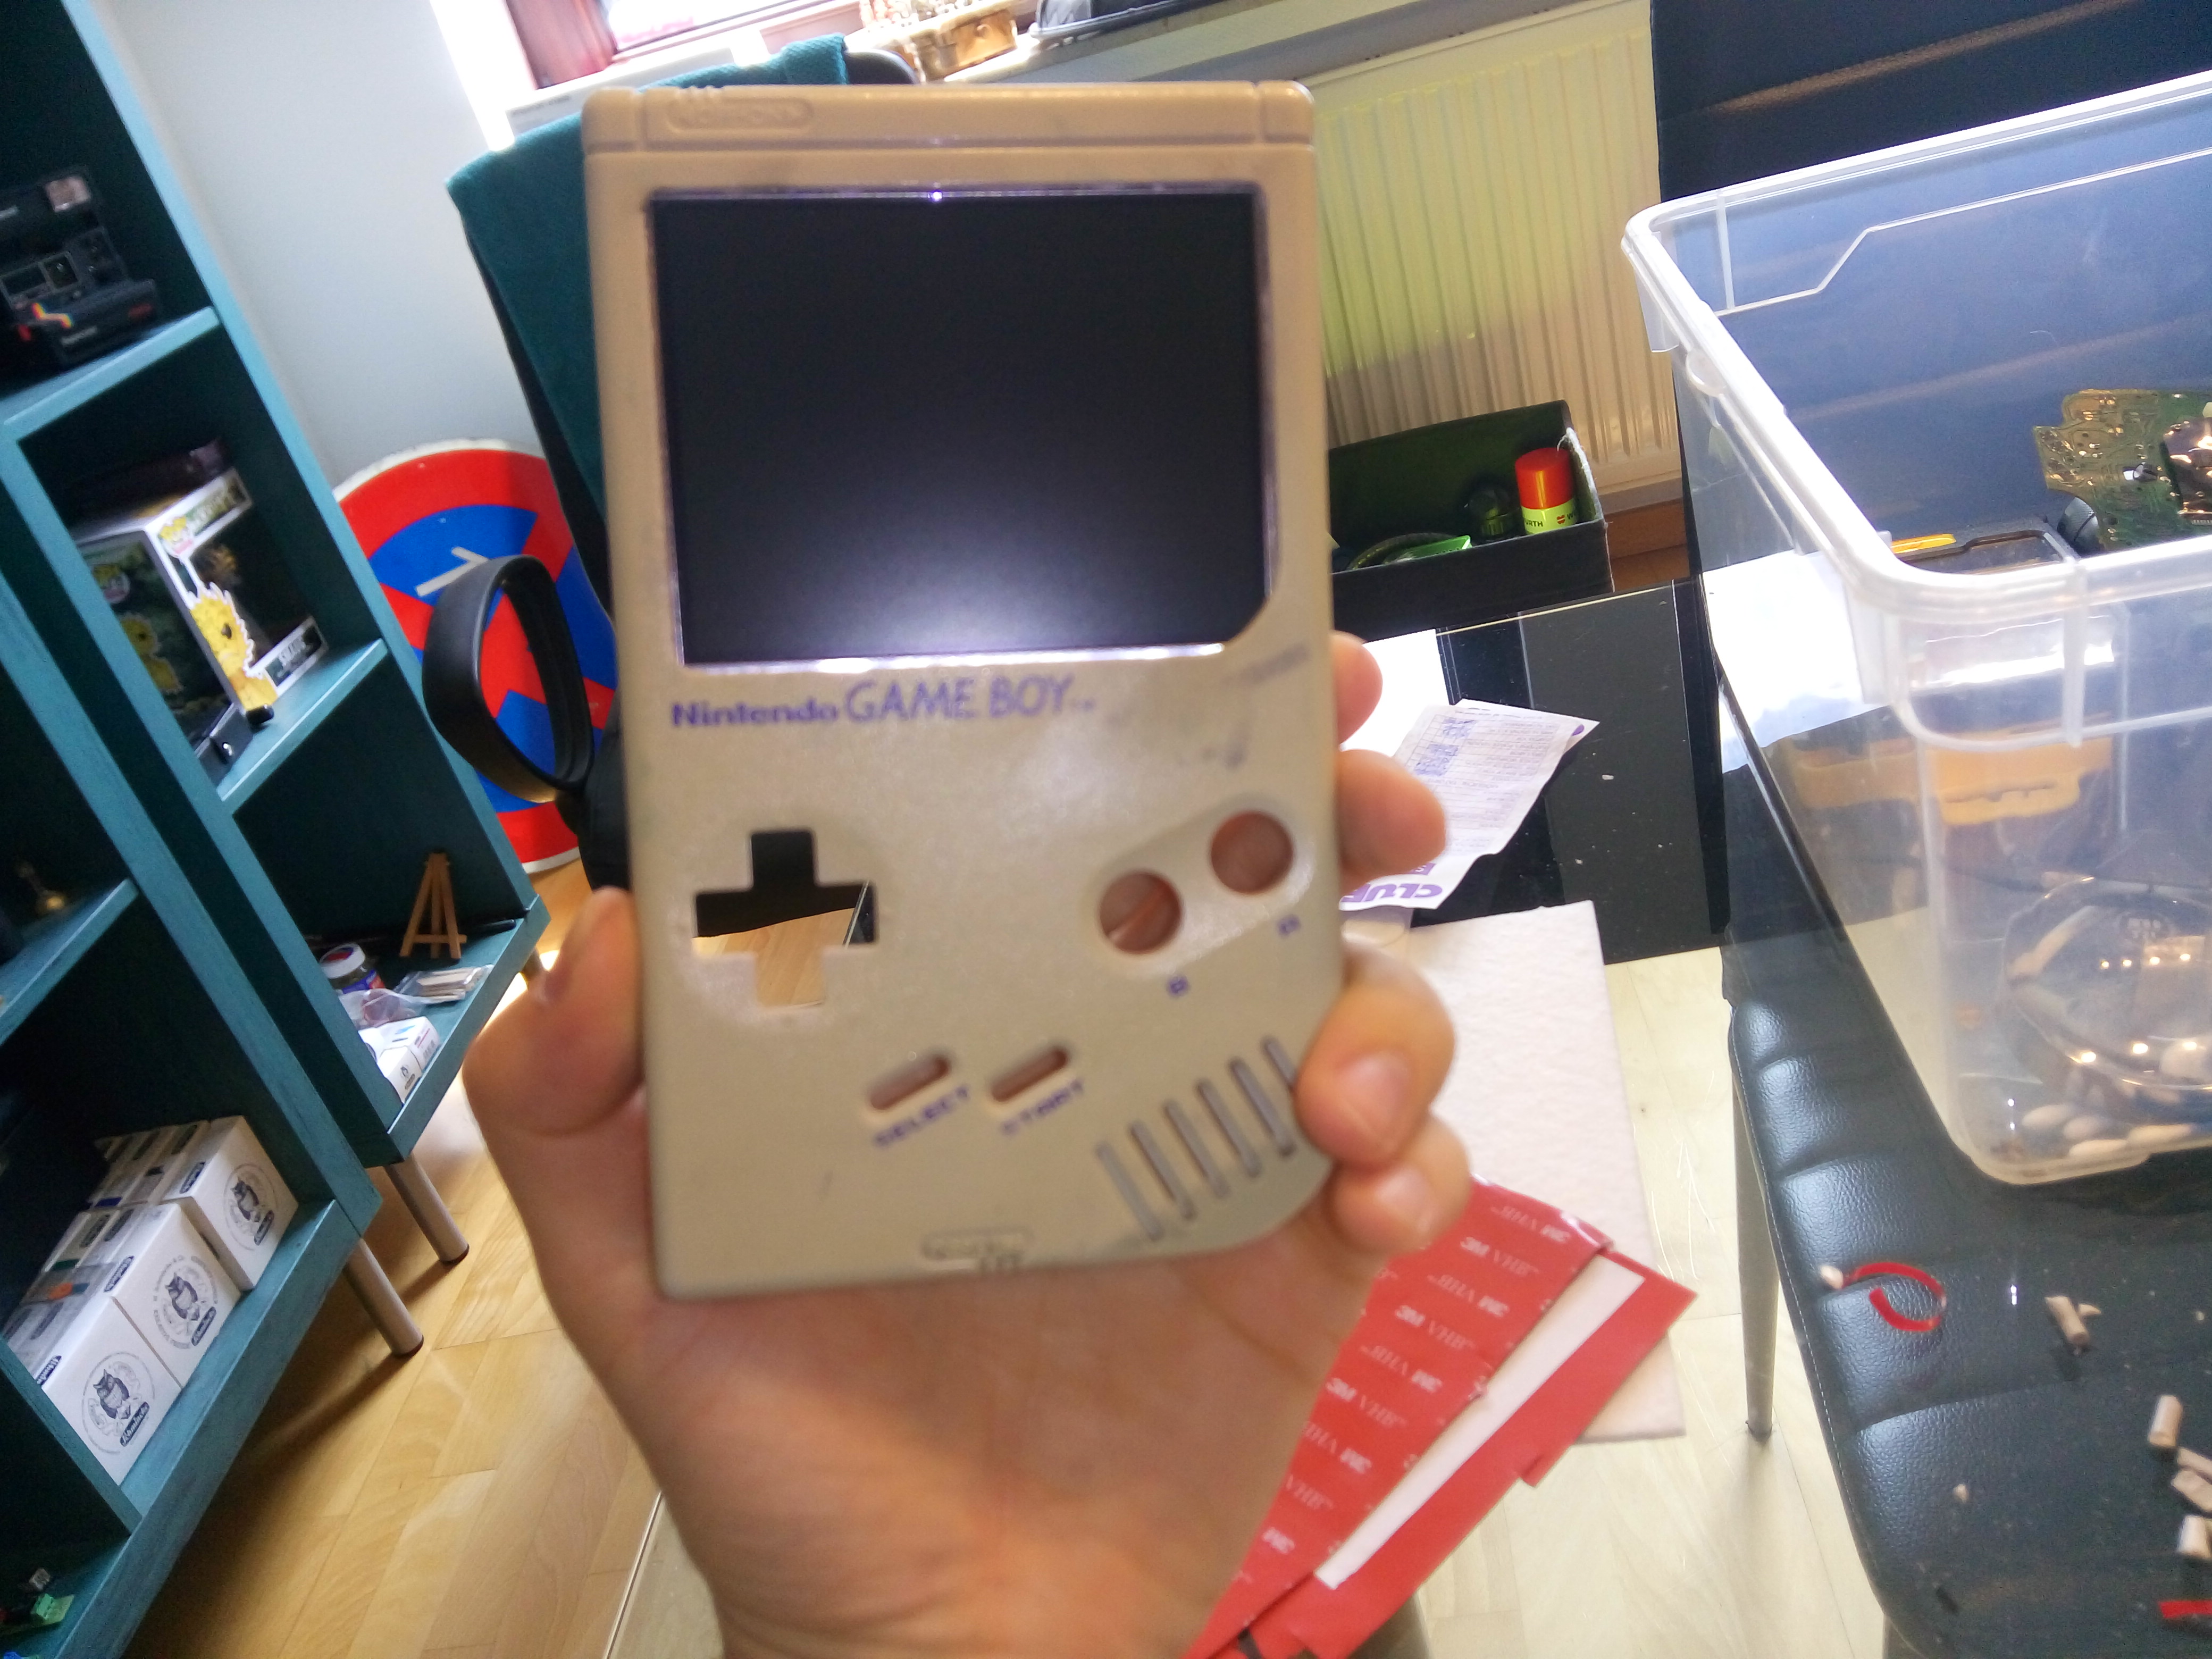
I filed the border in the Gameboy case for the display instead of using a Dremel, that worked great.
To mount it I used 3M VHB which saves a lot of room around the display (making place for the button board) and hold really really well.
I'm sure I will use it for other parts too.
- IMG_20160730_143805.jpg (2.43 MiB) Viewed 11069 times
- IMG_20160730_143824.jpg (1.88 MiB) Viewed 11069 times
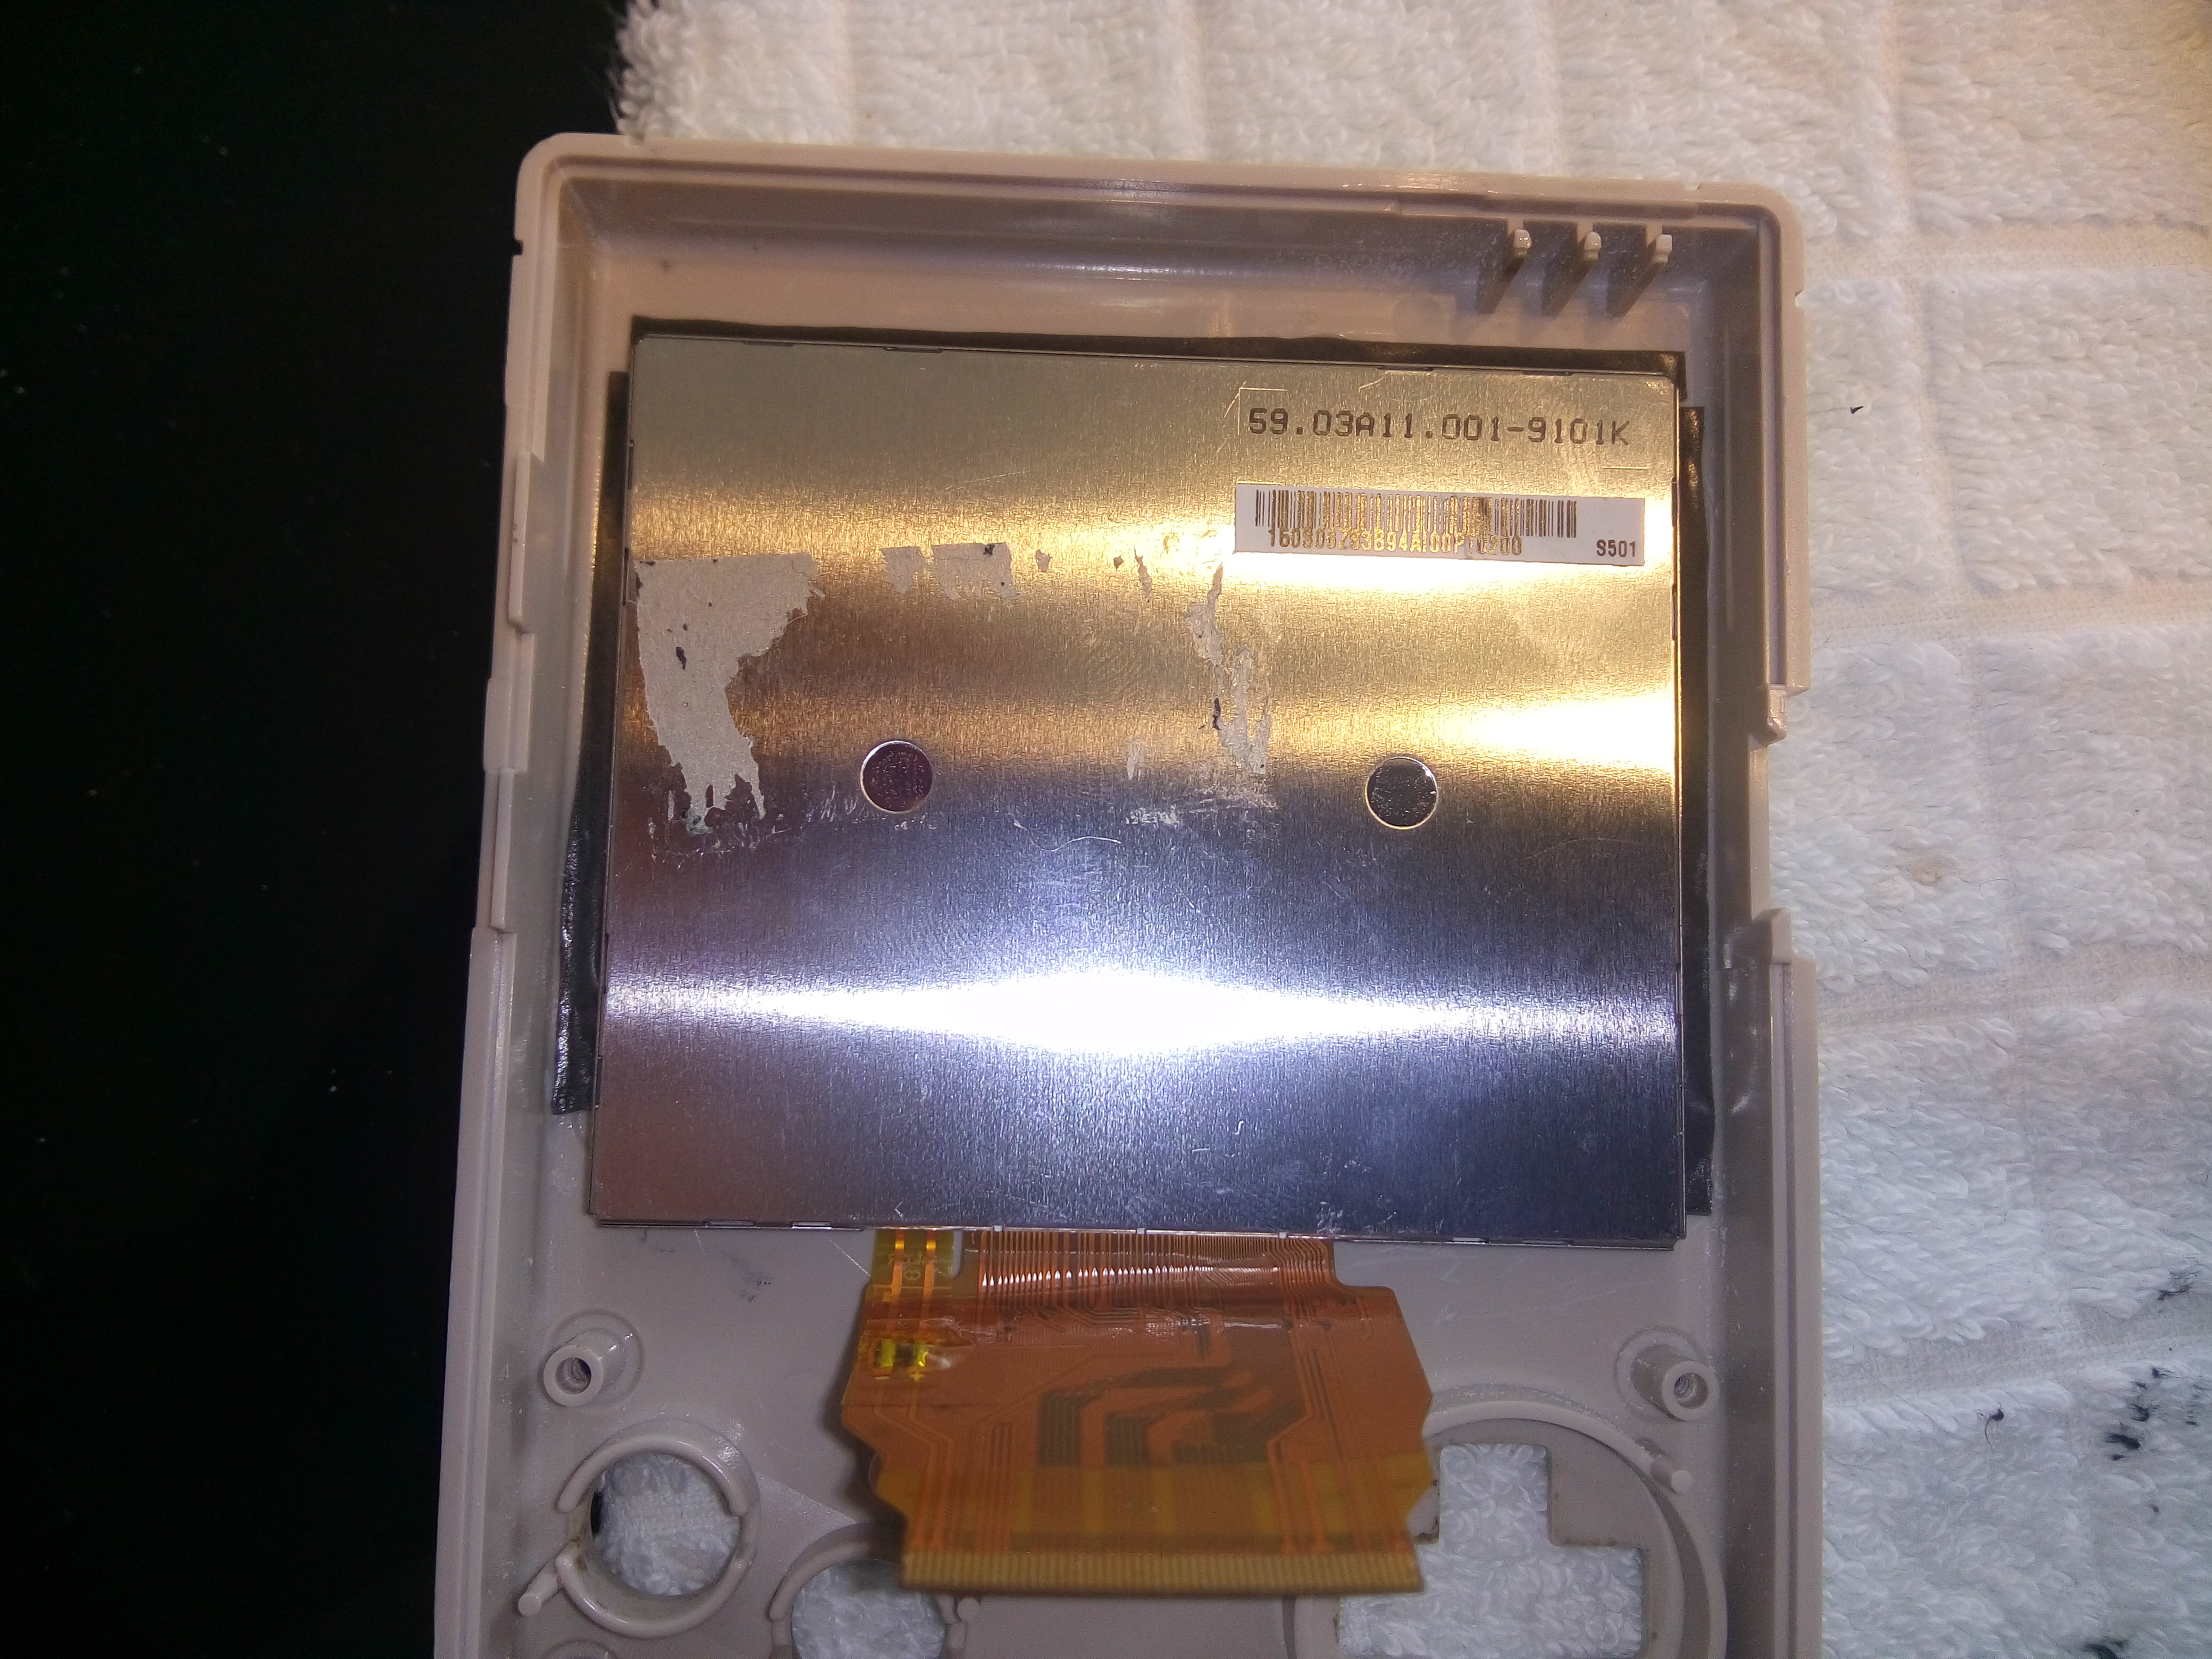
I went to the WIKI and ordered the
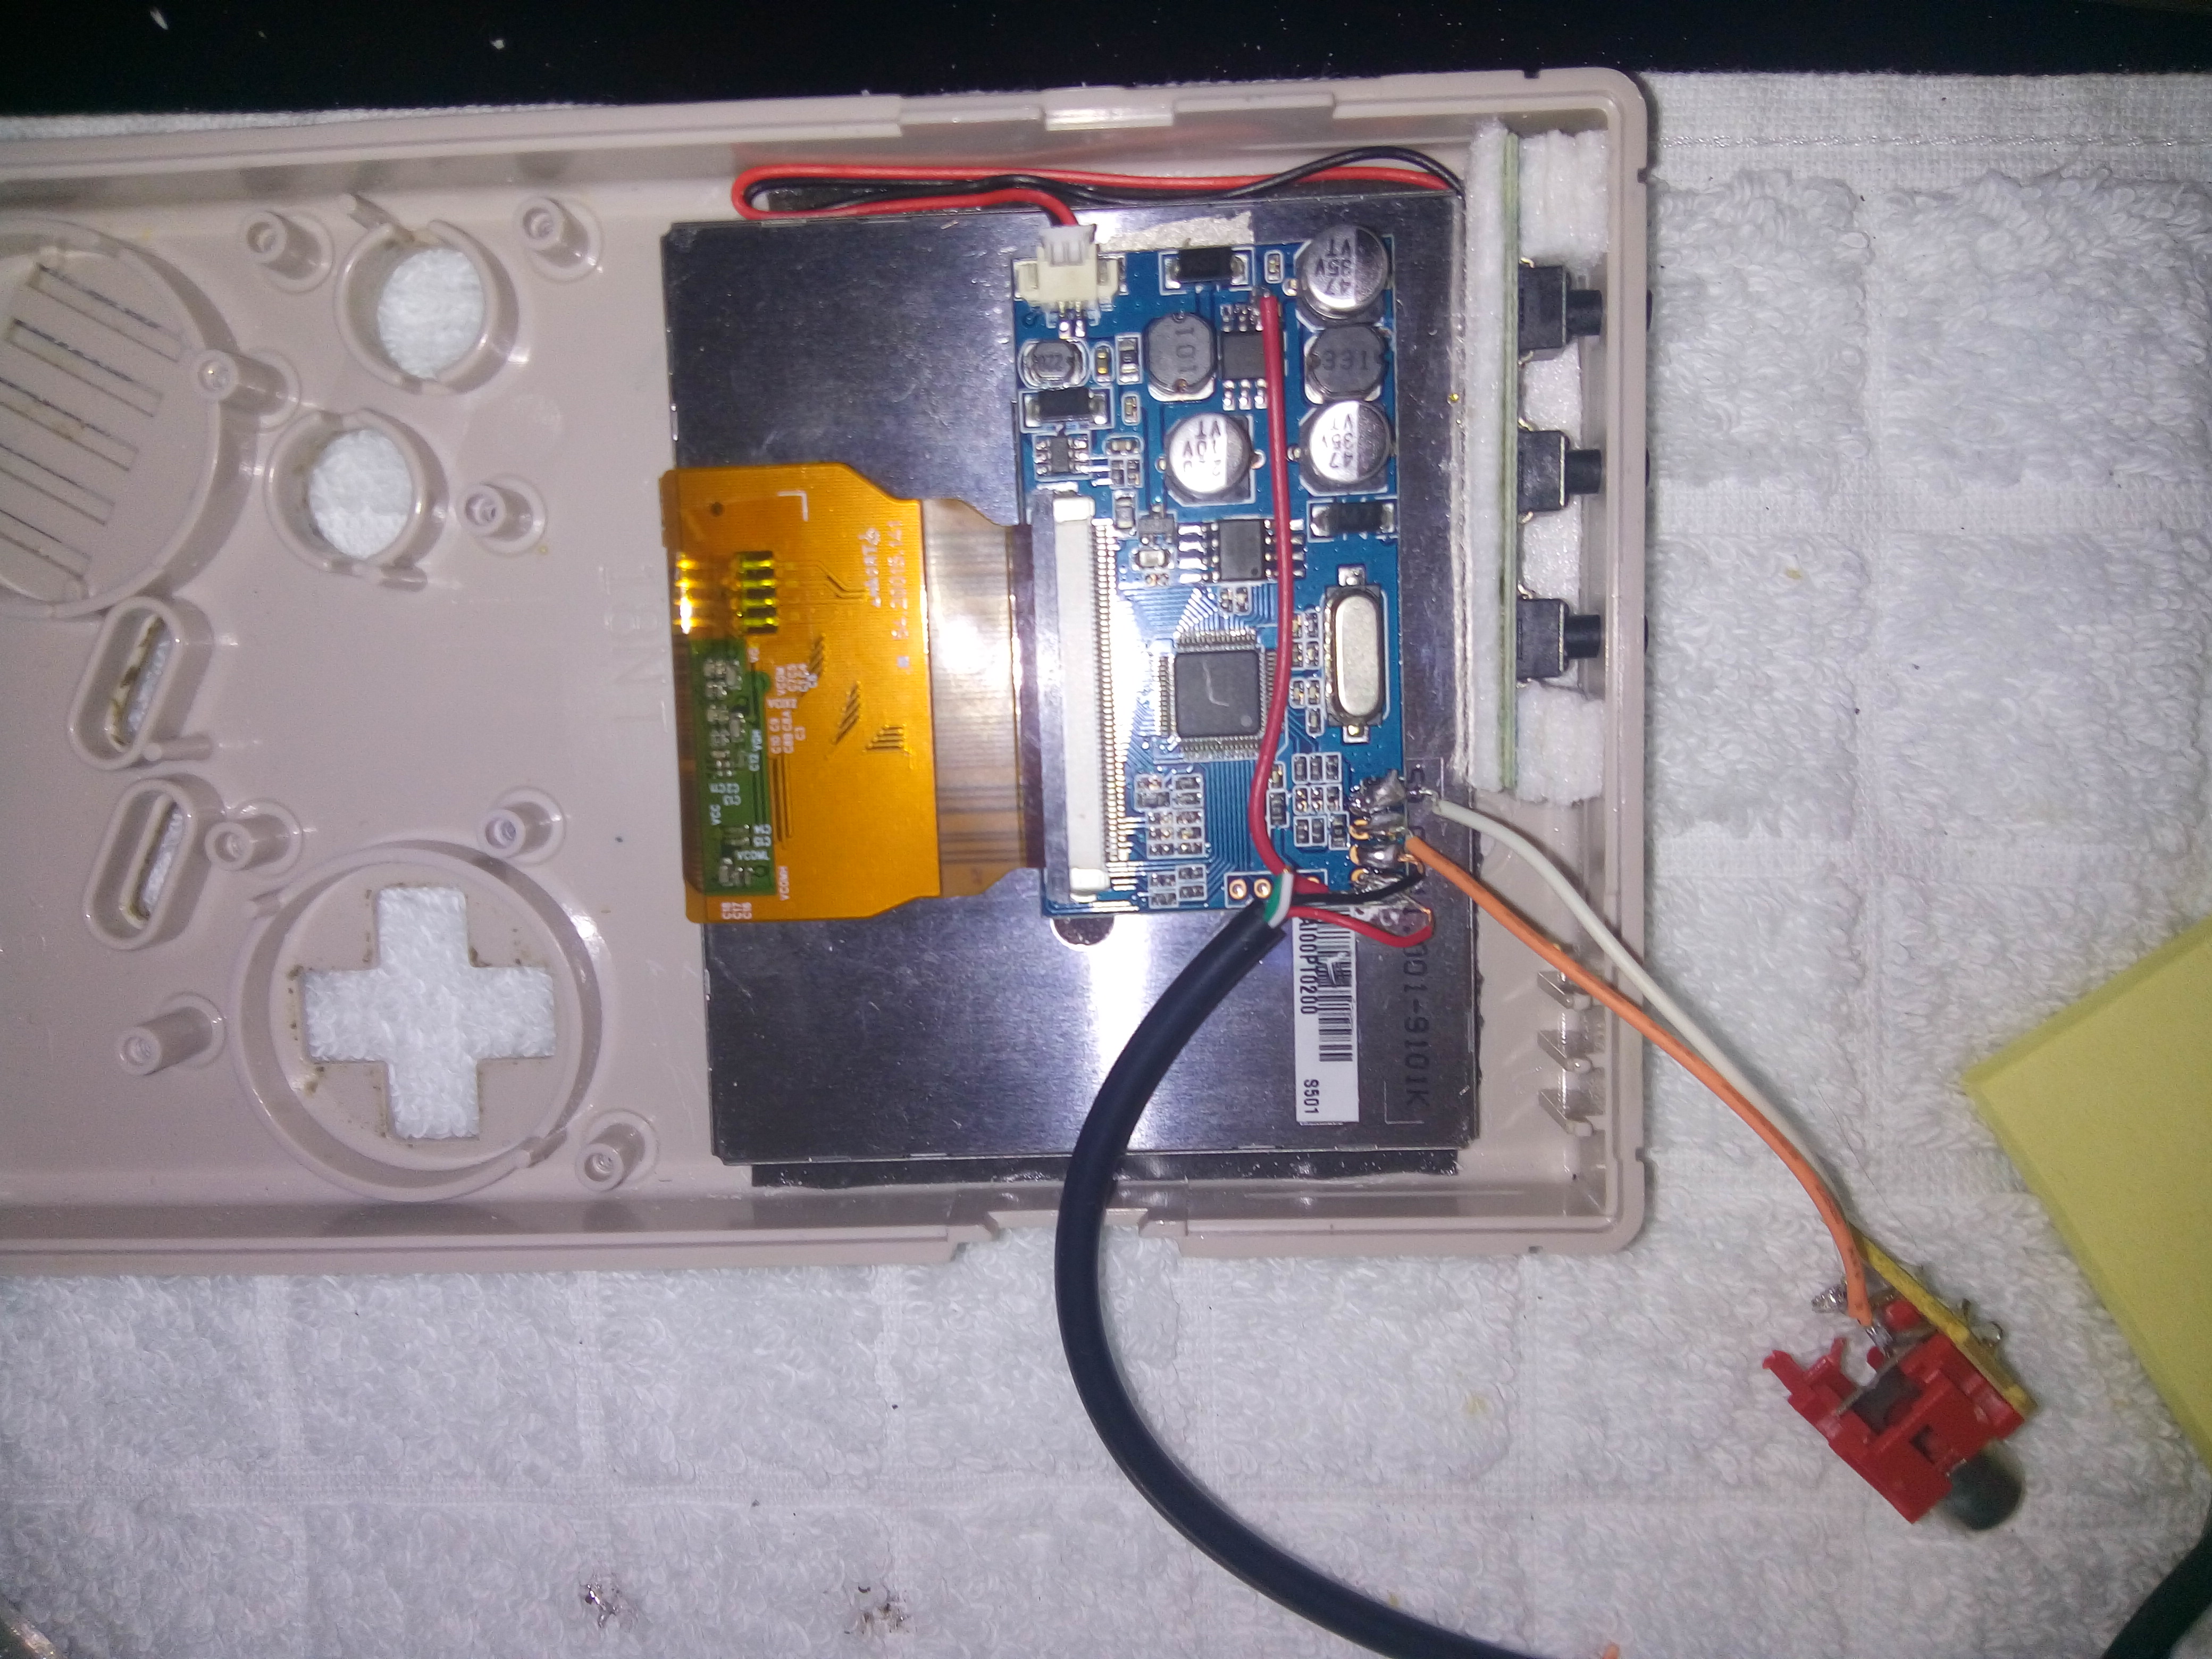
BW 3.5 Variant 1 from Amazon. I got Variant 7 instead, which is great! It only needs a extra wire and the board is really small.
- IMG_20160801_072533.jpg (2.3 MiB) Viewed 11069 times
It has a separate Button Pad and i decided to mount it over the display, making holes for the buttons in the case. It mounted using some felt pad material and pressed between case and display. Surprisingly it holds really really well and doesn't move at all.
- IMG_20160801_072607.jpg (1.66 MiB) Viewed 11069 times
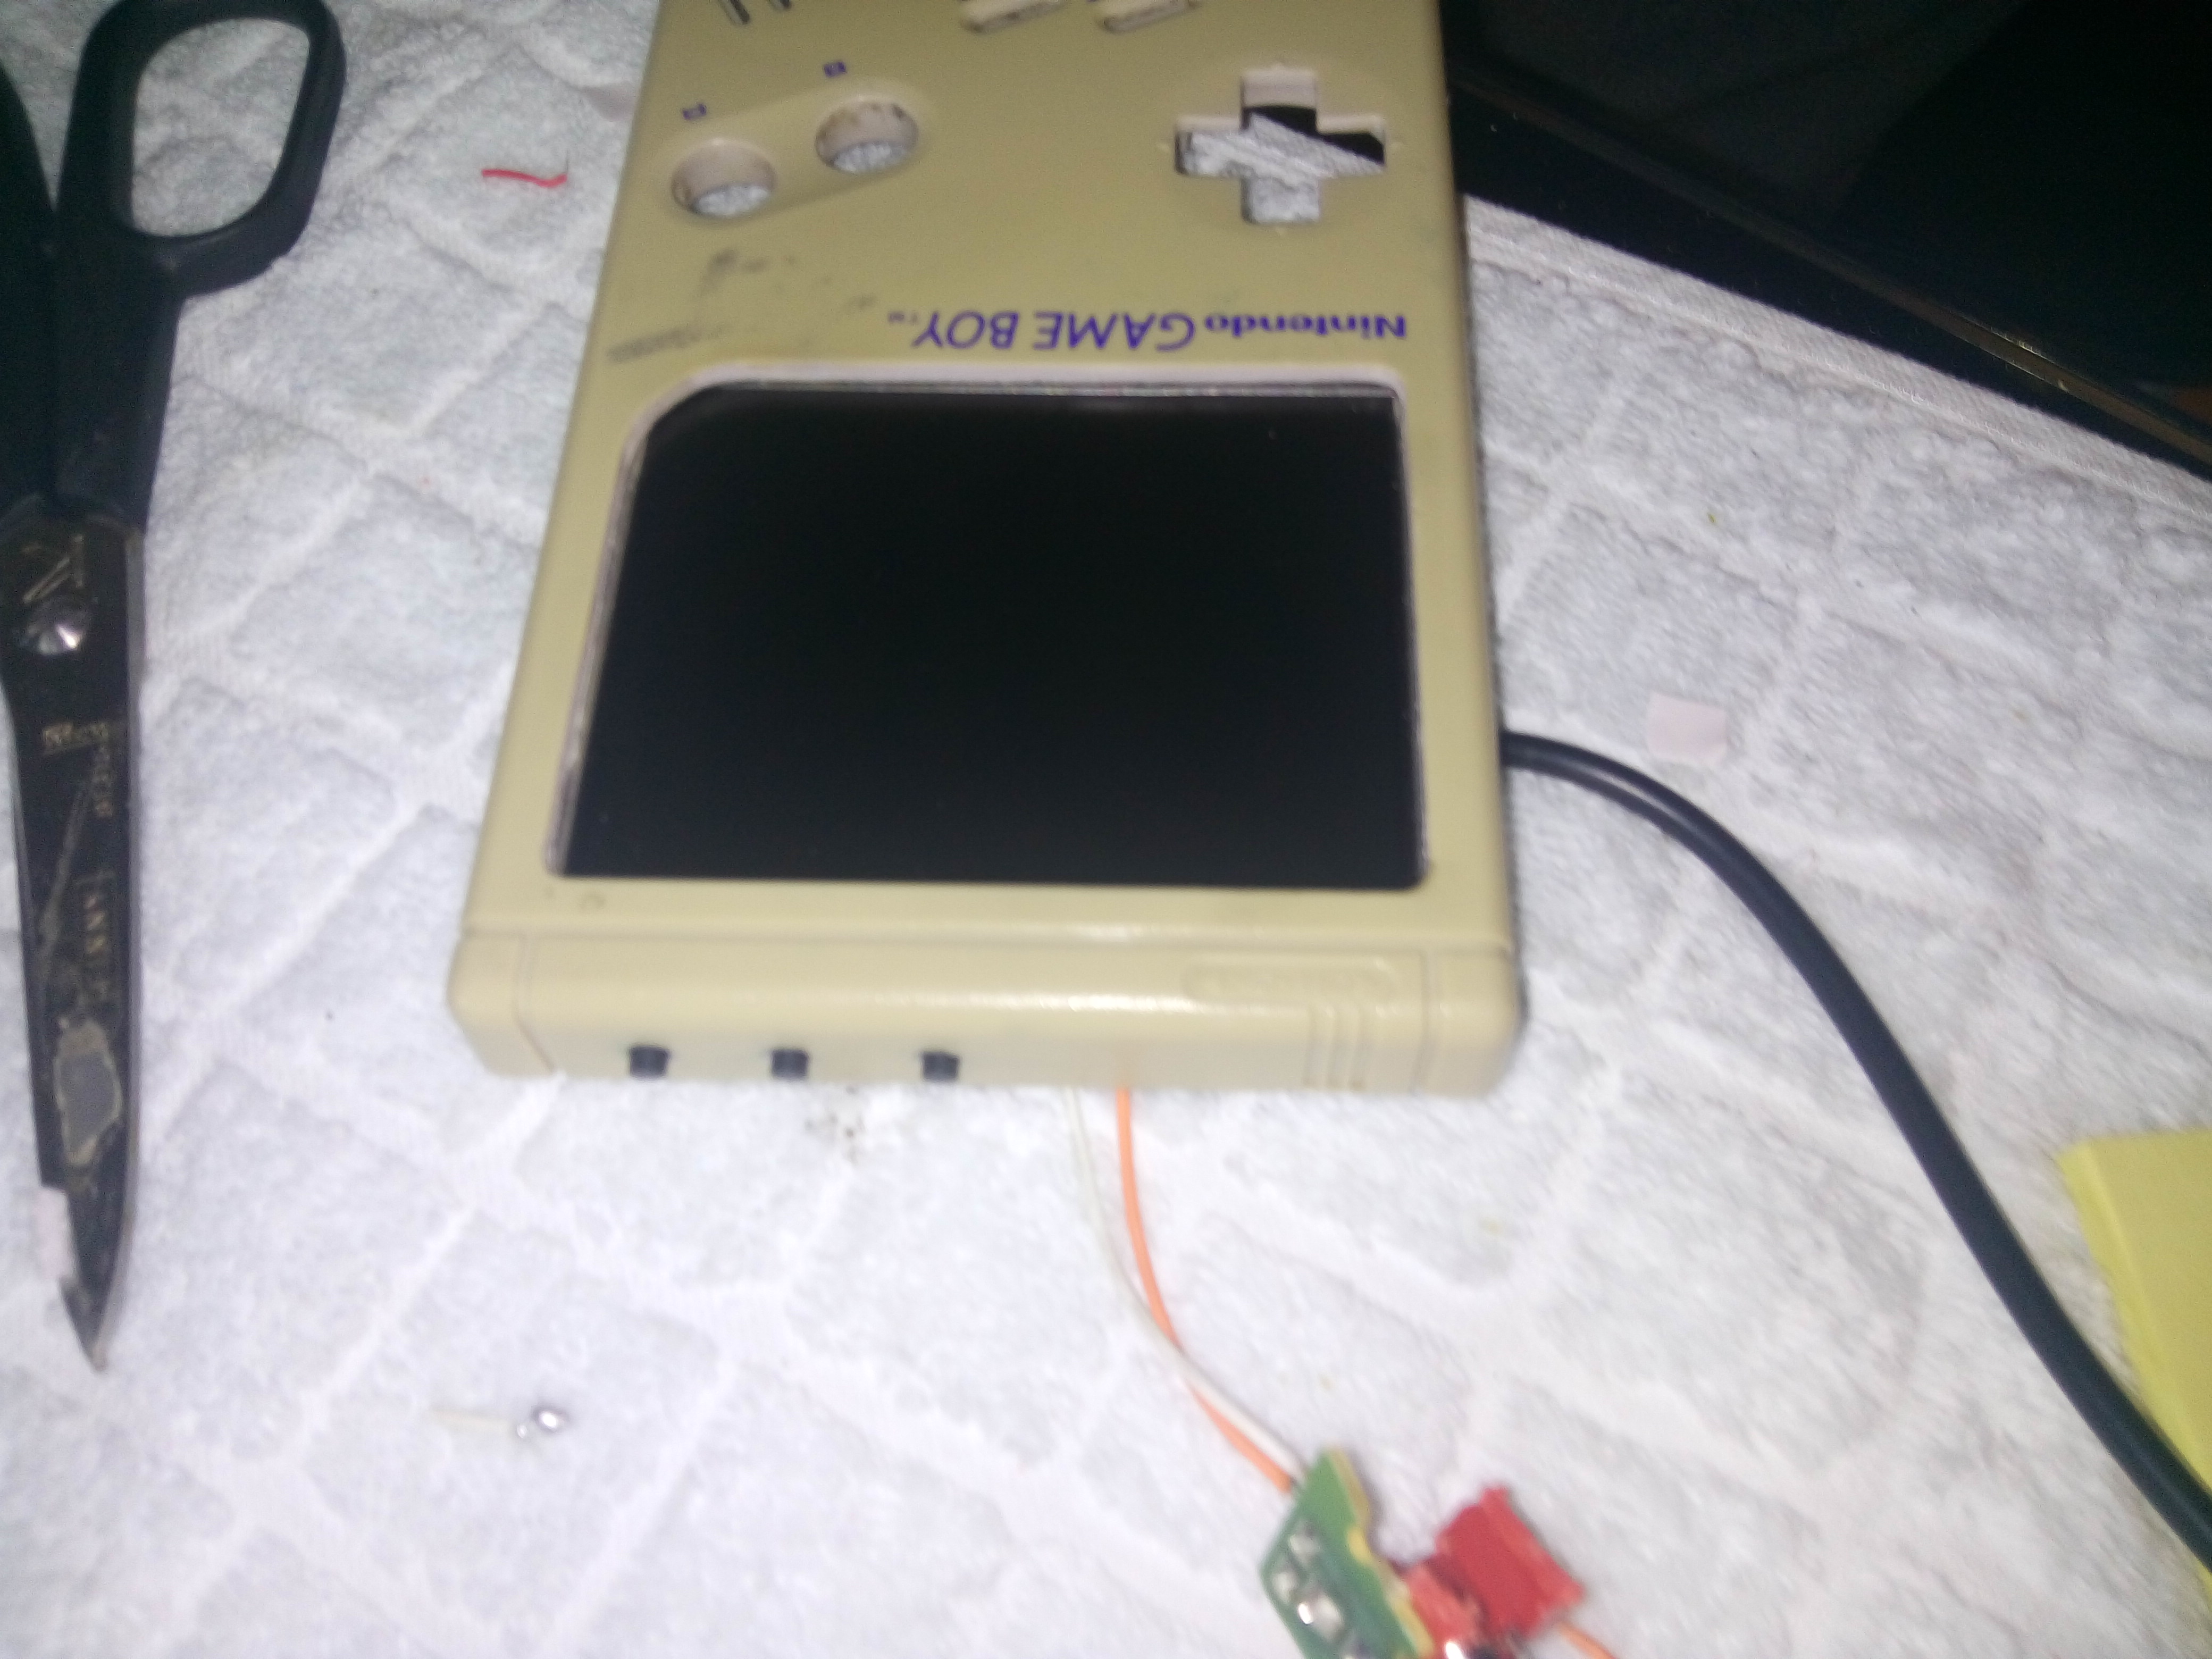
I tested the display with my WII and the quality is really nice and settings are now easily adjustable.
Re: smoki's GBZ
Posted: Mon Aug 01, 2016 6:37 am
by ChunkeeMunkee
Nice start @smoki! Gotta love the v7!

Really interested in your "no hot glue" approach, will be nice to see how this turns out!
Good luck!
Re: smoki's GBZ
Posted: Mon Aug 01, 2016 8:02 am
by Spookbroodje
Really looking forward to your approach indeed.
I plan to do pretty little stuff with hotglue, only the screen im 100% backing up to glue it down.
Will follow the proces!
Re: smoki's GBZ
Posted: Tue Aug 02, 2016 4:18 am
by DeltaShadow
Hey you may want to consider this before getting too far in your build
http://www.sudomod.com/forum/viewtopic.php?f=22&t=73
I would recommend reading it, it is for de-yellowing your case, I used the 40 volume developer method worked great.
Re: smoki's GBZ
Posted: Tue Aug 02, 2016 1:21 pm
by smoki86
@DeltaShadow - Thanks, I saw that already, but decided to keep it as it is, maybe even rough it up even more for a more authentic look
This first one is my trial one anyway.
The next one will be one using the all-in-one board, a cleaned case, 640x480 display and a pi3.
I already orderwd everything but ...f"#@ UPS, I spent 3 hours there today and they can't find my packages...I hope I can continue tomorrow (after another trip there...) and finish the first one by the weekend.
Re: smoki's GBZ
Posted: Tue Aug 02, 2016 2:32 pm
by DeltaShadow
@smoki86 Ok cool i am getting ready to start my second as well... need to update my first one though...
Re: smoki's GBZ
Posted: Thu Aug 04, 2016 12:37 am
by smoki86
Yay, progress =D
After waiting another hour at UPS and paying a stupid amount of tax on the package I finally got the most important parts.
I tested out some layout options and figured when I remove the cartridge portion inside the case I would have more than enough room for everything without removing the battery compartment.
So, as I don't plan on changing the system often if at all (a big memory card with most romsets for working emulators) I decided to save some work by not making the SD card easily replaceable and not using the HDMI port.
I also won't use a separate microcontroller for the controller. I have enough room to add a header to the PI GPIO to connect the button board.
I also reused the volume wheel from the GB. It and the USB port is hold in place by a cut piece of the metal that was over the cardridge slot in the GB and some more VHB tape. The boards are also held in place with tape.
Missing:
USB Hub will be placed where the sound boards are (a small octopus one)
PI will get a header to connect the button board
Button board still not here

also case modification for 2 extra buttons.
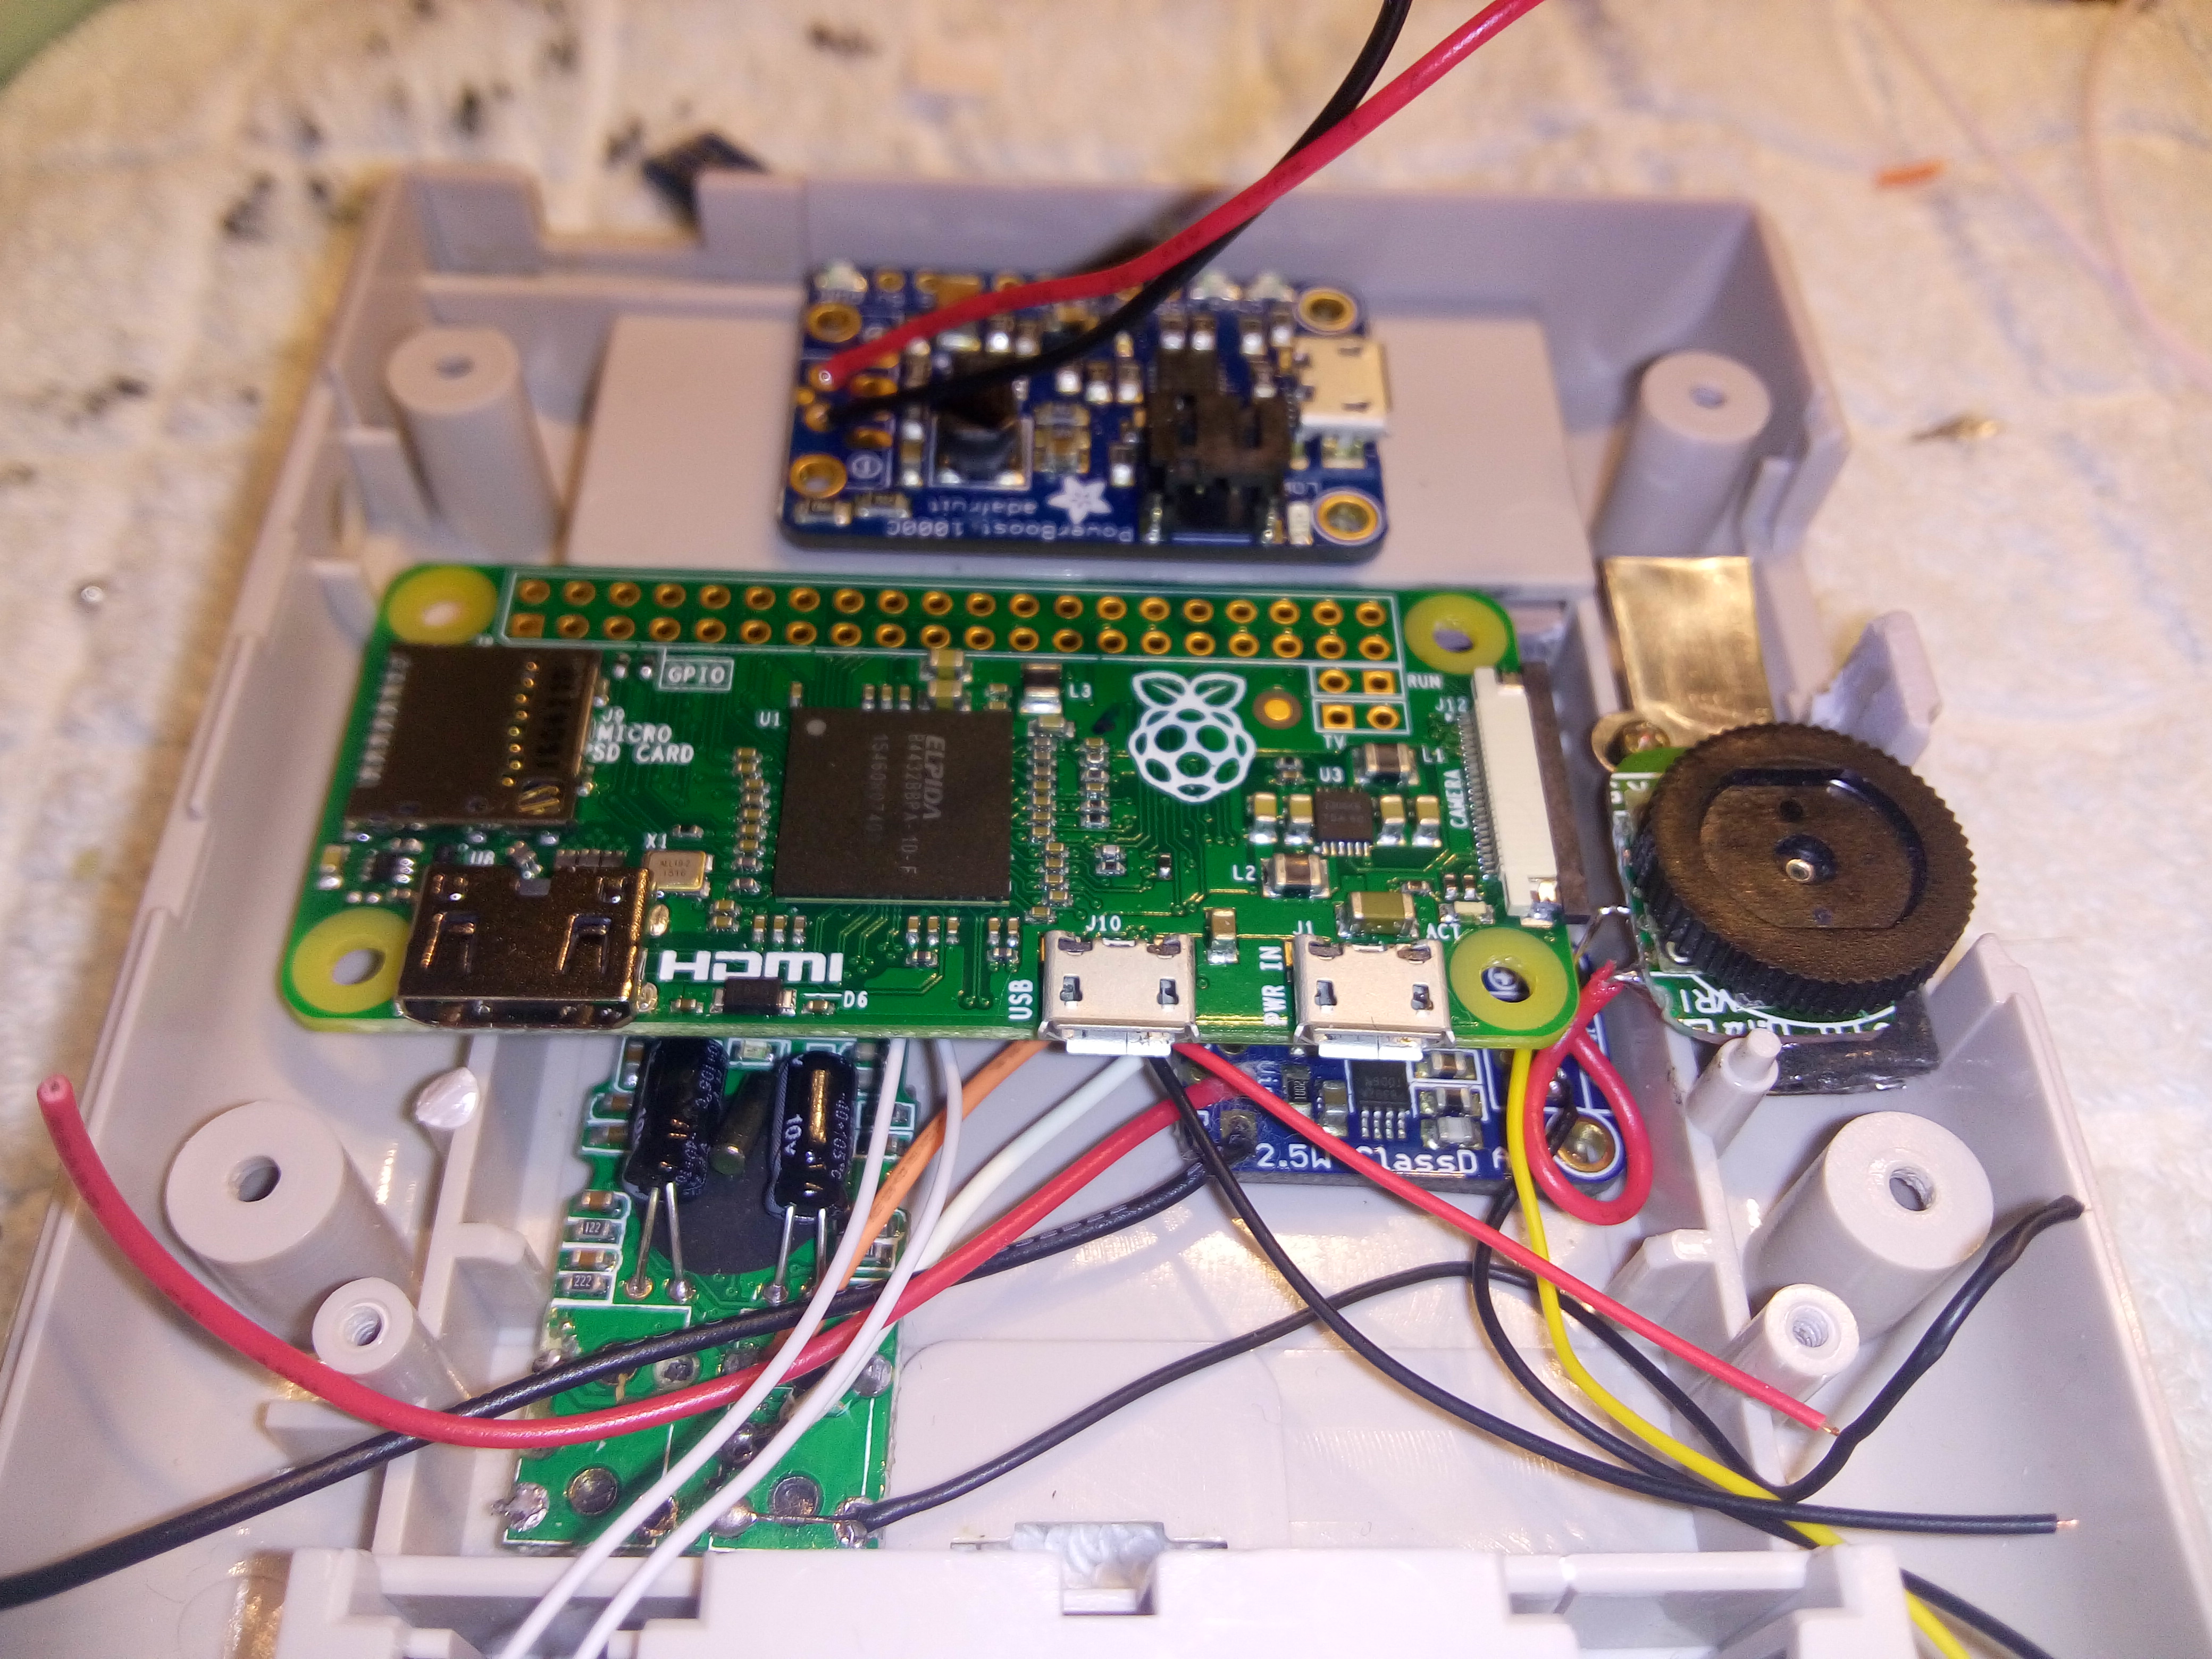
- IMG_20160803_213351.jpg (2.5 MiB) Viewed 10815 times
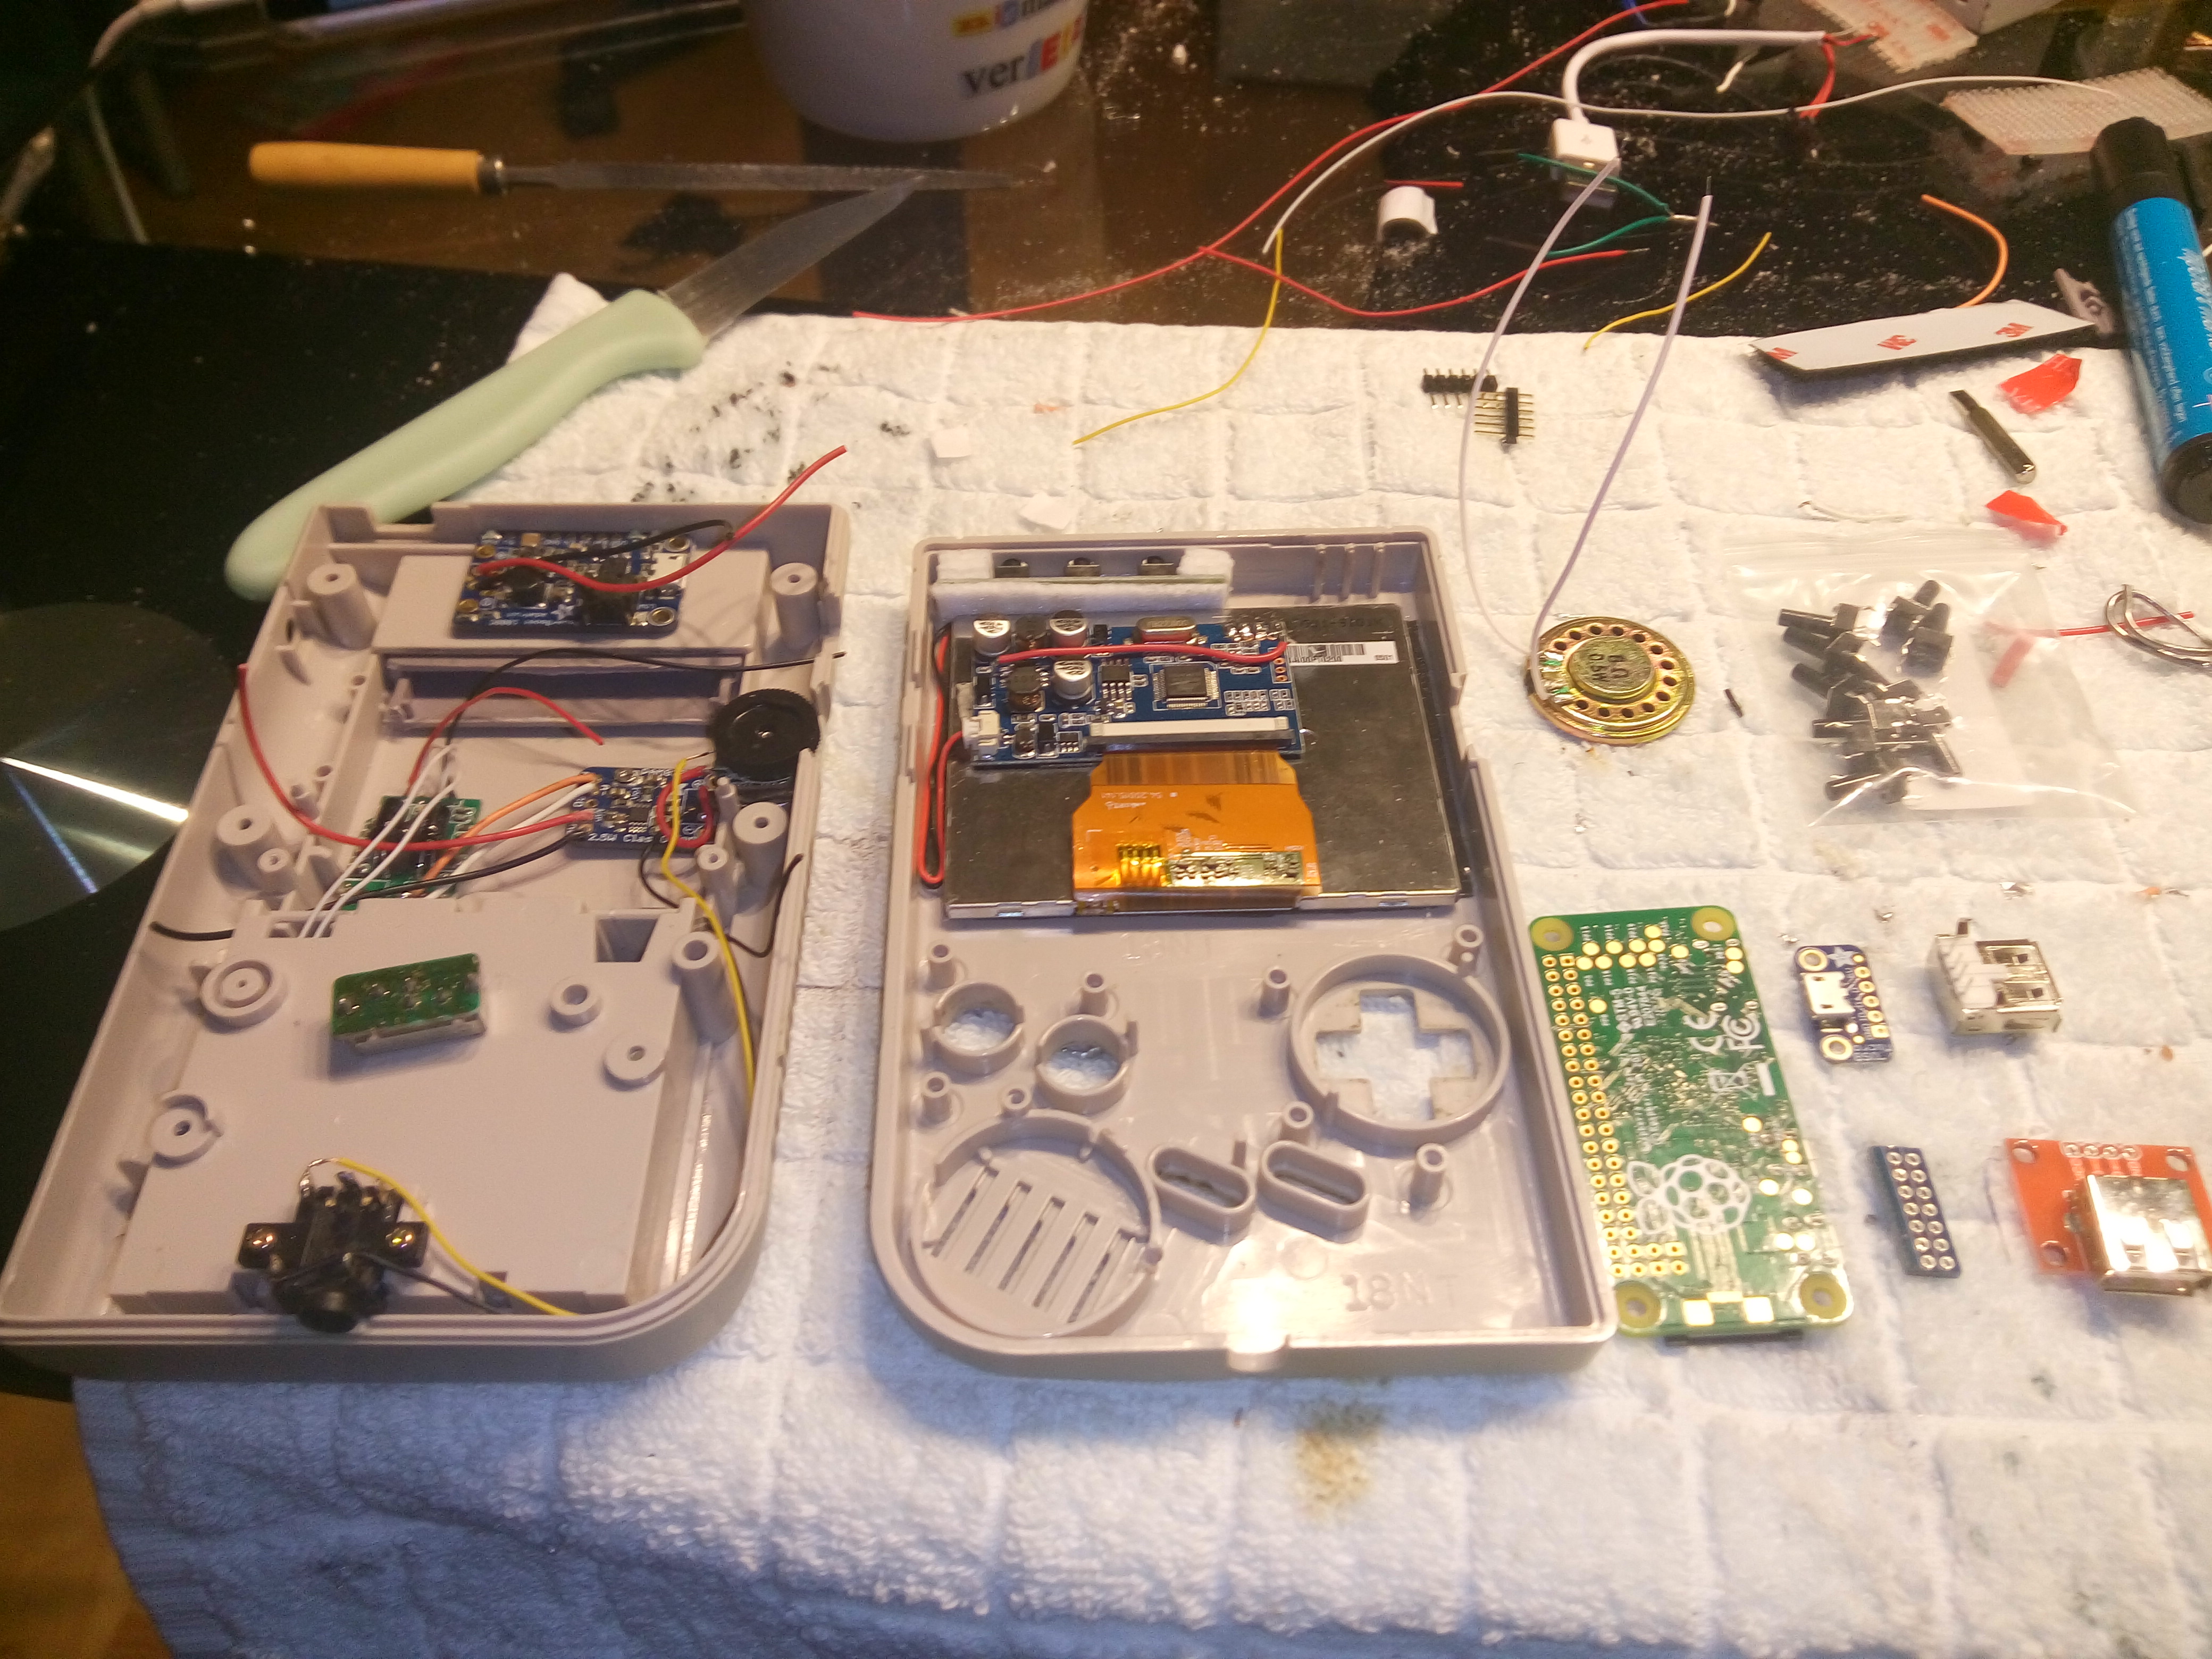
- IMG_20160803_210957.jpg (2.33 MiB) Viewed 10815 times
Re: smoki's GBZ
Posted: Thu Aug 04, 2016 1:25 pm
by smoki86
Not much today,
changed the layout so the Pi is on the button board side for easier wiring.
Added the power switch, micro usb charging board, two shoulder buttons and normal usb port.
Everything attached again with VHB tape and the PI with duallock except the shoulder buttons, they sadly need a drop of hot glue
.
The dual lock creates a nice big gap between display connector and the PI with enough room to let air theough if I need to add a fan.
Now I have to wait for the missing parts (hub, button pcb and a screen protector)
but I will wire everything up this weekend to set up the software with a usb keyboard.
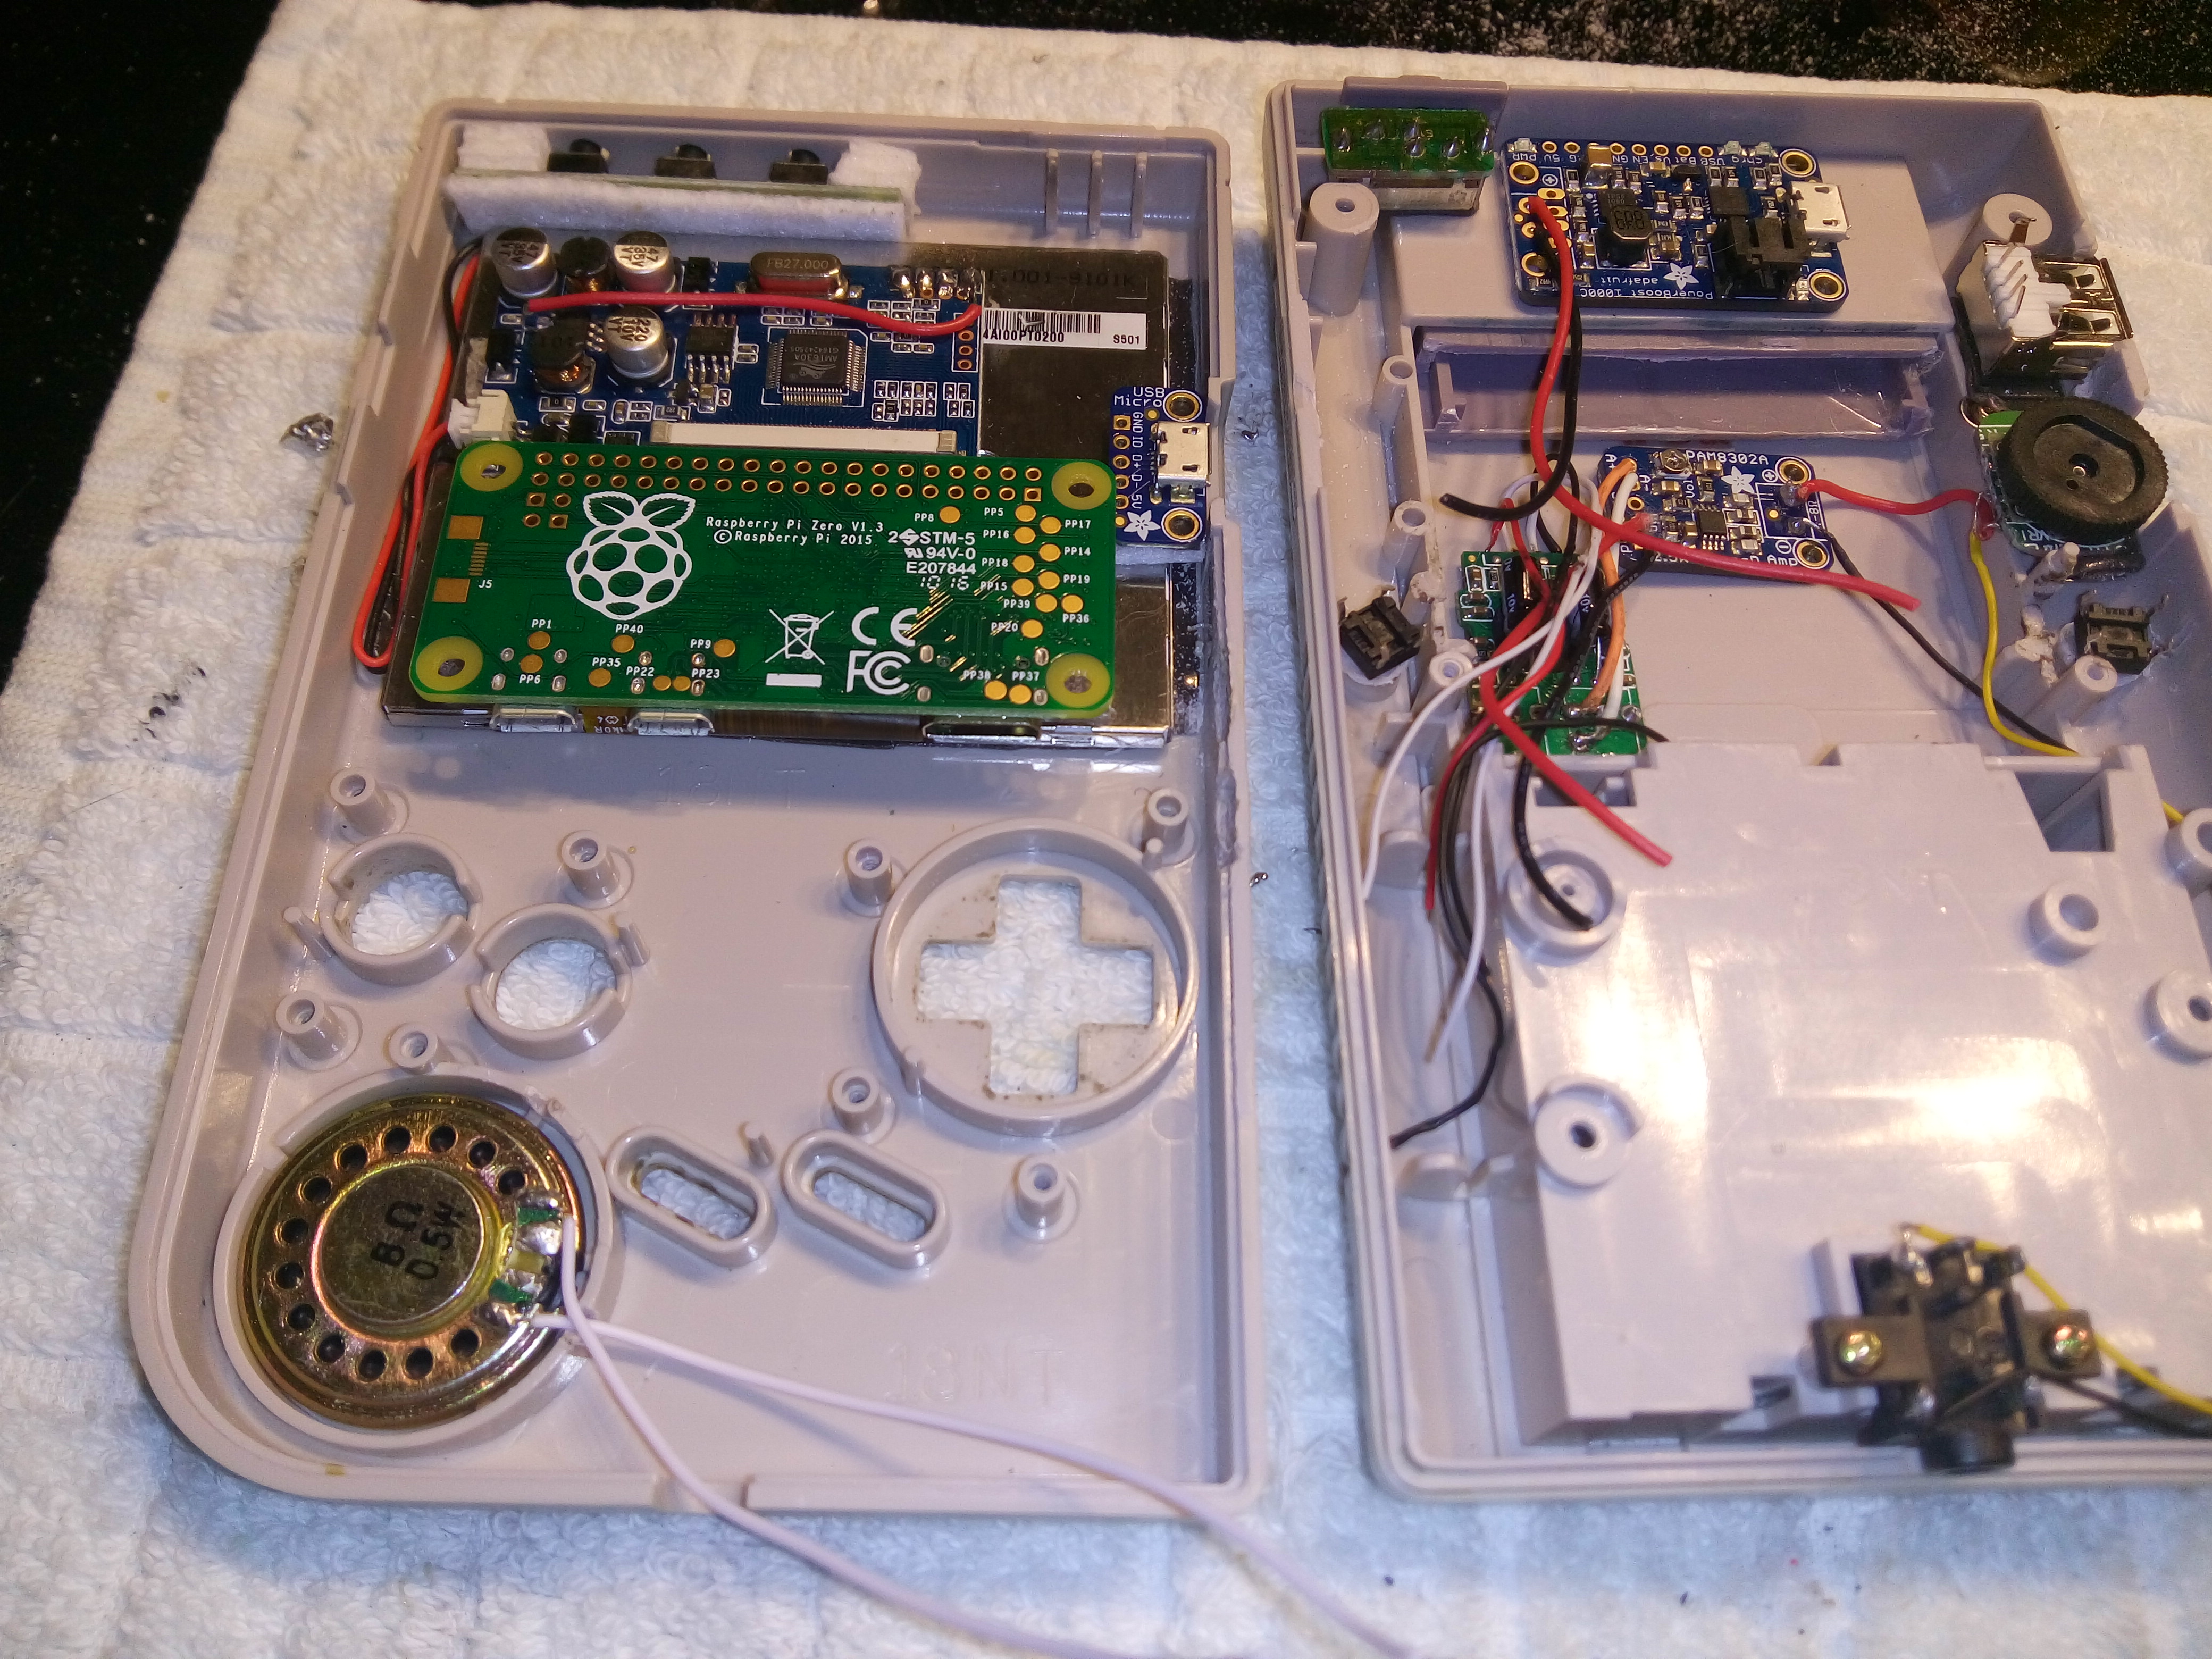
- IMG_20160804_210725.jpg (2.57 MiB) Viewed 10777 times
Re: smoki's GBZ
Posted: Fri Aug 05, 2016 2:22 am
by Camble
Coming together nicely!
Re: smoki's GBZ
Posted: Fri Aug 05, 2016 8:24 am
by smoki86
It lives =D
I wired everything except the usb devices and the button pcb (I guess it will arrive next week
)
And it works just fine, display look OK too (I can read the text, but it definitely is not sharp)
I also did a not too stellar job on the wiring but it works. Also made the sad sad decision to put hot glue over the soldering points and some selected points to keep everything except the PI place, now I have to get a glue gun.
Power button works too and I hope the wiring I found for the audio works out too.
Also ordered 4 AA LiPo batteries to add to the original battery compartment, I will combine them into a powerpack but keep the look of 4 batteries in the compartment like it always looked. Also figured with my layout I can easily make the SD replaceable (I did't know it sticks out so much).
While waiting I will go through the PI GPIO guide in this forum and use my push buttons to test everything.
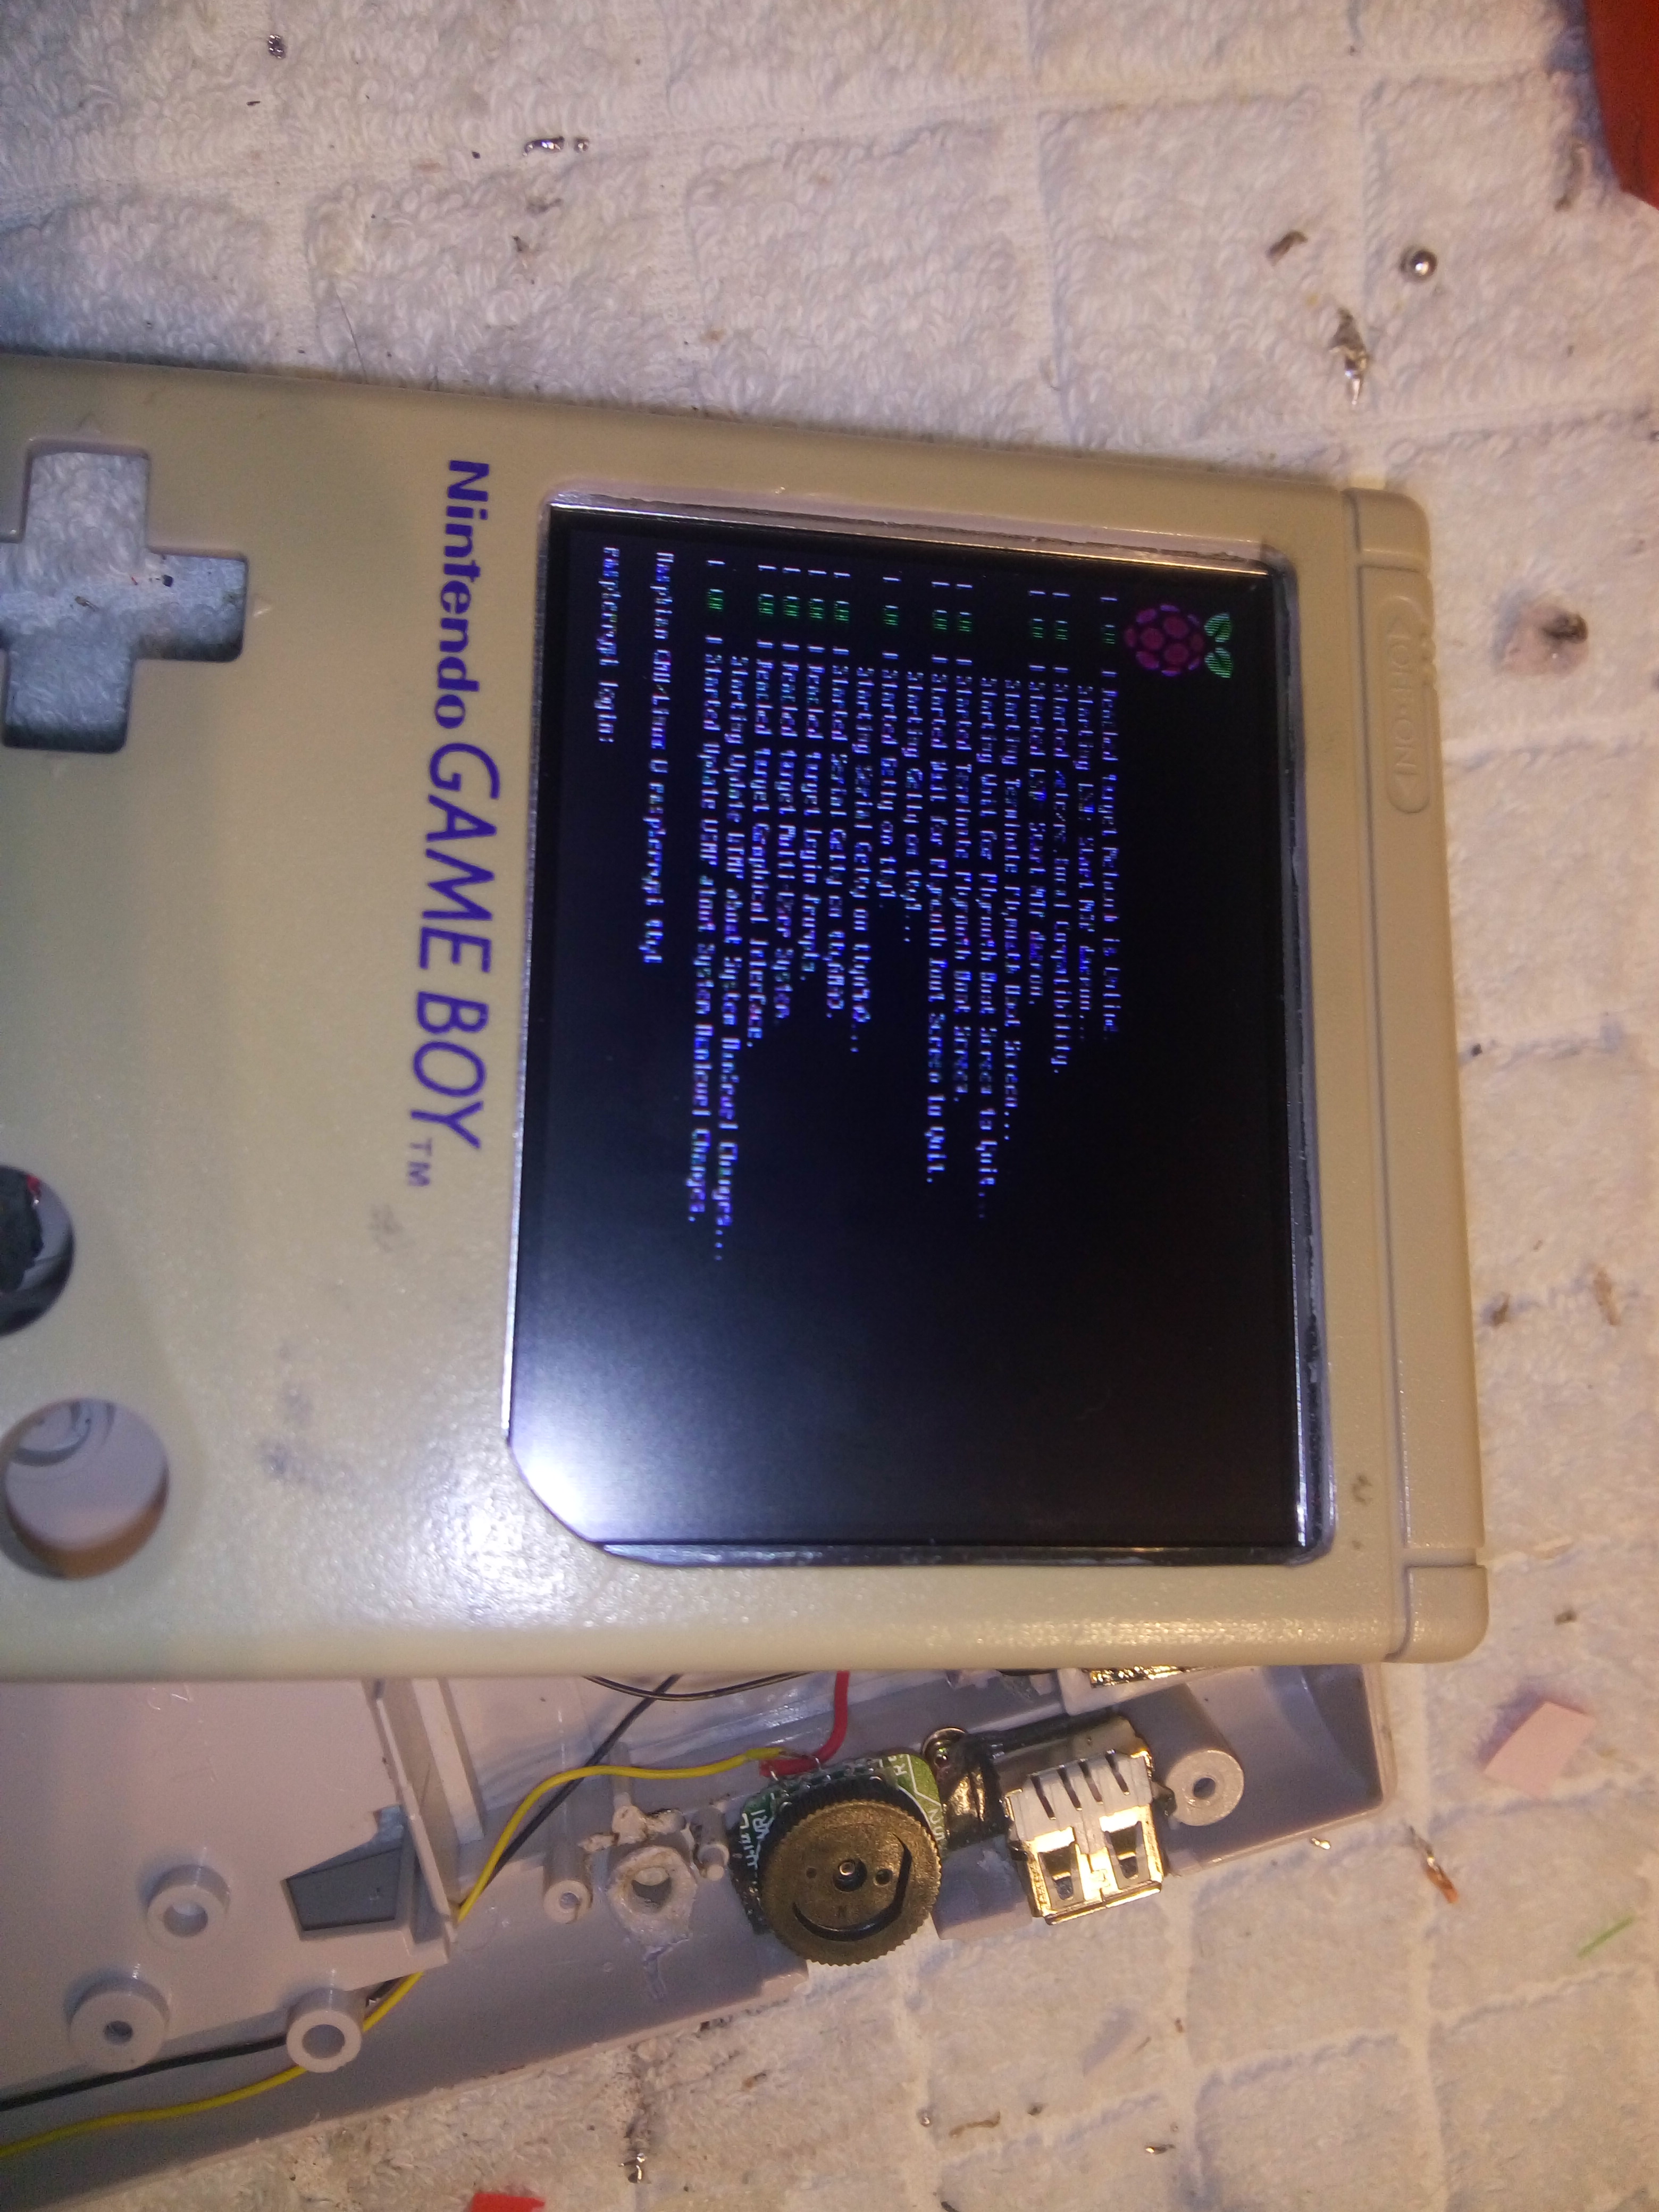
- IMG_20160805_161235.jpg (1.91 MiB) Viewed 10720 times

- IMG_20160805_161312.jpg (3 MiB) Viewed 10720 times