Page 2 of 3
Re: Spykerwolf's build log - GBZ - custom parts
Posted: Tue Oct 05, 2021 8:03 am
by sumitverma
i dont need headphones i just soldered the amp
Re: Spykerwolf's build log - GBZ - custom parts
Posted: Mon Nov 01, 2021 4:44 pm
by Spykerwolf
Hi guys. I'm hoping someone could help me wire up the volume wheel. It's 5 stereo, but only hooking up mono.
So far the headphone jack works & the speakers work whenever I unplug the headphone jack.
Headphone jack: PJ-325

- headphonejack.PNG (105.06 KiB) Viewed 6341 times
Volume wheel: B103
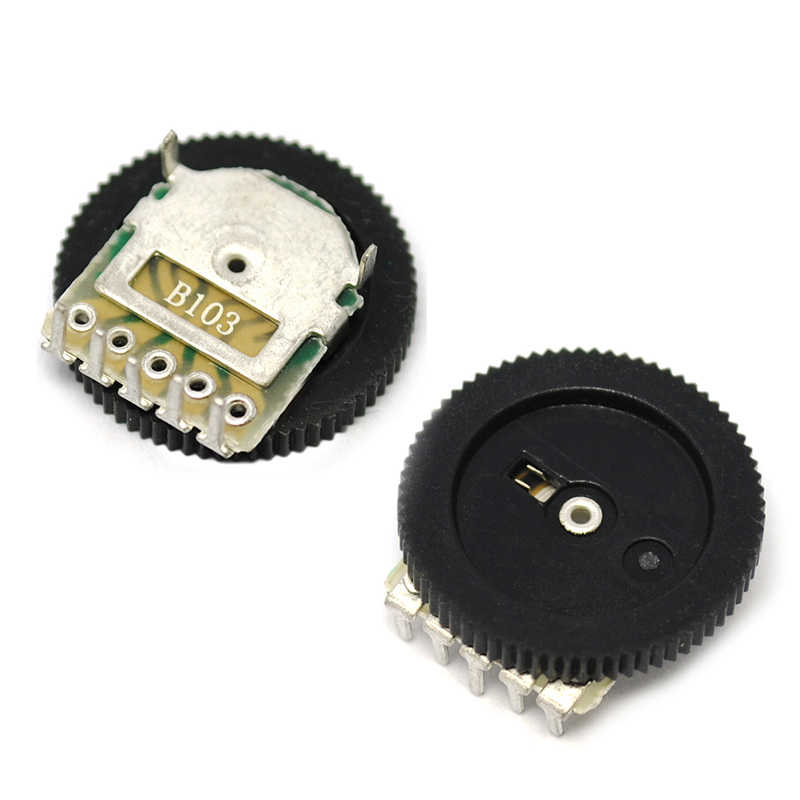
- B103.jpg (31.28 KiB) Viewed 6341 times
Amplifier: PAM8403 green
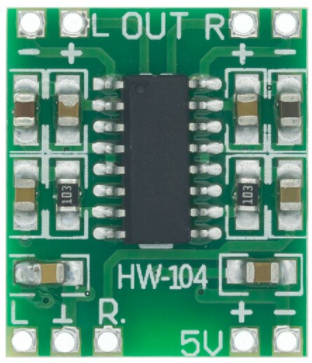
- amplifier.PNG (294.28 KiB) Viewed 6341 times
The wiring is:
Low pass filter - Headphone Jack - Amplifier - Speaker.
I currently have the volume wheel connected between L in & Speaker - on the amplifier. Everything is connected to the left output speaker in mono.
The volume wheel is working if it's not completely muted, but makes a horrible noise when muted.
The same noise occurs when I plug something into the headphone jack.
I tested using a different potentiometer & got the same issue, so much be wiring?
Any advice would be appreciated, thanks!
This is the sound it makes:
https://www.youtube.com/watch?v=QSOrxcnuXq4
Re: Spykerwolf's build log - GBZ - custom parts
Posted: Wed Nov 03, 2021 6:09 pm
by Spykerwolf
Turns out through many koffie breaks & swear words...the problem was the potentiometer.
Connected a different one (5k) and it's working as expected. Now to wait 3 months for my replacement ali express one to arrive.
Re: Spykerwolf's build log - GBZ - custom parts
Posted: Sat Nov 06, 2021 8:21 pm
by Spykerwolf
Made some progress since my last post:
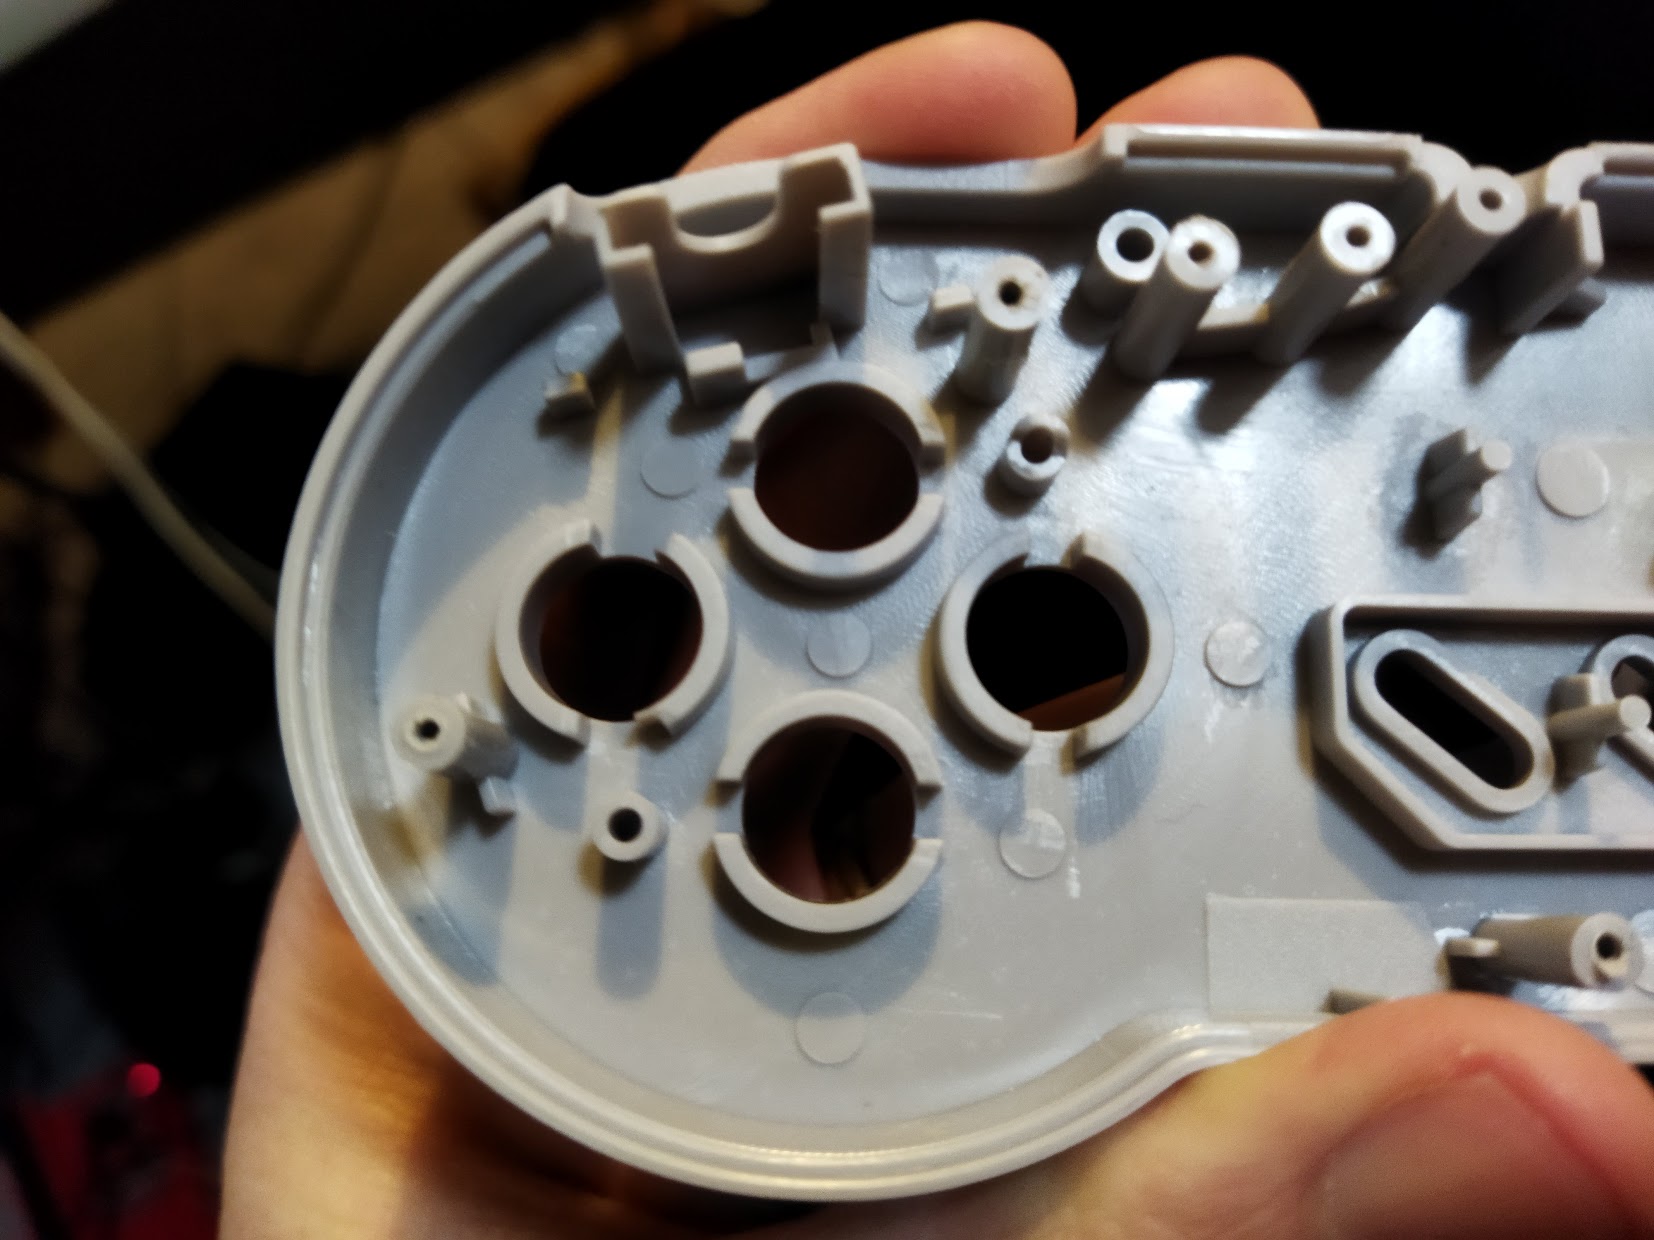
- Drilled extra holes for the buttons & tested the controller board
- pcbTest.jpg (206.79 KiB) Viewed 6239 times
- holesDrilled.jpg (117.43 KiB) Viewed 6239 times
- Salvaged the button wells from an aftermarket SNES controller
- buttonWellsFromSNES.jpg (230.59 KiB) Viewed 6239 times
- messyButtonWellsAndScreenMounted.jpg (162.32 KiB) Viewed 6239 times
It was really tricky getting the button wells right as they broke when I removed them.
Re: Spykerwolf's build log - GBZ - custom parts
Posted: Sat Nov 06, 2021 8:30 pm
by Spykerwolf
Re: Spykerwolf's build log - GBZ - custom parts
Posted: Sat Nov 06, 2021 8:39 pm
by Spykerwolf
Gave up for a few weeks & gave it another go. Unfortunately I didn't take much photos:
- Low pass filter created on breadboard & then transferred over to a pcb.
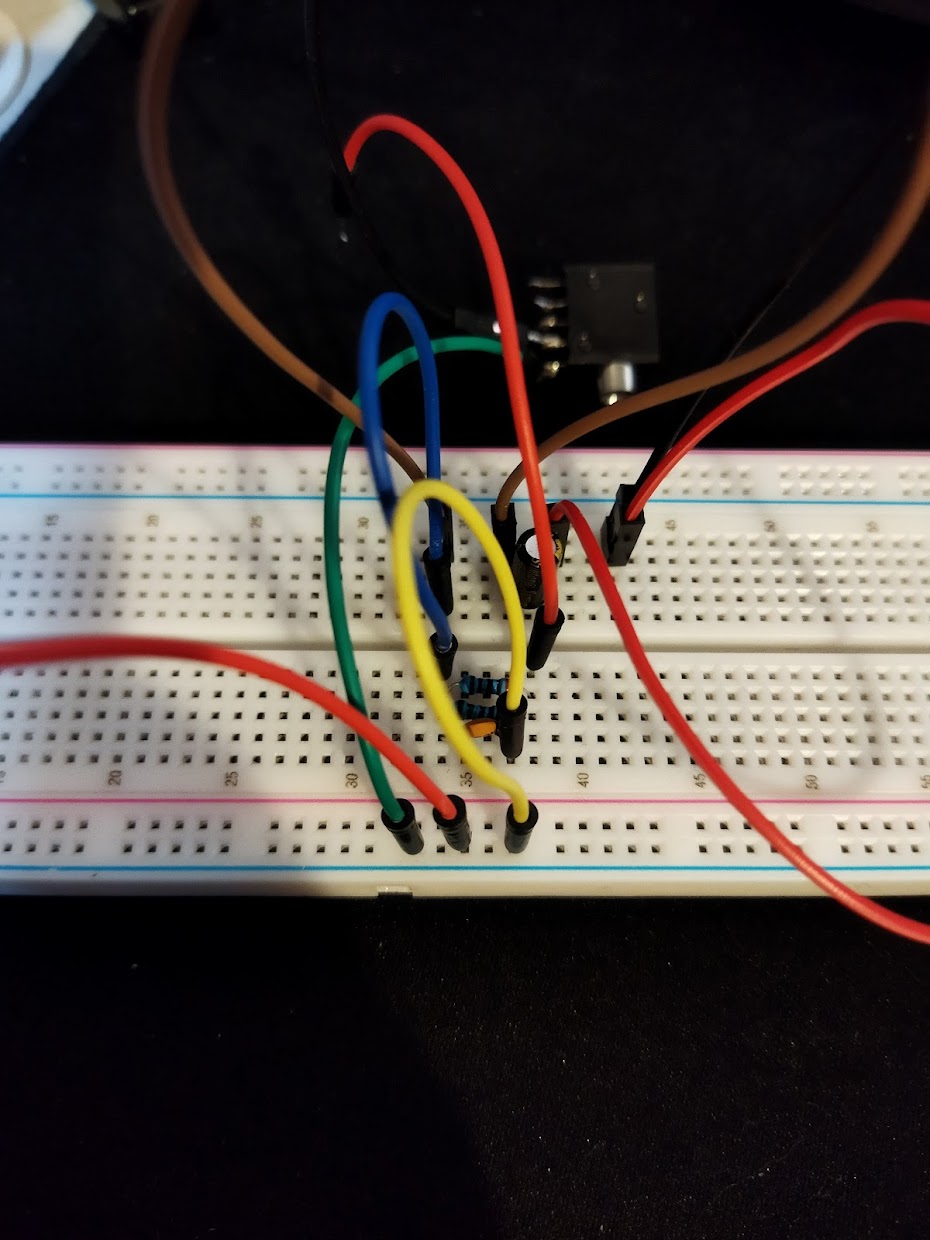
- audioFilter.jpg (154.03 KiB) Viewed 6239 times

- audioFilterPCB.jpg (57.55 KiB) Viewed 6239 times
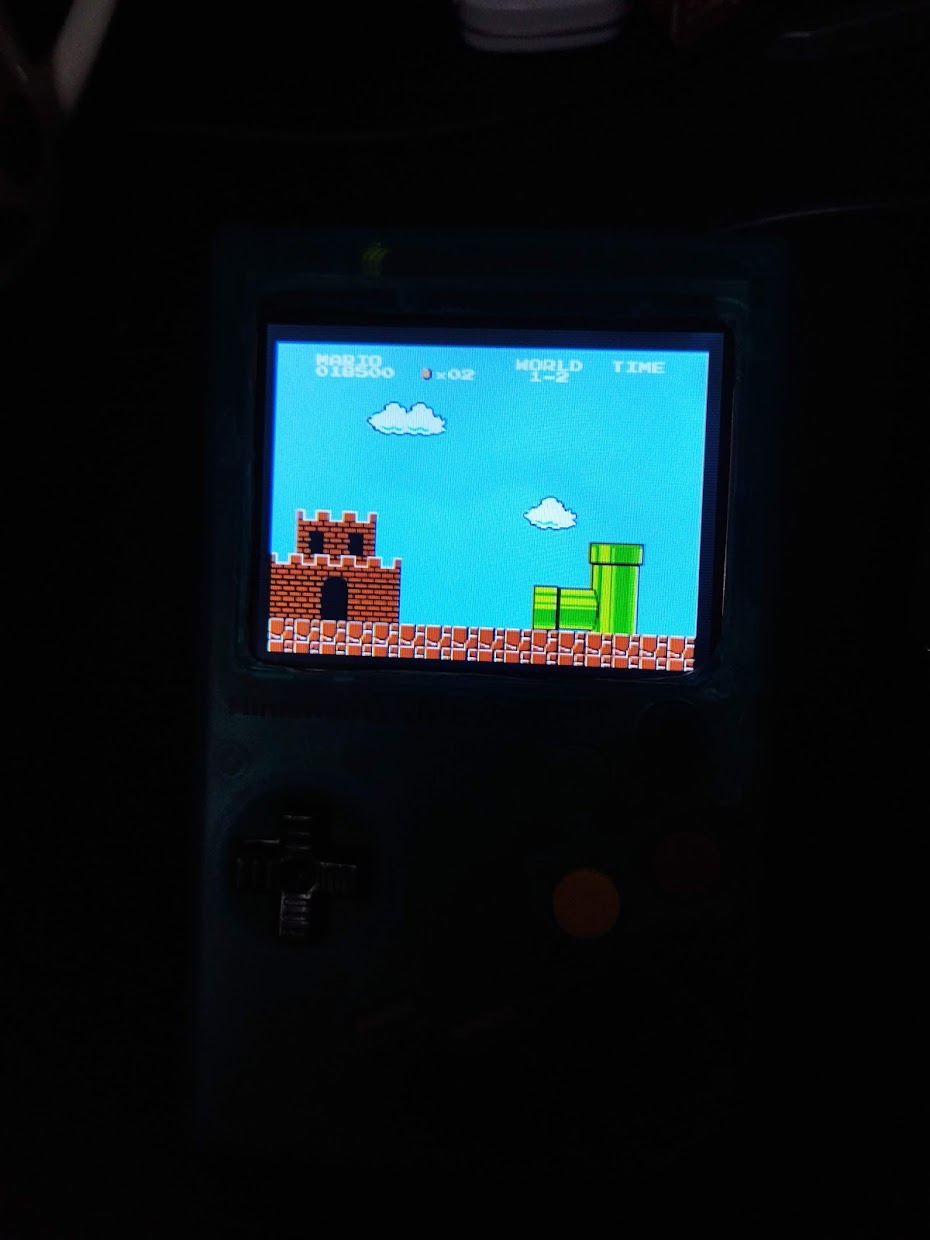
- Button PCB installed & wired up to the rpi zero w
- Buttons salvaged from a SNES controller.

- mario.jpg (113.94 KiB) Viewed 6239 times
- IMG_20211102_145720.jpg (81.48 KiB) Viewed 6239 times
Re: Spykerwolf's build log - GBZ - custom parts
Posted: Sat Nov 06, 2021 8:45 pm
by Spykerwolf
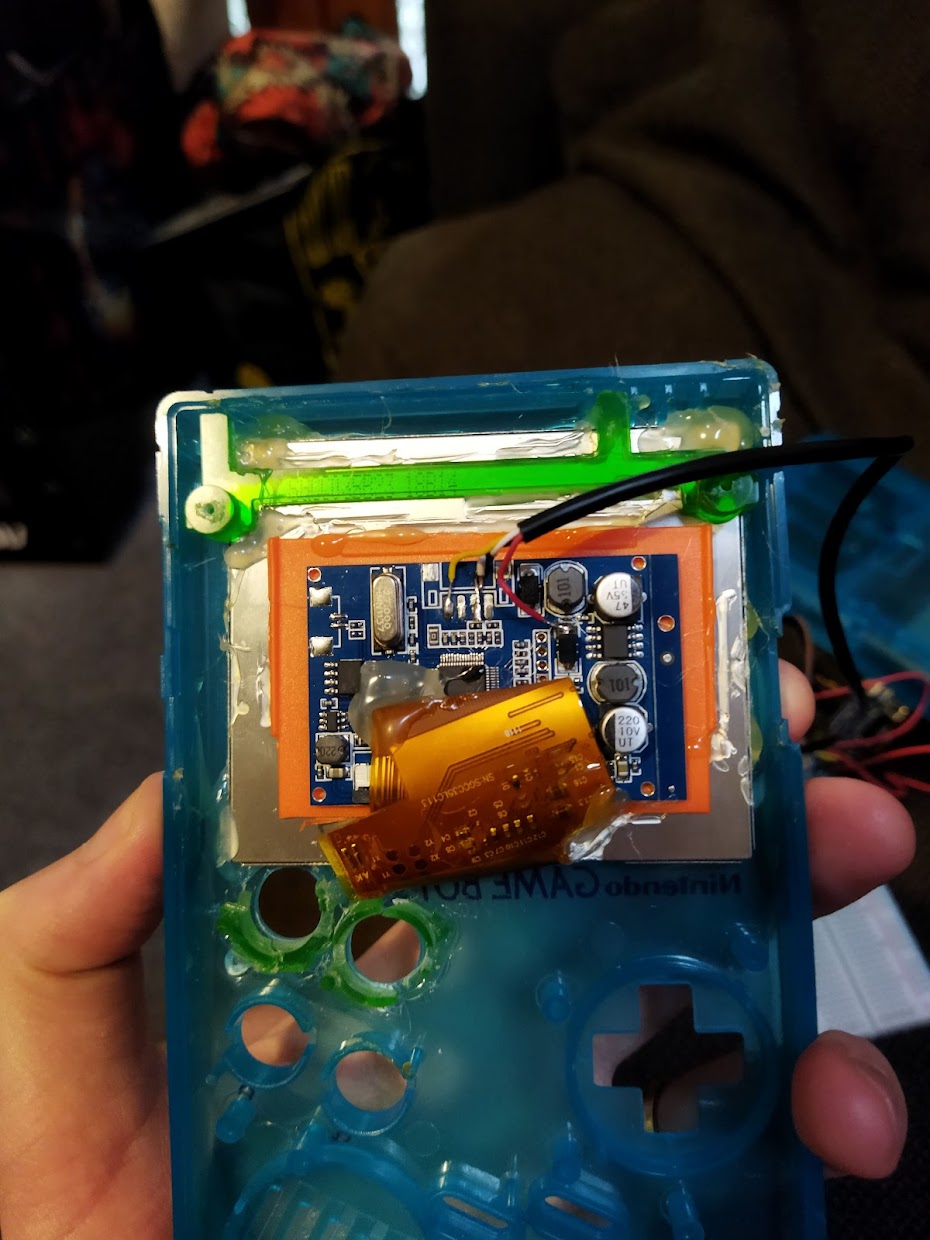
- Installed the speaker, 3.5mm jack, amplifier, volume wheel & low pass filter.
- It's a bit of a squeeze but the case does close.
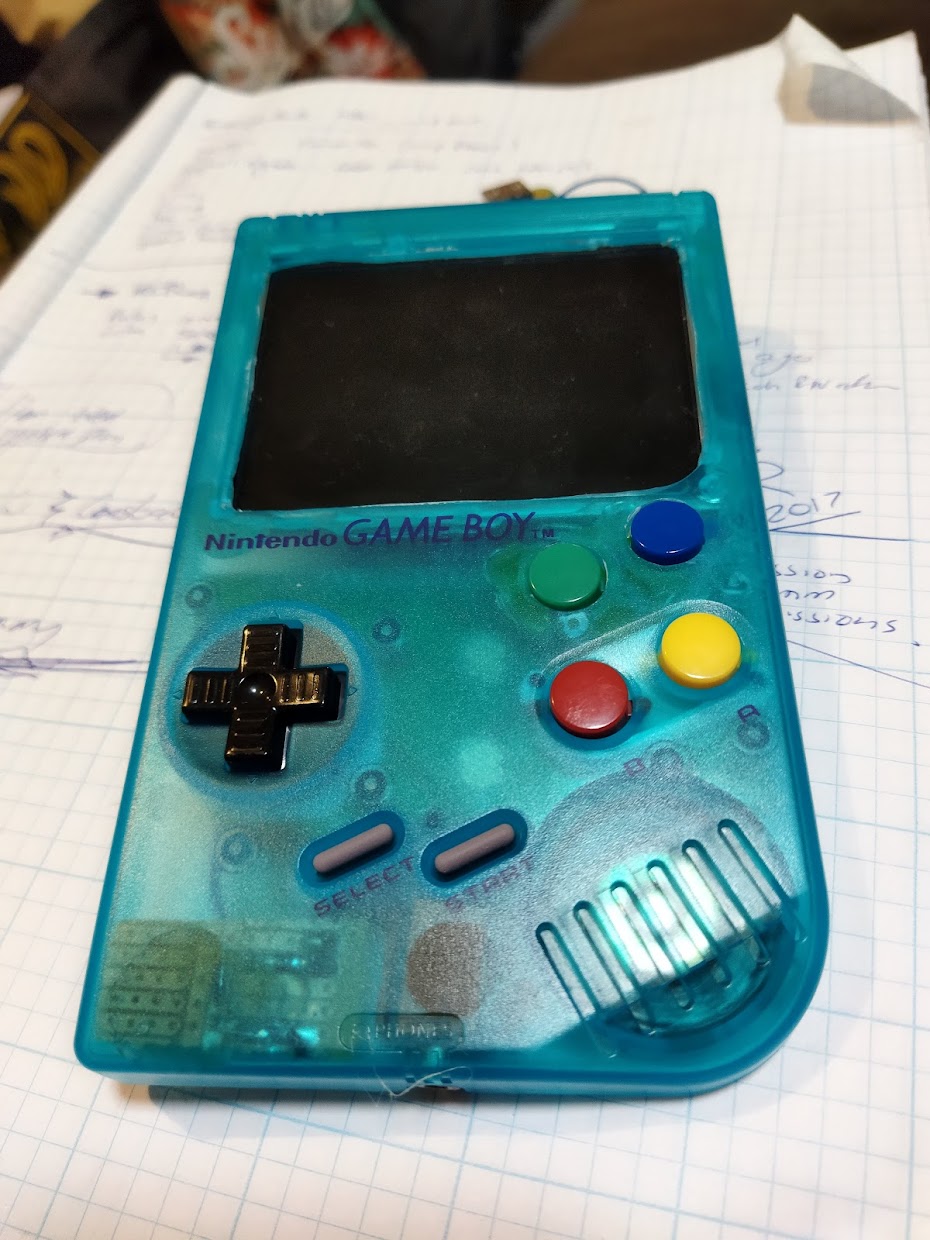
- IMG_20211105_141901.jpg (204.04 KiB) Viewed 6239 times
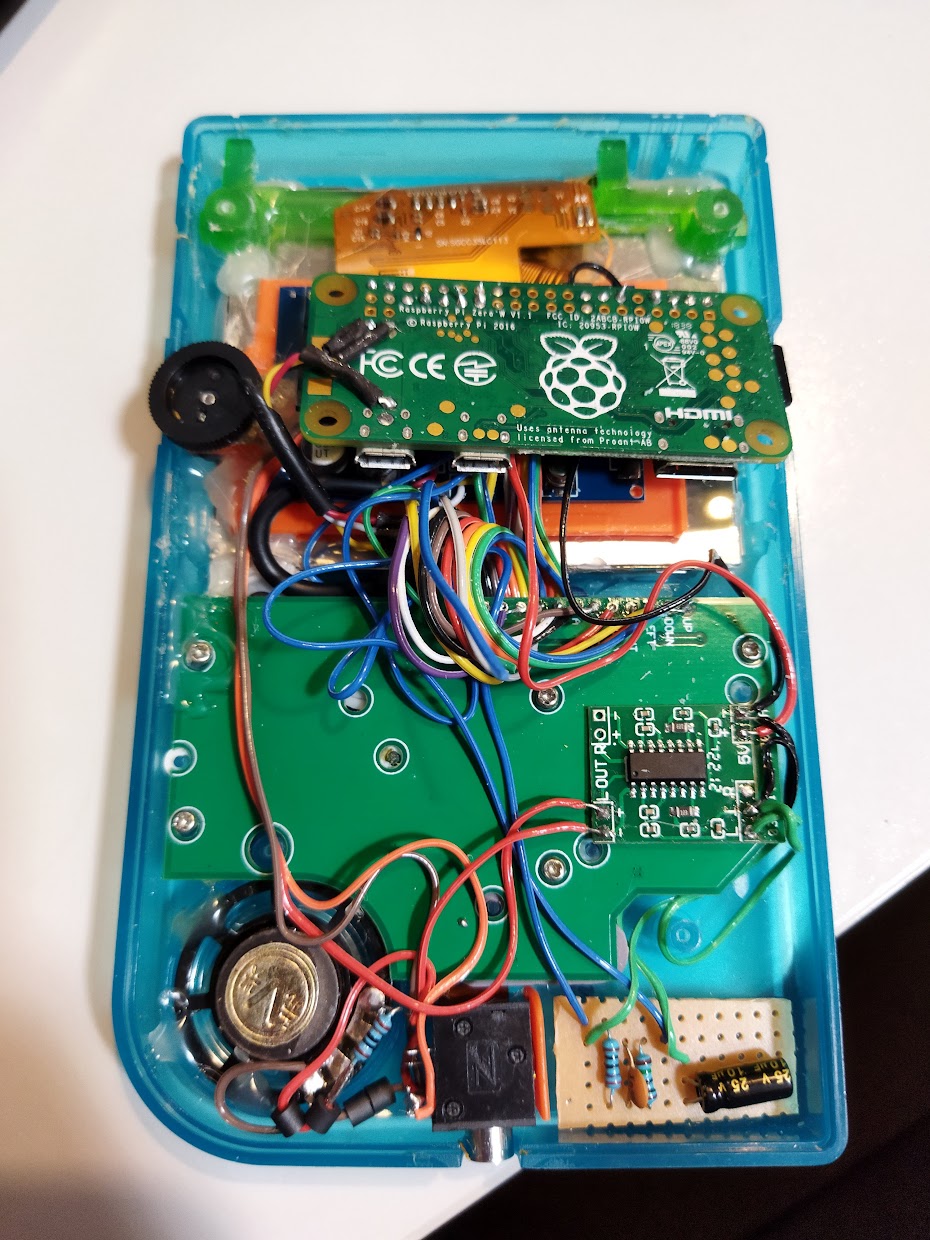
- IMG_20211107_154105.jpg (275.18 KiB) Viewed 6239 times
Re: Spykerwolf's build log - GBZ - custom parts
Posted: Sat Nov 06, 2021 8:57 pm
by Spykerwolf
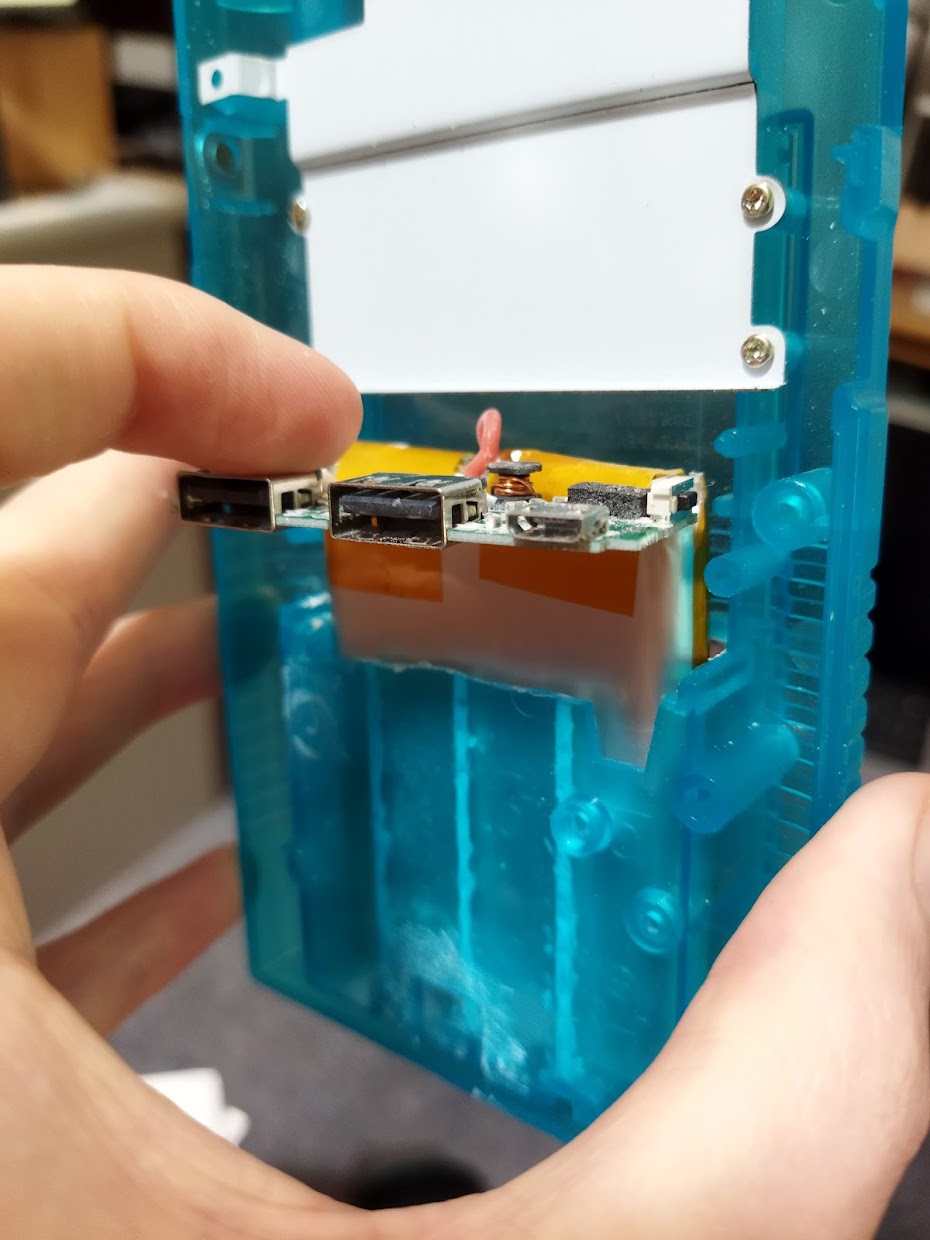
Battery wise - I got a power bank & removed the li-po battery:
- Removed the power bank cover & used baking powder to help make the sticky stuff not sticky

- probably the most nerve wrecking thing I've done
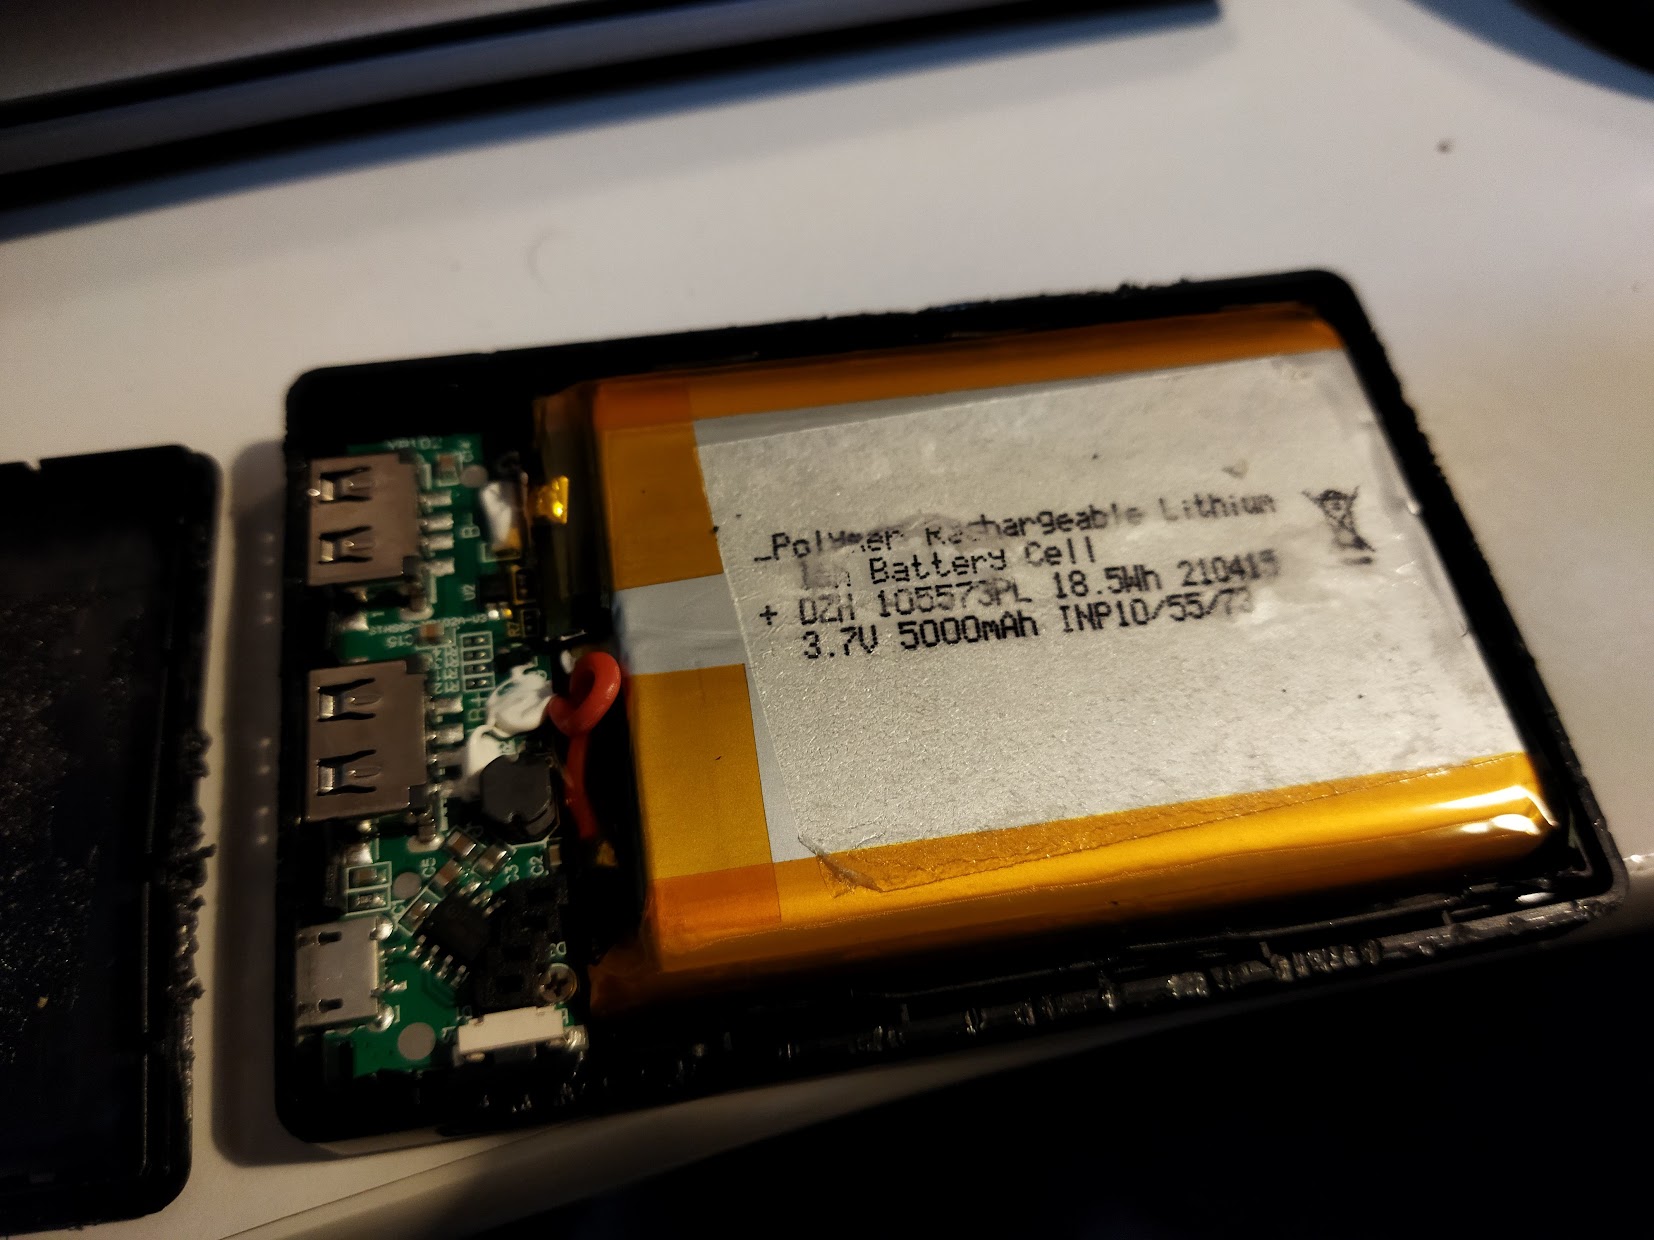
- IMG_20211104_182608.jpg (280.55 KiB) Viewed 6238 times
- IMG_20211105_160326.jpg (122.56 KiB) Viewed 6238 times
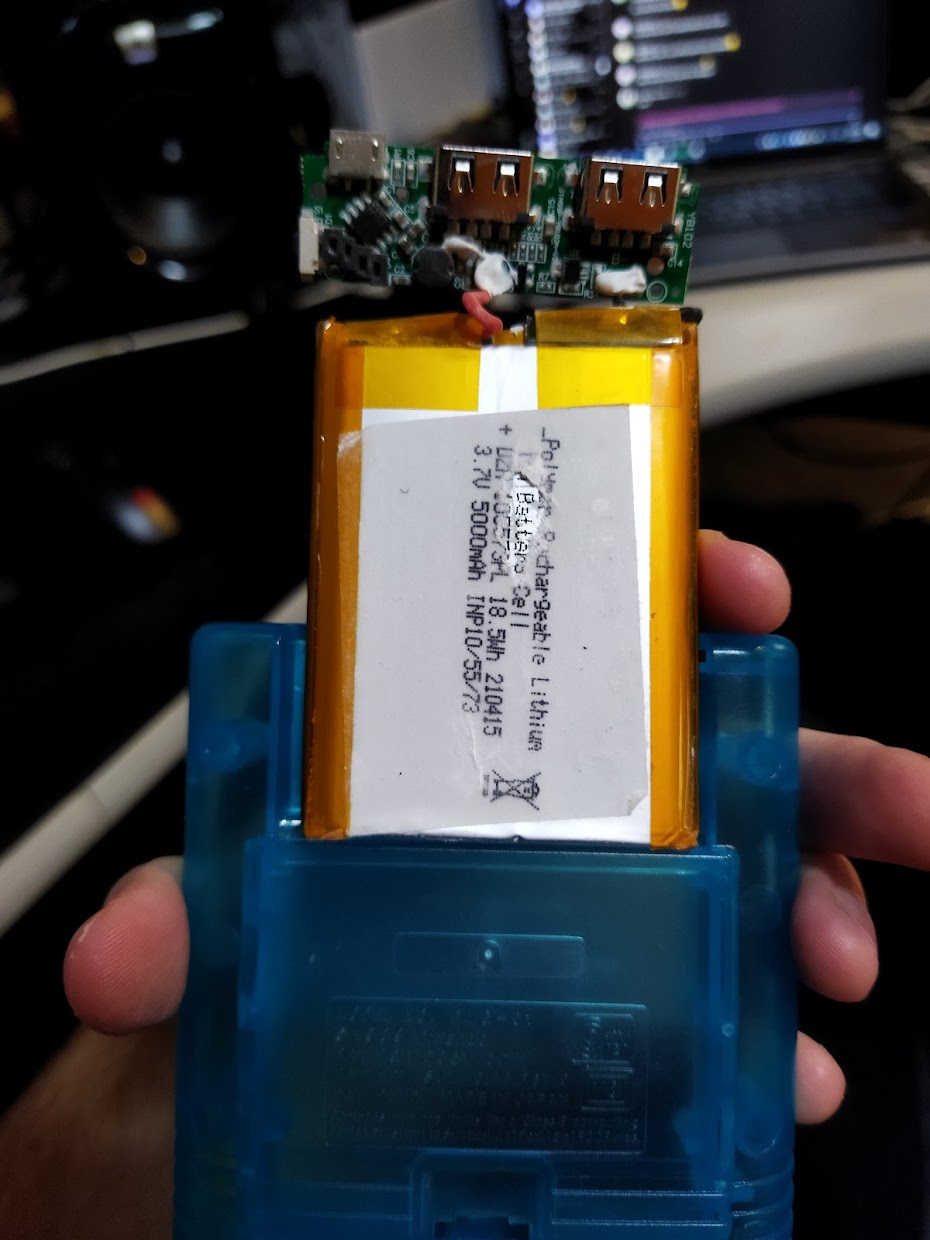
- Had to grind down some of the plastic in order to make it fit
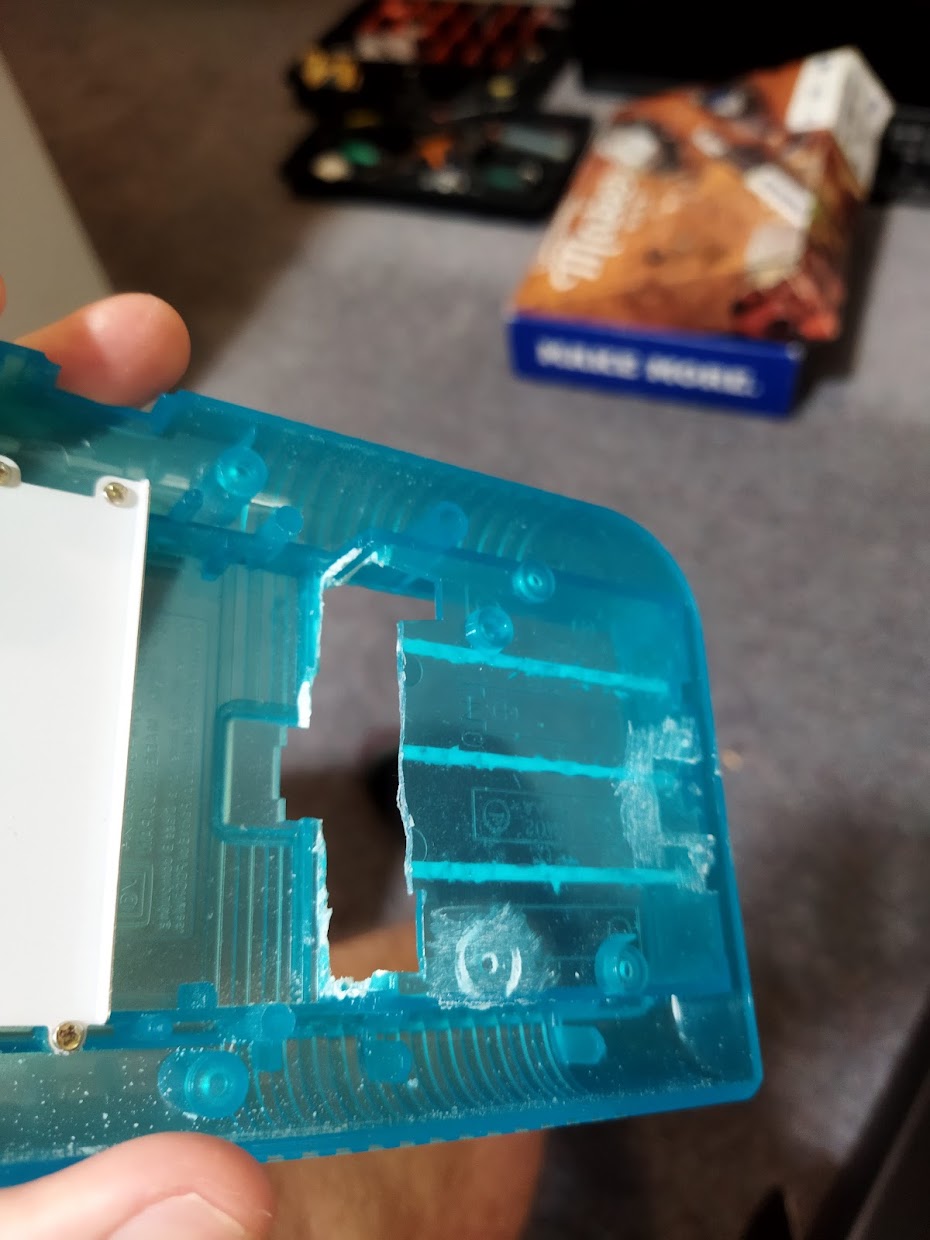
- IMG_20211107_140616.jpg (124.99 KiB) Viewed 6238 times
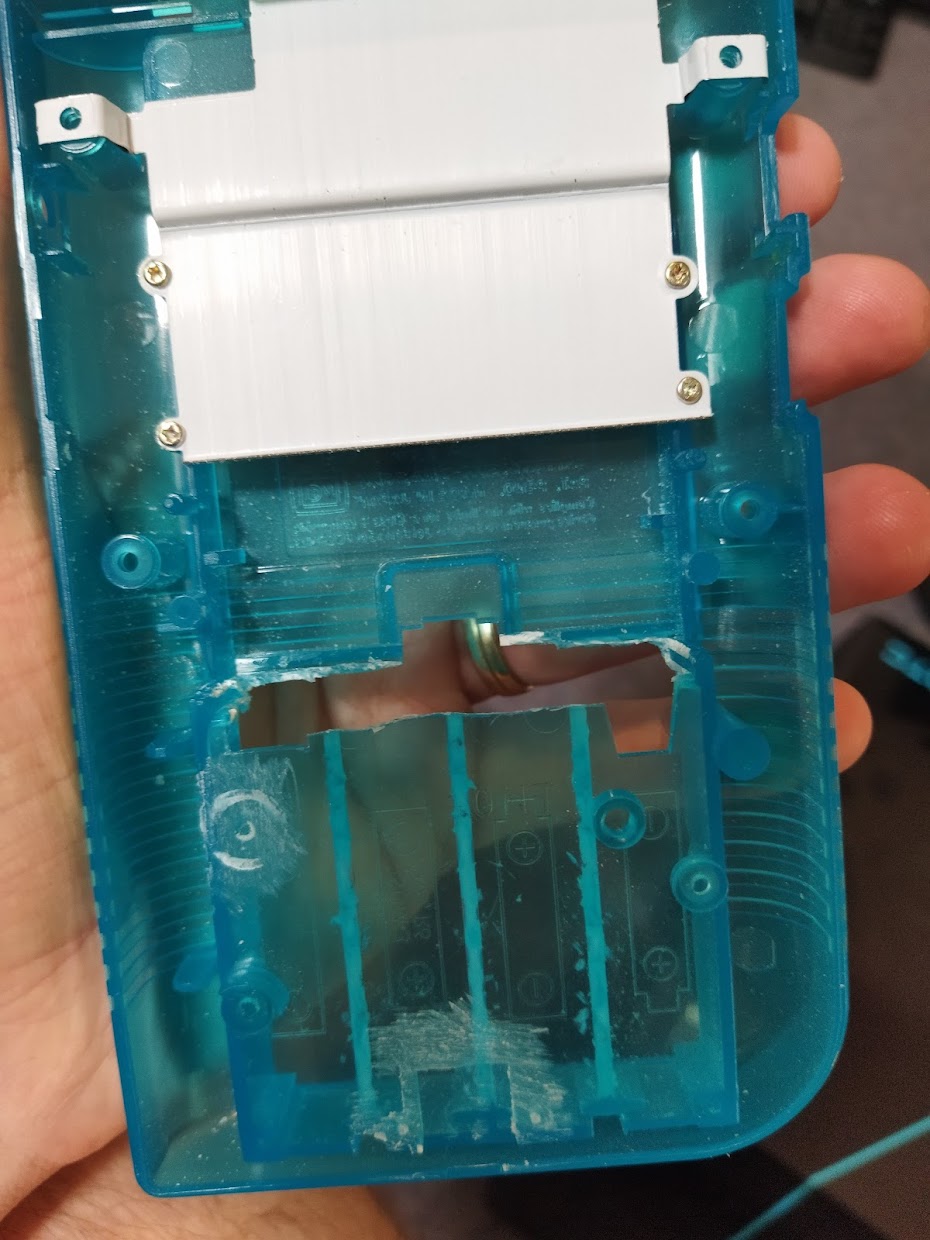
- IMG_20211107_140554.jpg (167.6 KiB) Viewed 6238 times
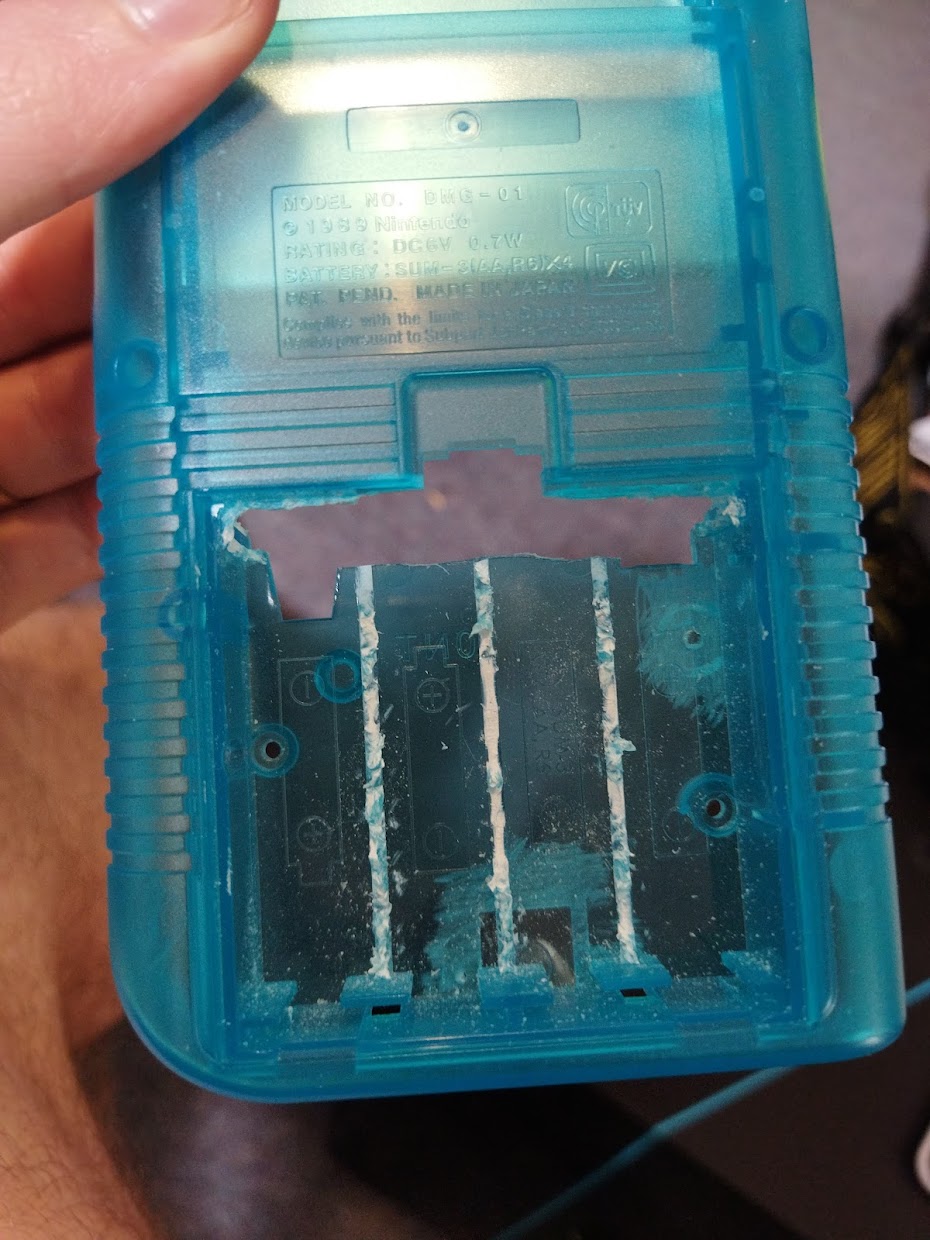
- IMG_20211107_140549.jpg (200.12 KiB) Viewed 6238 times
- IMG_20211107_140714.jpg (121.05 KiB) Viewed 6238 times

- IMG_20211107_140708.jpg (181.18 KiB) Viewed 6238 times
- The little battery cover catcher also needed to be shortened as it was pushing against the battery
- IMG_20211107_145319.jpg (85.93 KiB) Viewed 6238 times
- IMG_20211107_145458.jpg (186.5 KiB) Viewed 6238 times
I think the last things remaining are:
- Install USB 2.0 slot for charging.
- Install & mount my power charge/discharge - to be honest no idea how to wire this yet.
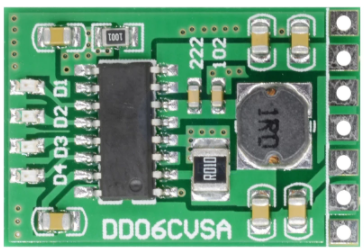
- powercharger.PNG (233.53 KiB) Viewed 6238 times
- Mount raspberry pi with micro sd facing outwards.
- Install L & R buttons once I receive the switches

- 9mm switches.PNG (70.26 KiB) Viewed 6238 times
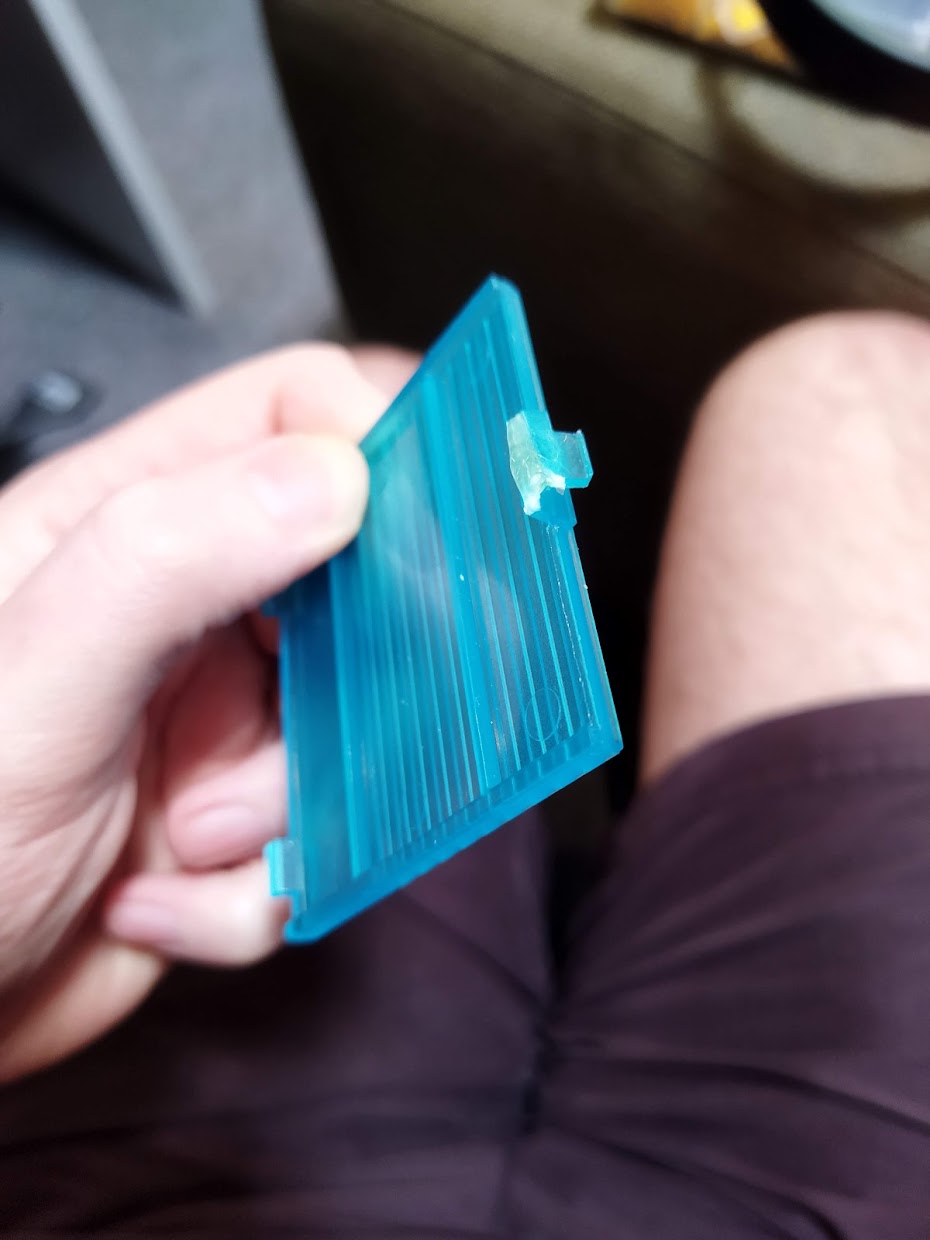
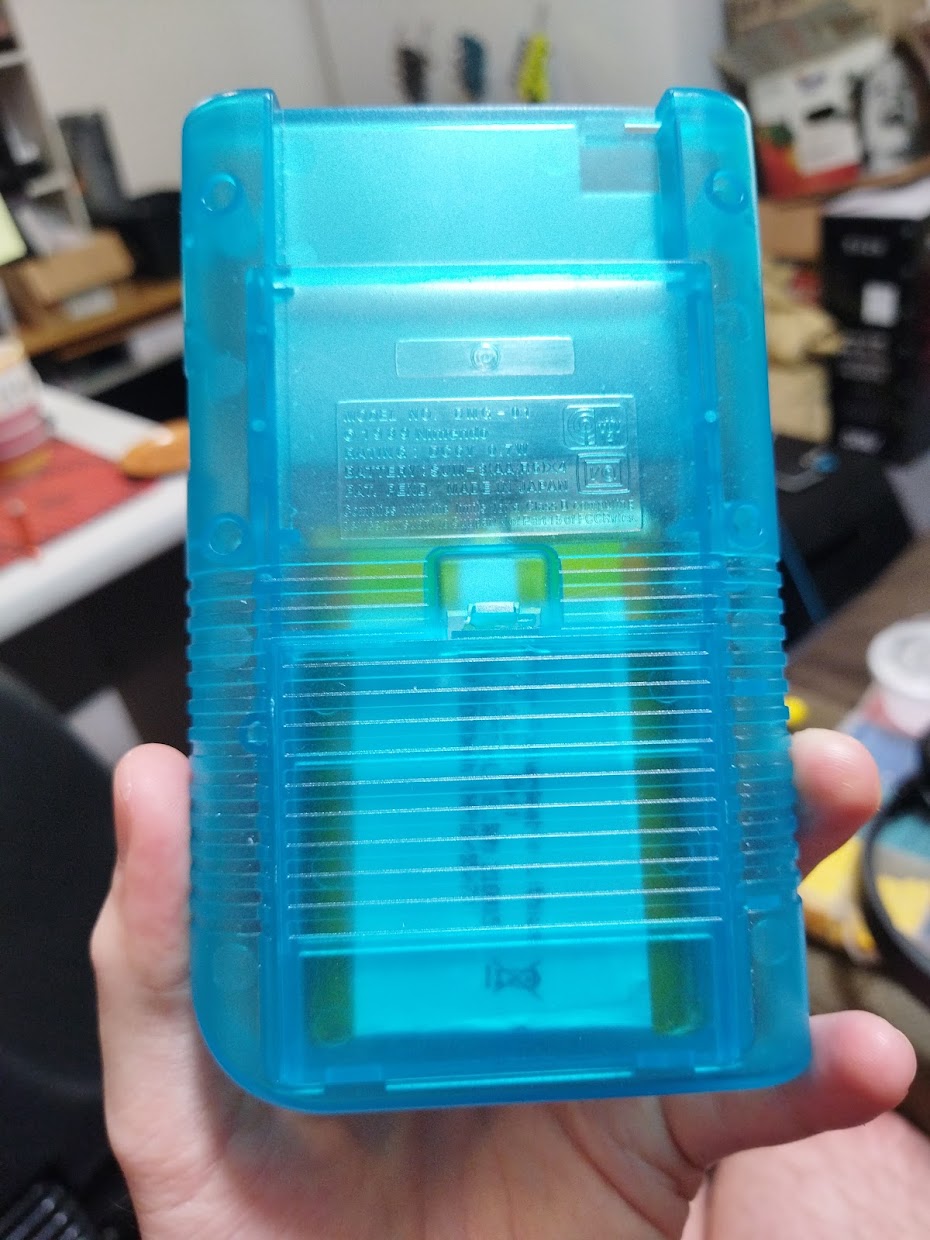
- Get a faulty game & install the pcb into the cartridge case
- Install the power switch & wire it up (still waiting on aliexpress)
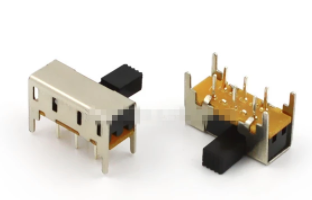
- powerSwitch.PNG (62.82 KiB) Viewed 6238 times
- Wire up the battery to the power charge/discharge & raspberry pi - no idea how to do this. Can I cut the leads at the moment in order to remove the pcb?
Re: Spykerwolf's build log - GBZ - custom parts
Posted: Mon Nov 08, 2021 3:21 am
by Sudafed
Regarding that powerbank module... i had the same but it was flaky and i replaced it with a similar one from aliexpress (mh cd42) which solved most issues. Either way the basic wiring is simple. Just connect bat, vin, vout and gnd. Then you will need extra push button to start or stop the integrated step up converter. I also connected that button to a gpio so that i can run a shutdown script on long press. Last thing i did was wire a 1f supercap parallel to the output so that the pi doesn't reset when pulling the charge cable.
Re: Spykerwolf's build log - GBZ - custom parts
Posted: Wed Nov 10, 2021 1:50 pm
by Spykerwolf
Sudafed wrote: ↑Mon Nov 08, 2021 3:21 am
Regarding that powerbank module... i had the same but it was flaky and i replaced it with a similar one from aliexpress (mh cd42) which solved most issues. Either way the basic wiring is simple. Just connect bat, vin, vout and gnd. Then you will need extra push button to start or stop the integrated step up converter. I also connected that button to a gpio so that i can run a shutdown script on long press. Last thing i did was wire a 1f supercap parallel to the output so that the pi doesn't reset when pulling the charge cable.
I'll see if this one works, if it doesn't I'll order an mh cd42 too.
When you say extra push button, do you mean the on/off switch for the GBZ?
So wiring wise I'm thinking:
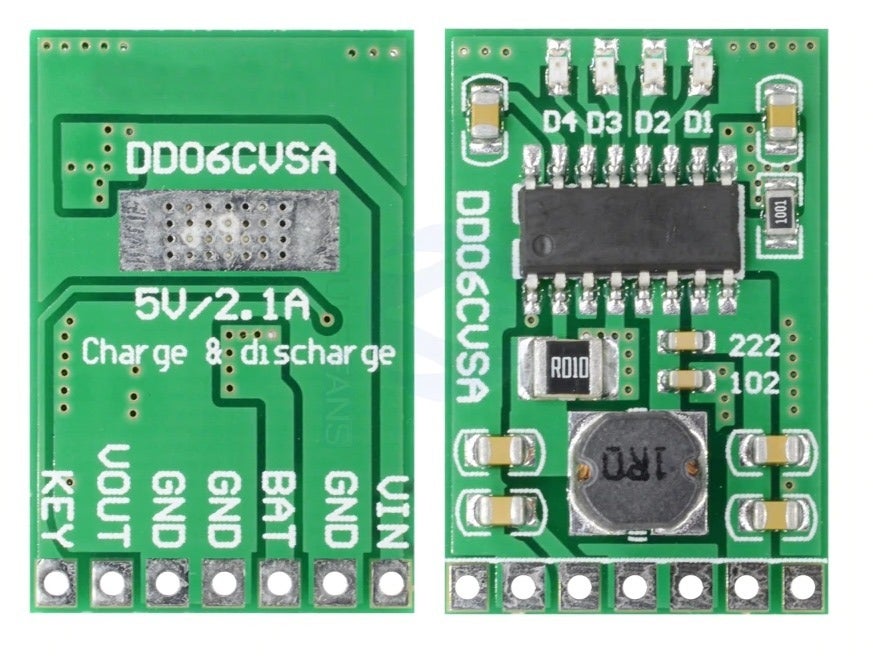
- sdsd.jpg (105.96 KiB) Viewed 6151 times
GBZ - 5V/GND to VIN/GND
LiPo Battery 3.7V/GND to BAT/GND
'Output' / VOUT - This this where I get confused - what do I connect here?
The plan is to have a barrel connector charge the device using the inbuilt DC hole. The power on/off switch will also be in this circuit.
Would the barrel connector be connected to the VOUT/GND then?
Or would it be connected like this:
USB to barrel plug 5V/GND to VIN/GND
LiPo Battery 3.7V/GND to BAT/GND
VOUT/GND to 5V/GND on raspberry pi zero.
Thanks for the help...Sorry I'm a beginner.