Hey everyone thought it'd share my project! I am super stoked about this project, this site and eventually my GBZ having never done anything like this before I had always wanted to make something with a Raspberry Pi couldn't think of a better starter project! Waiting on some parts to come in to complete but they are arriving soon!
Only thing I plan on doing different from Wermy's guide is not using a game cartridge or use the old button pcb board, other than that everything should be the same.
- 20160726_144030.jpg (3.5 MiB) Viewed 10733 times
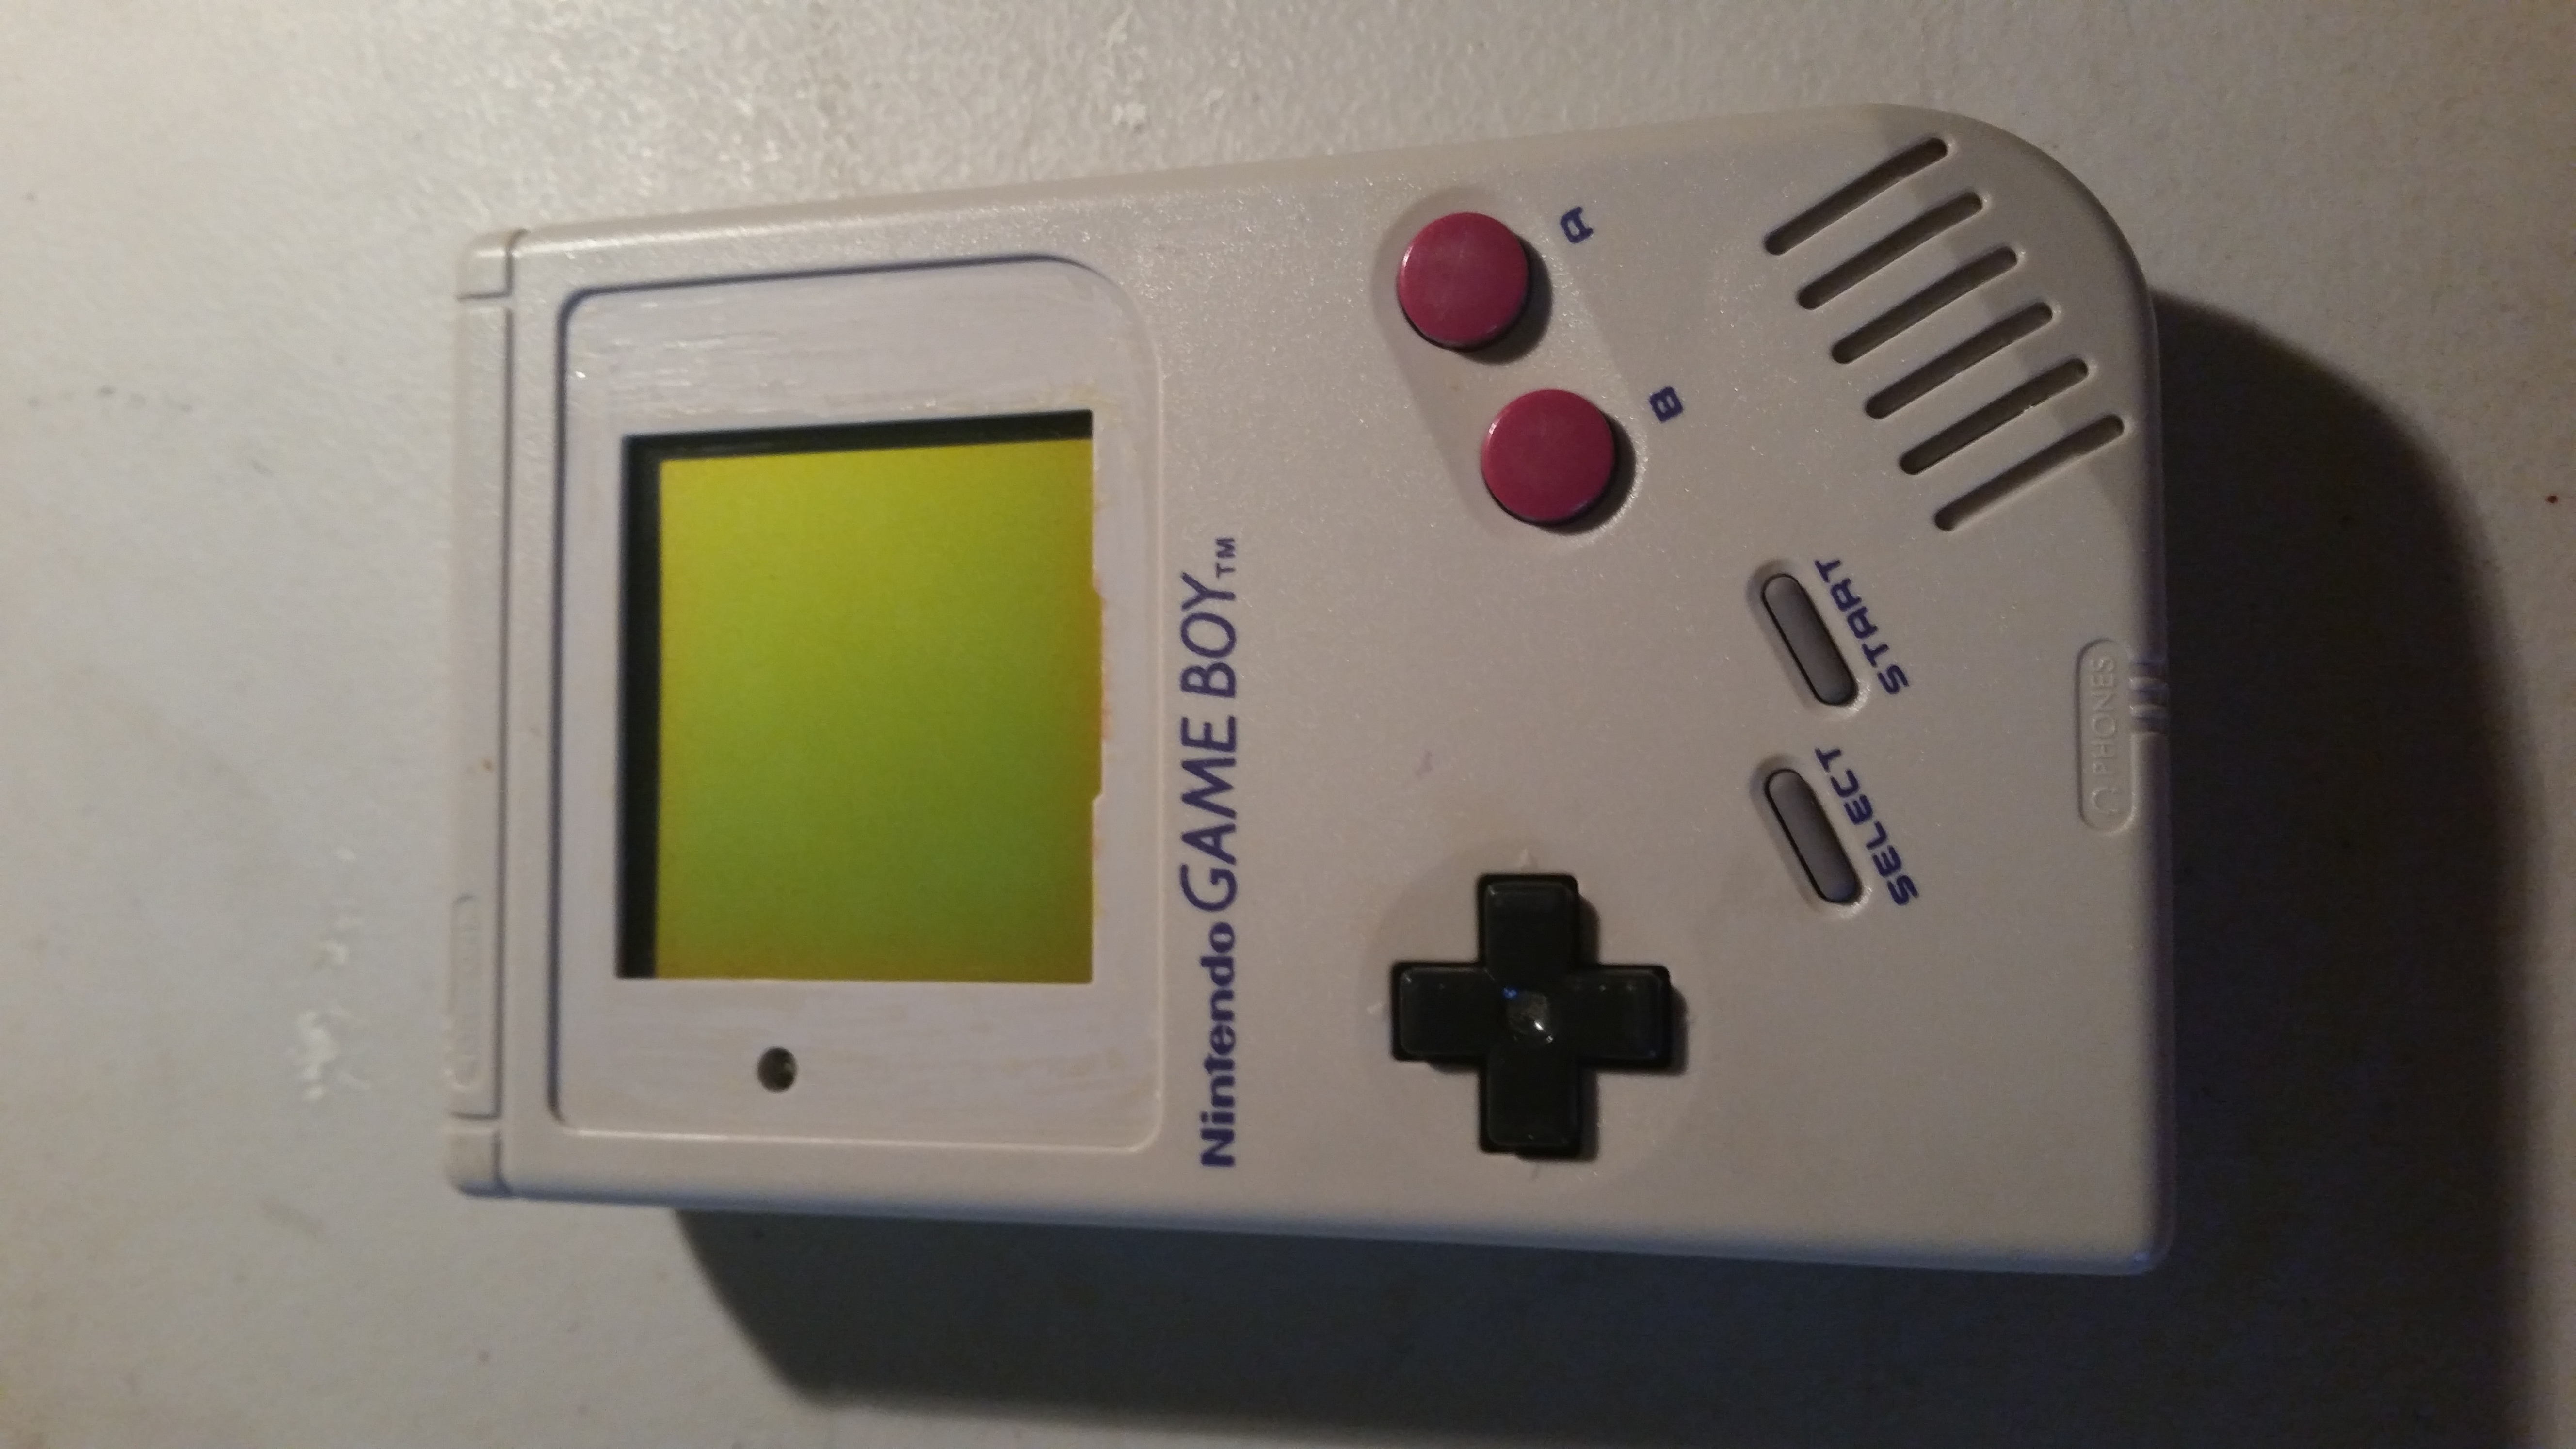
Heres my Gameboy! My original one from when I was a kid never abused it always took care of it but its sat in a closet for the last 15+ years thought Id breath some new life into it.

- 20160726_143909.jpg (3.81 MiB) Viewed 10733 times
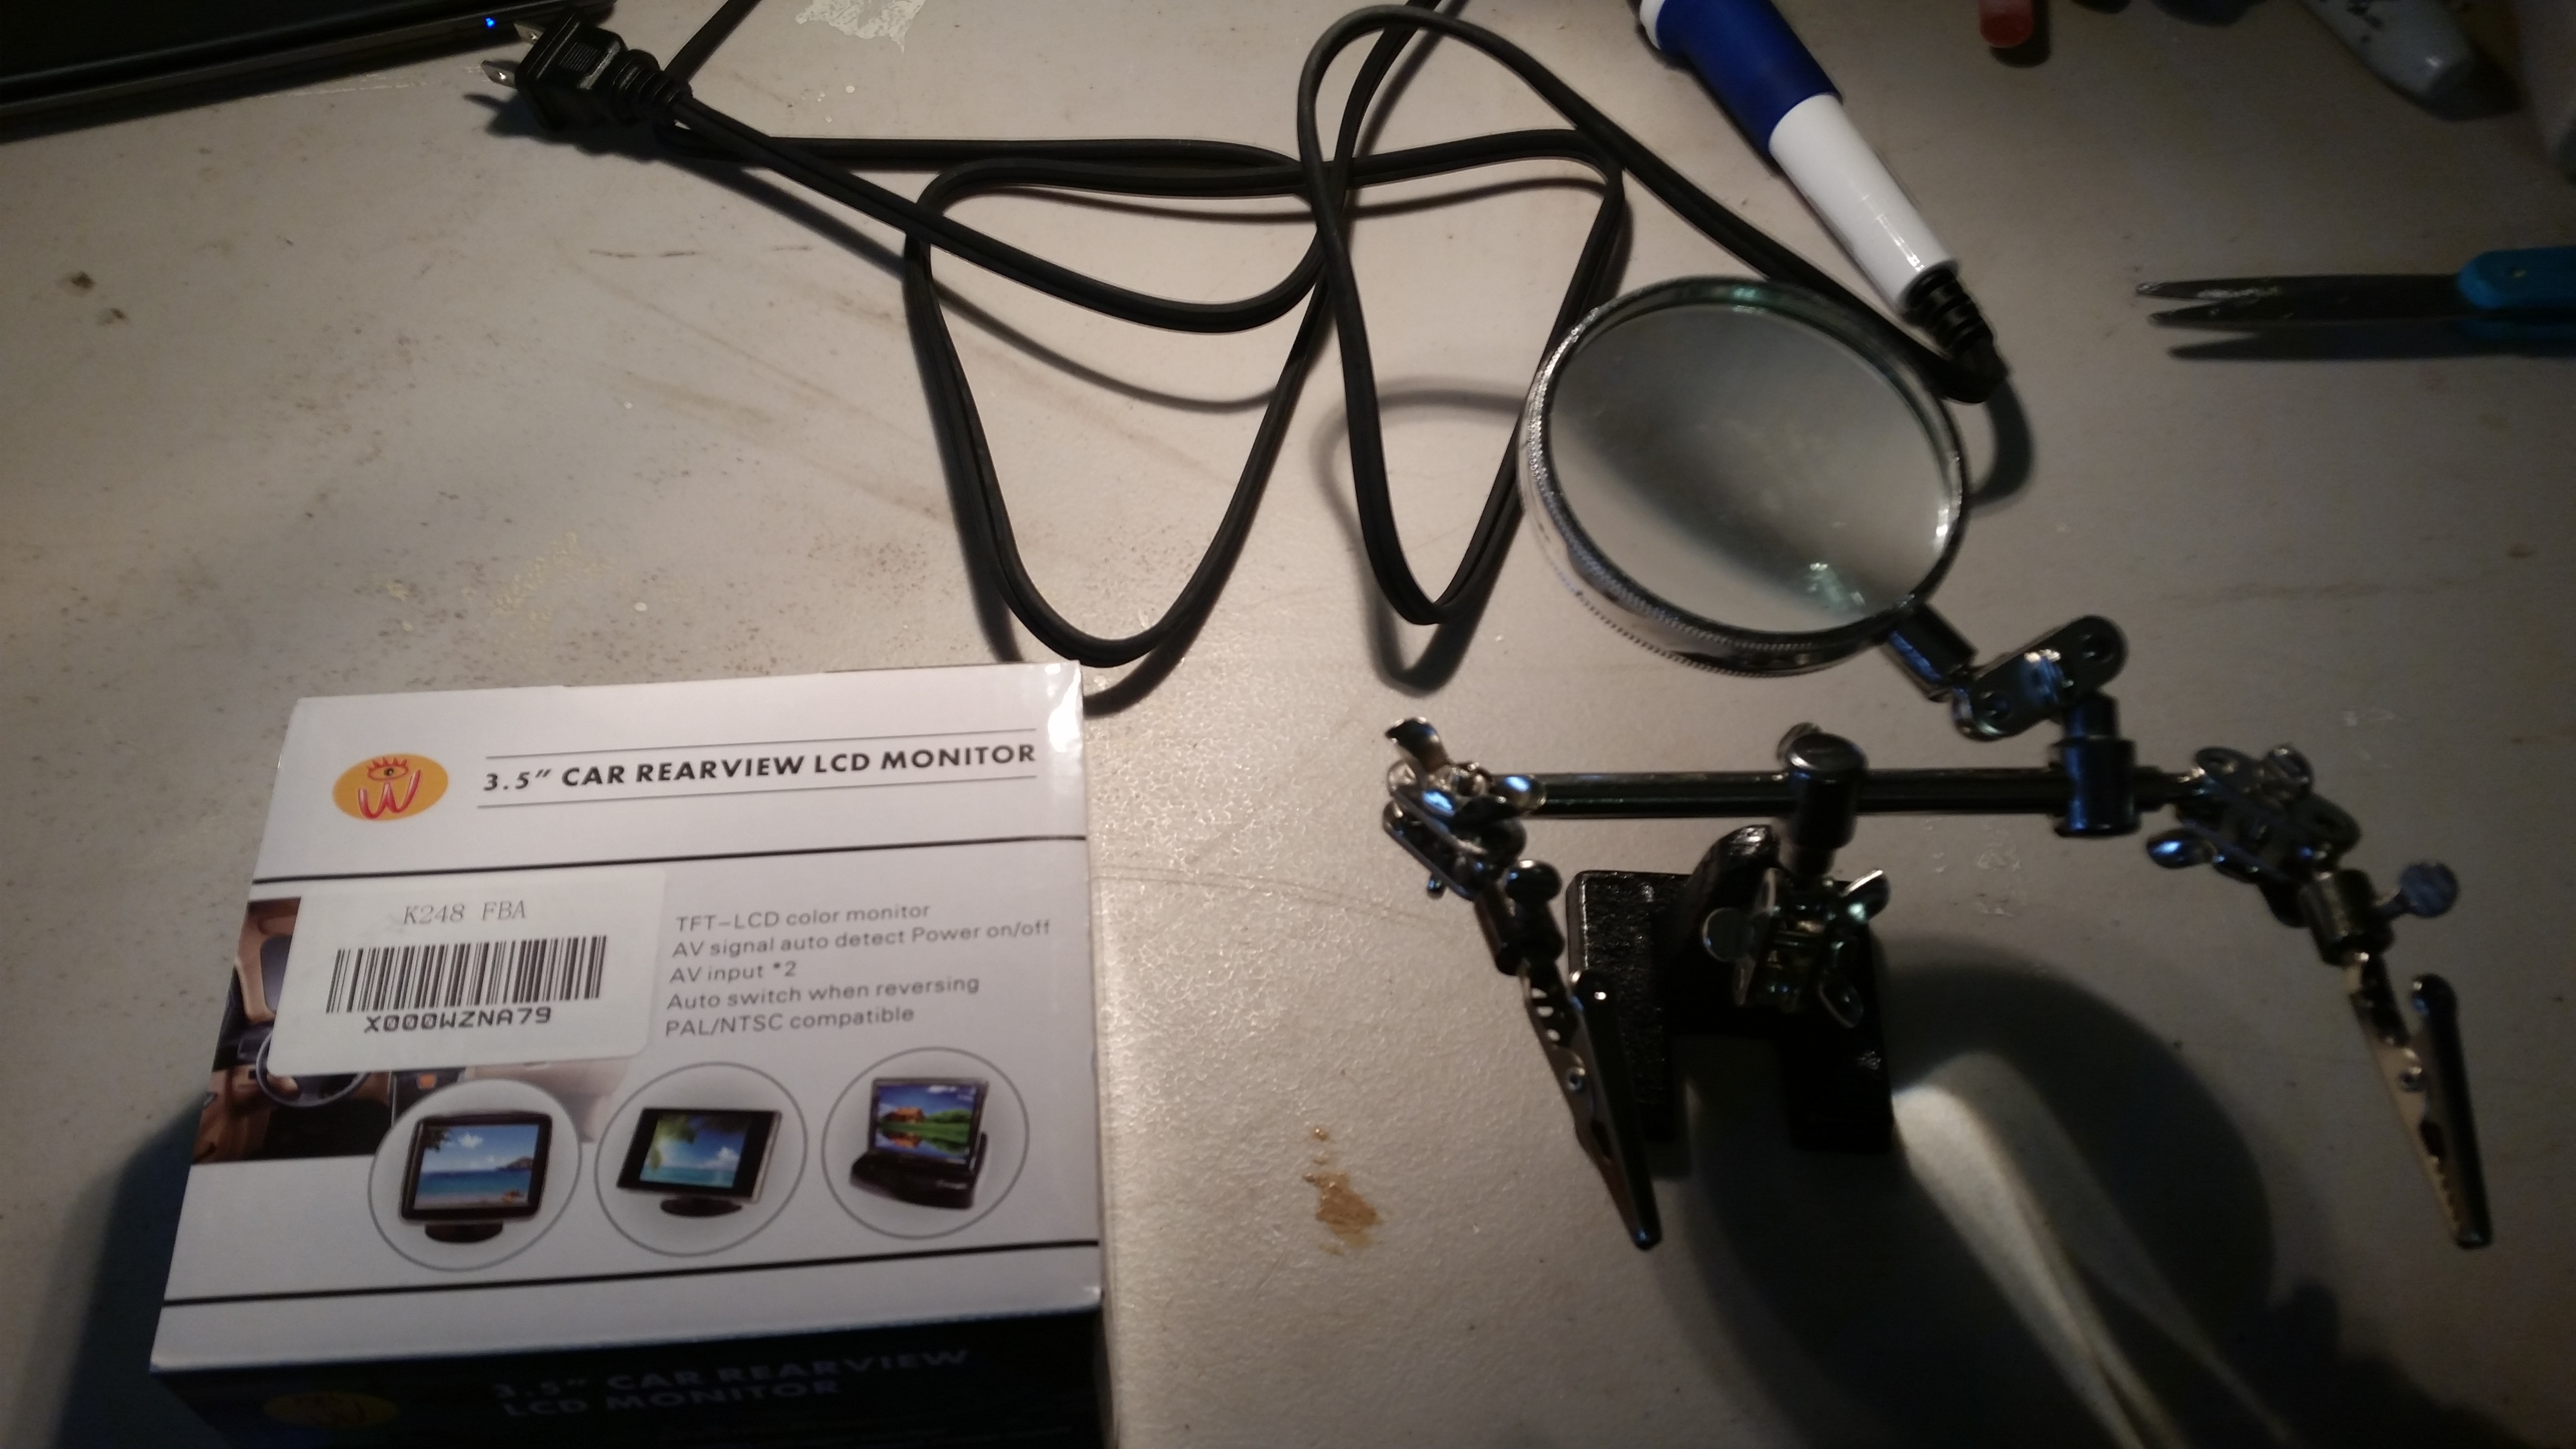
My workshop for the next few weeks! More tools and parts on the way. I'd estimate I've spent about $150 so far on this project and I shouldn't have to buy anything else. Luckily only tool I needed specifically for this project was solder equipment.

- 20160726_163155.jpg (3.52 MiB) Viewed 10733 times
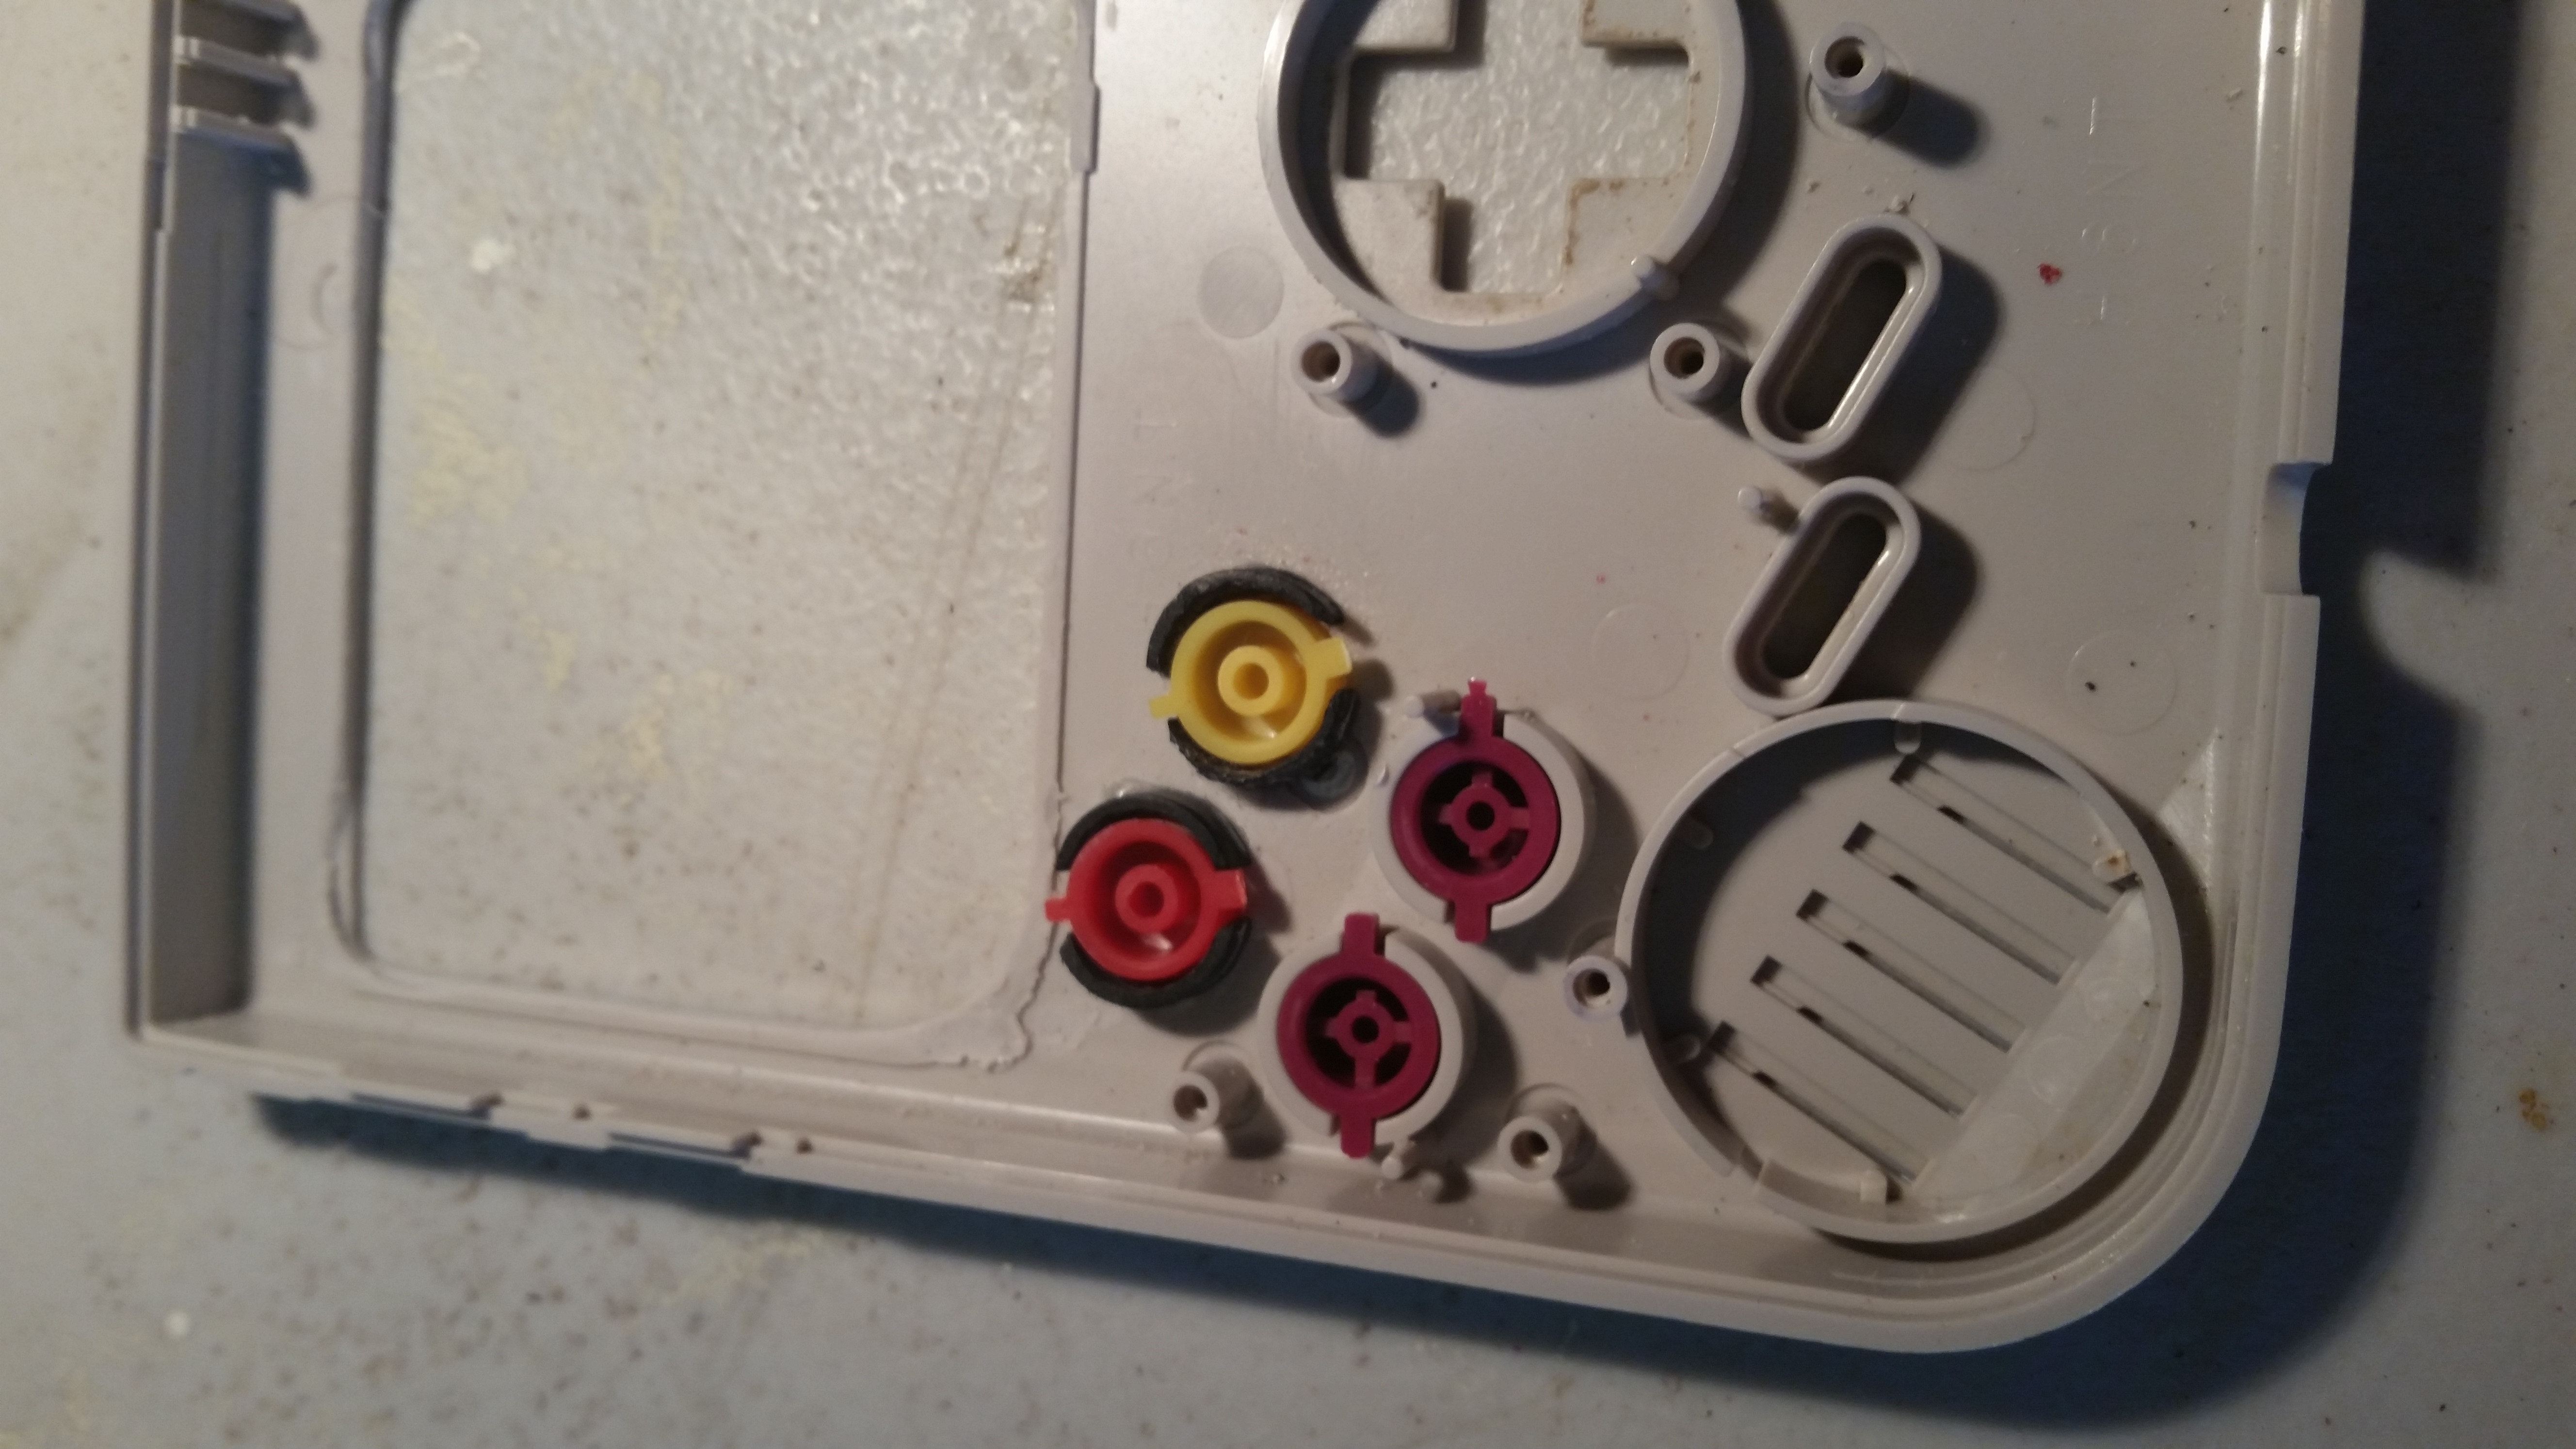
Case cleaned up pretty good, this is a rough draft It has been cleaned up a lot more since this stage
- 20160726_164125.jpg (3.38 MiB) Viewed 10733 times
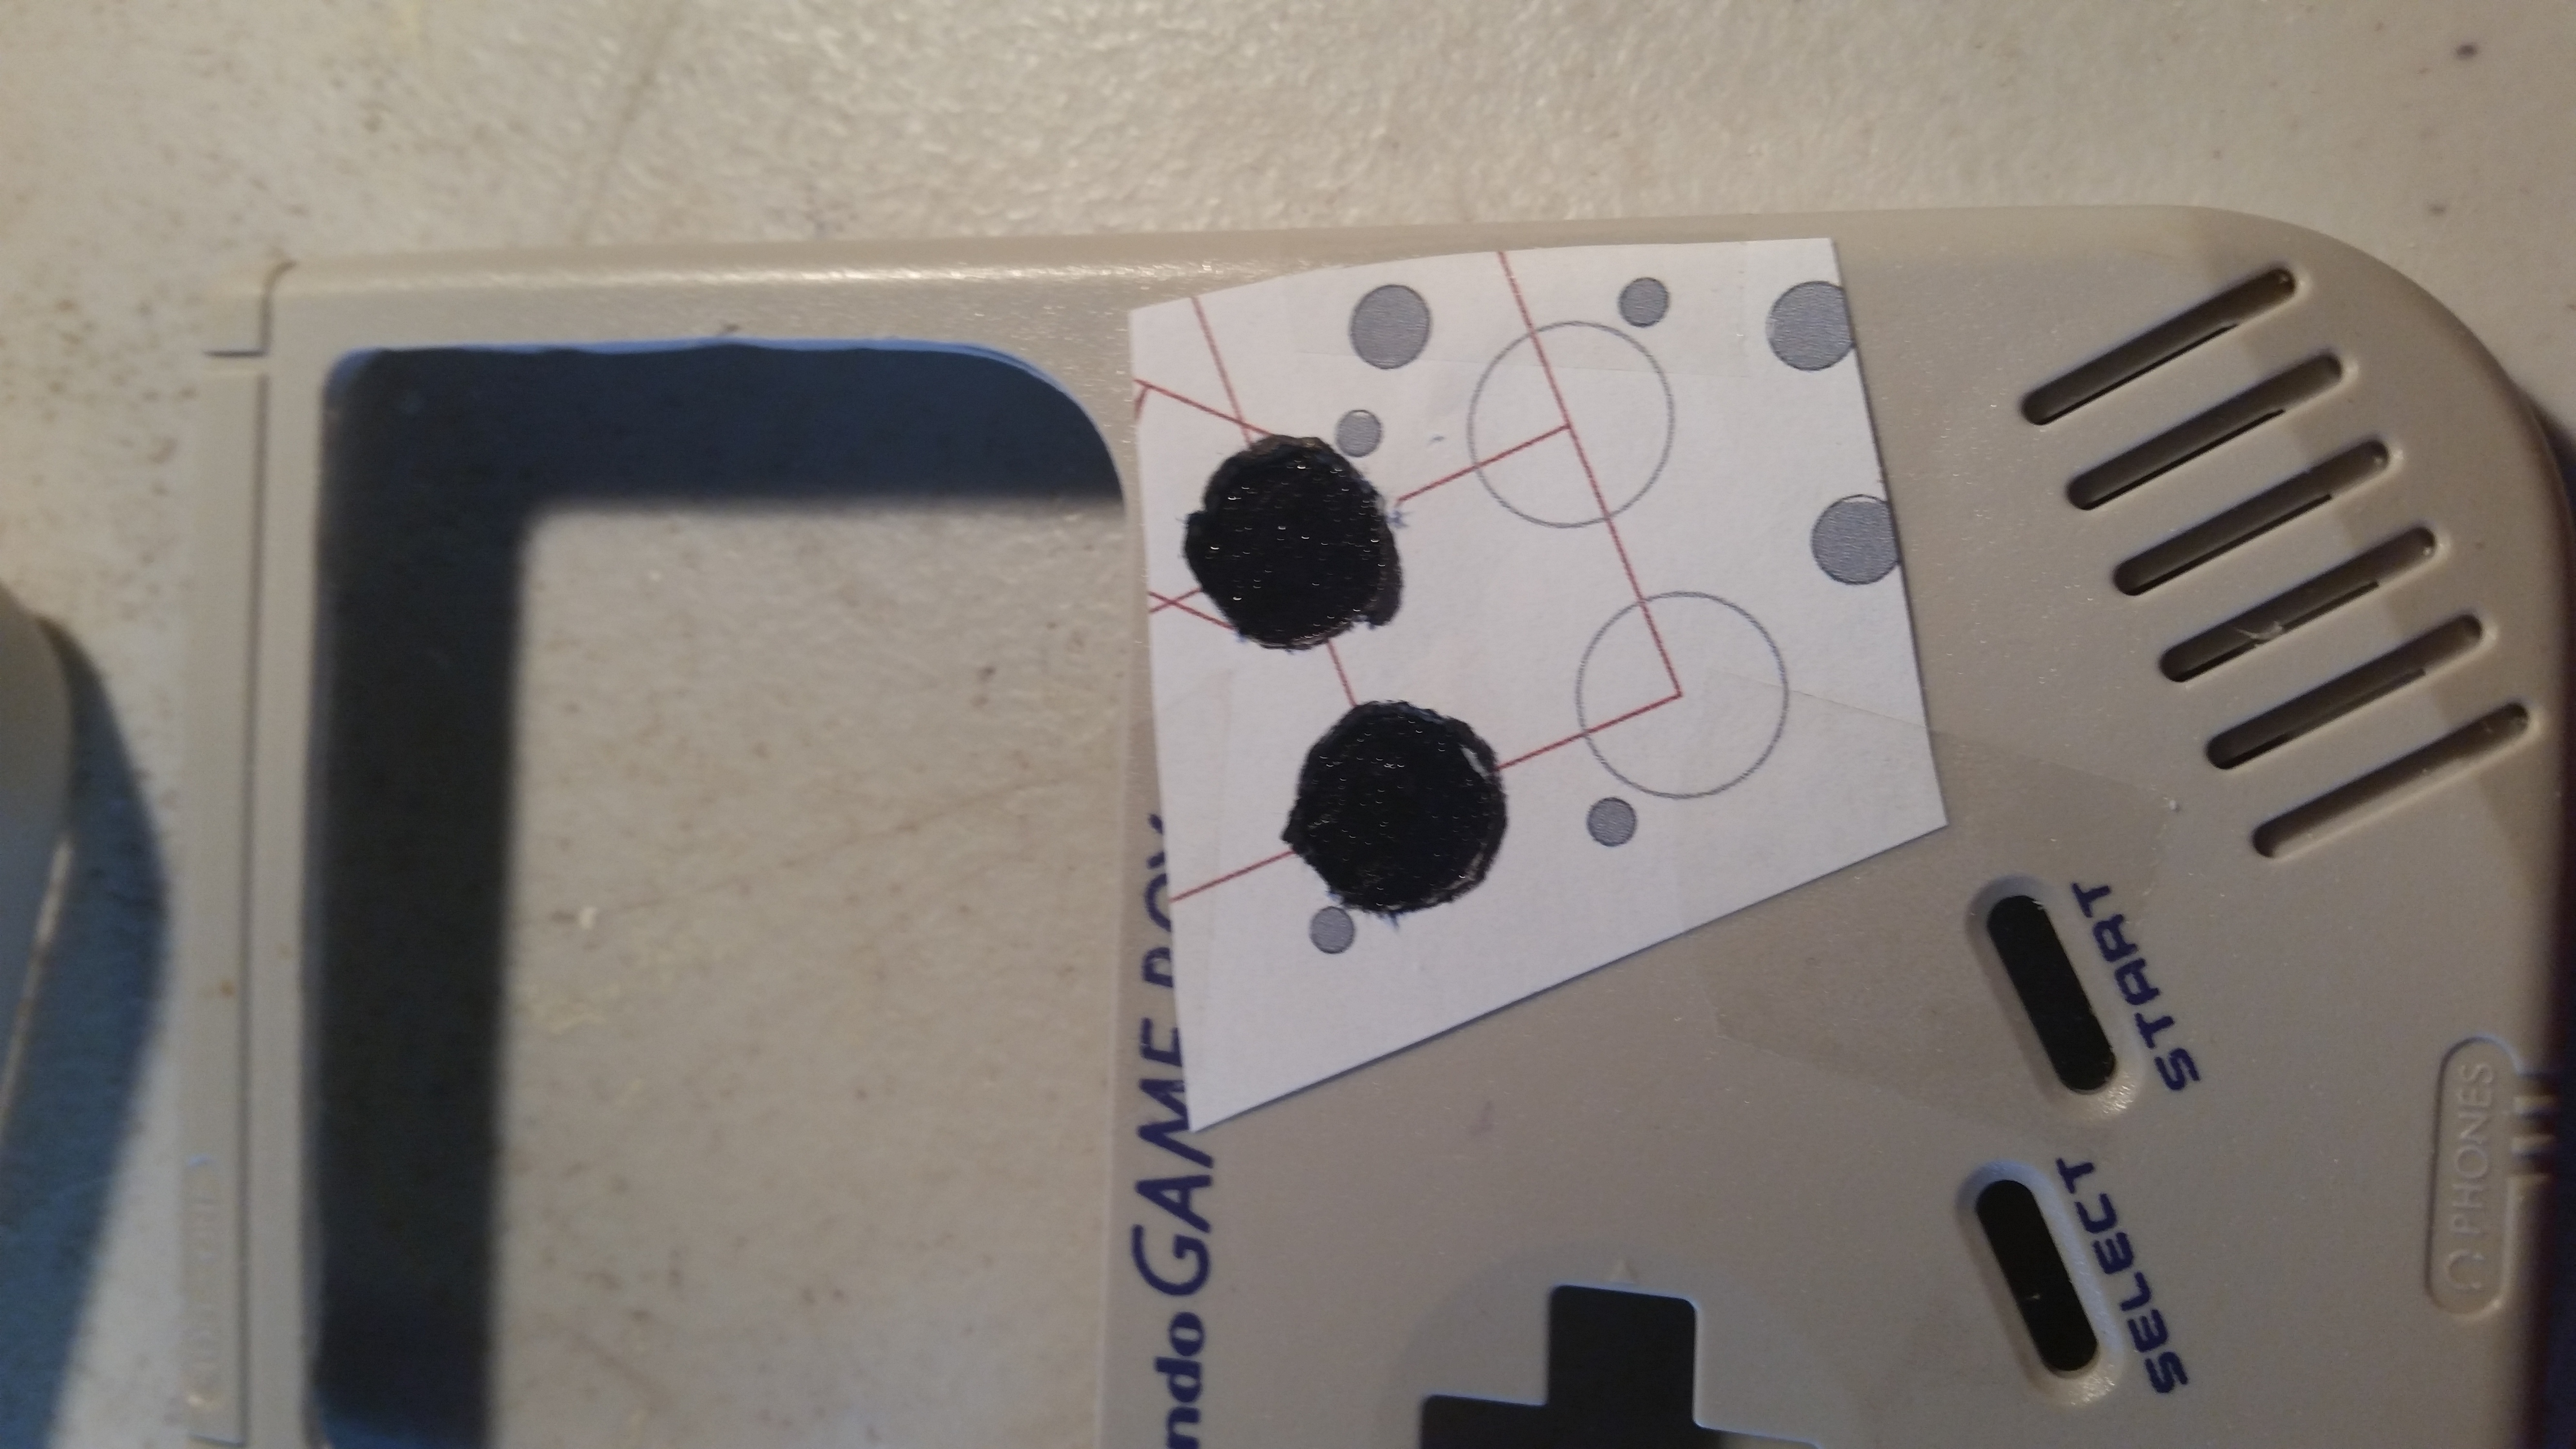
Pretty handy drill guide from the kitsch website where I ordered the button pcb board from.

- 20160726_221049.jpg (3.58 MiB) Viewed 10733 times
I am kinda disapointed in how my L/R buttons turned out, I couldnt find the tactile switches from the main guide in store and I really didnt want to get a 100count on amazon so I just went with some store bought buttons. Problem is i kept drimmeling and drimmeling to get it to fit and then turned it over and realized how big of holes I made. Not sure how Imma patch this part up but ill think about it.
- 20160727_123450.jpg (3.46 MiB) Viewed 10733 times
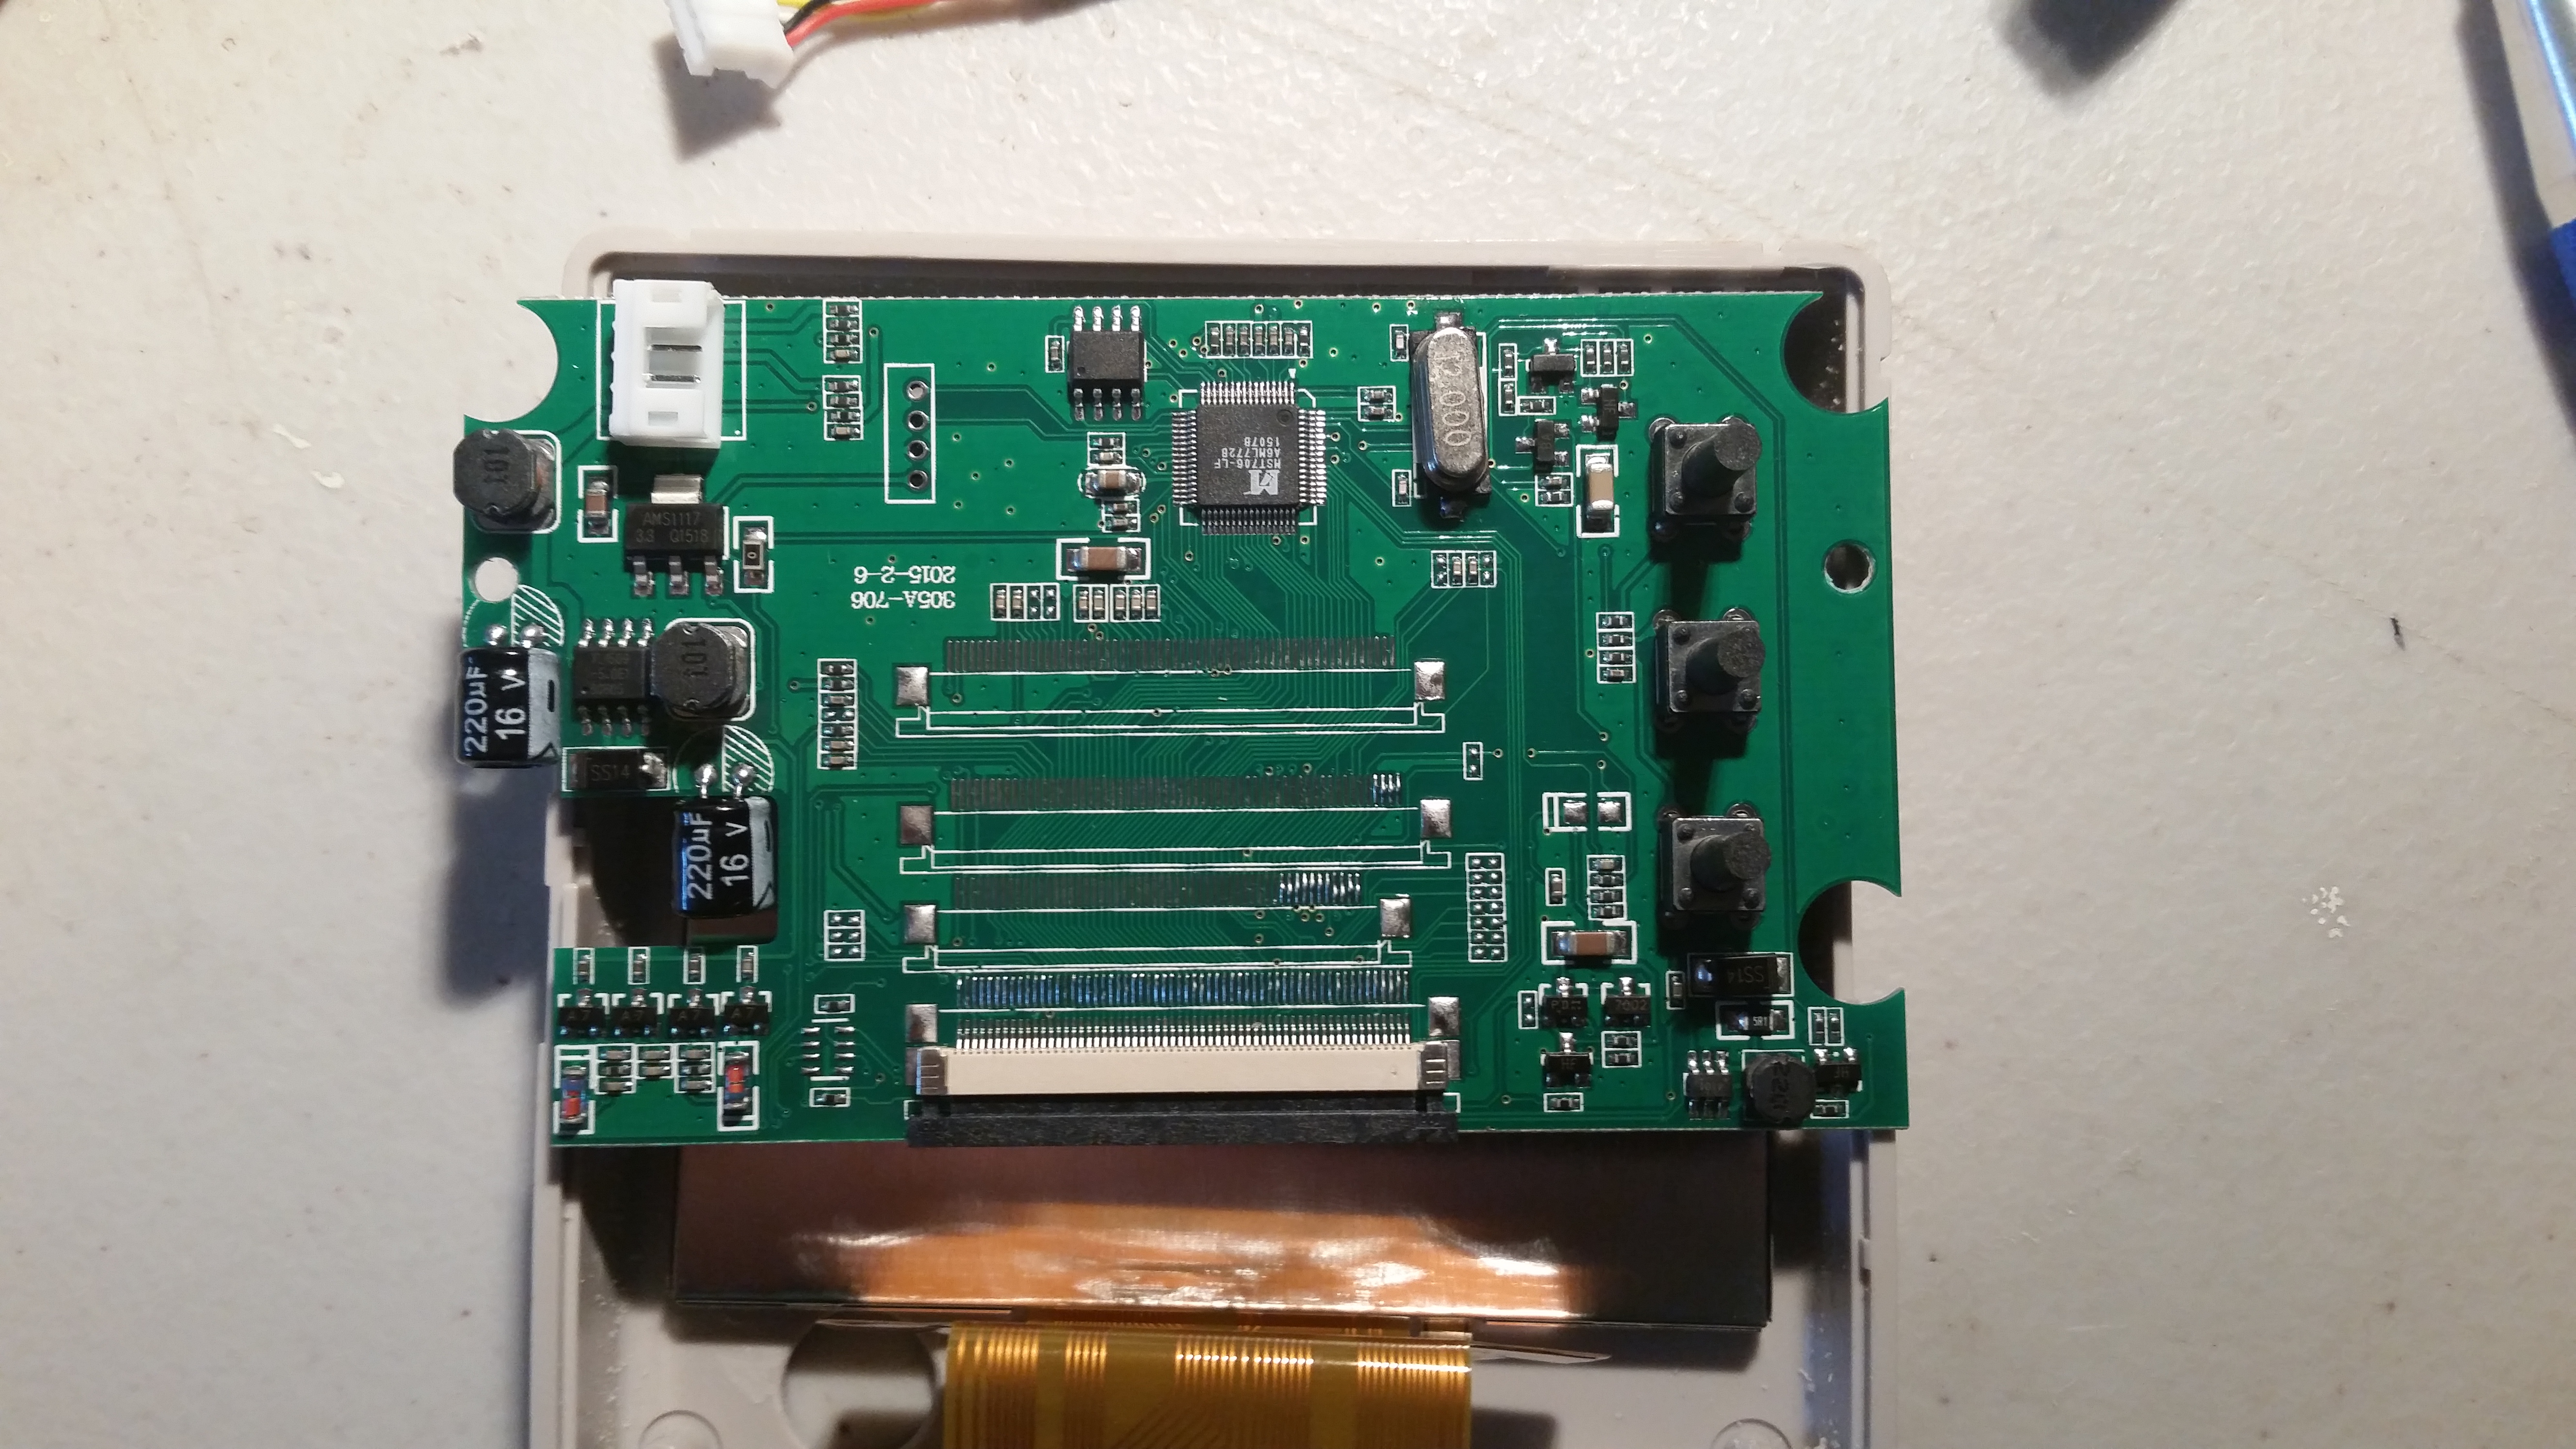
Since the recommended Adafruit one is out of stock everywhere I ordered one of the BW screens off Amazon, and messing around with the solder iron the other day realized it would probably be nice to get a helping hand so I dont burn my fingers off or garage down.
- 20160727_124153.jpg (4.36 MiB) Viewed 10733 times
Well I didnt pay enough attention to the fact that ATian on Amazon was not one of the good sized screen pcb's. Sent back and ordered one from e-life which should have the right sized one? Replacement arrives tomorrow so well see.
- 20160728_121640.jpg (3.38 MiB) Viewed 10733 times
Since I had nothing else to do I cleaned up the case a bit and decided to trim these button holders from the cheap controller I purchased from Microcenter. I feel this will make the buttons more stable than having them loose.
Thats it for now, new screen comes in tomorrow (Should have been today but UPS experienced 'Delays' Thanks UPS... Thanks.), DMG-01 PCB button board comes in early next week as well as all the goodies from Adafruit (Battery, PowerBoost, Usb breakout, Amplifier)


