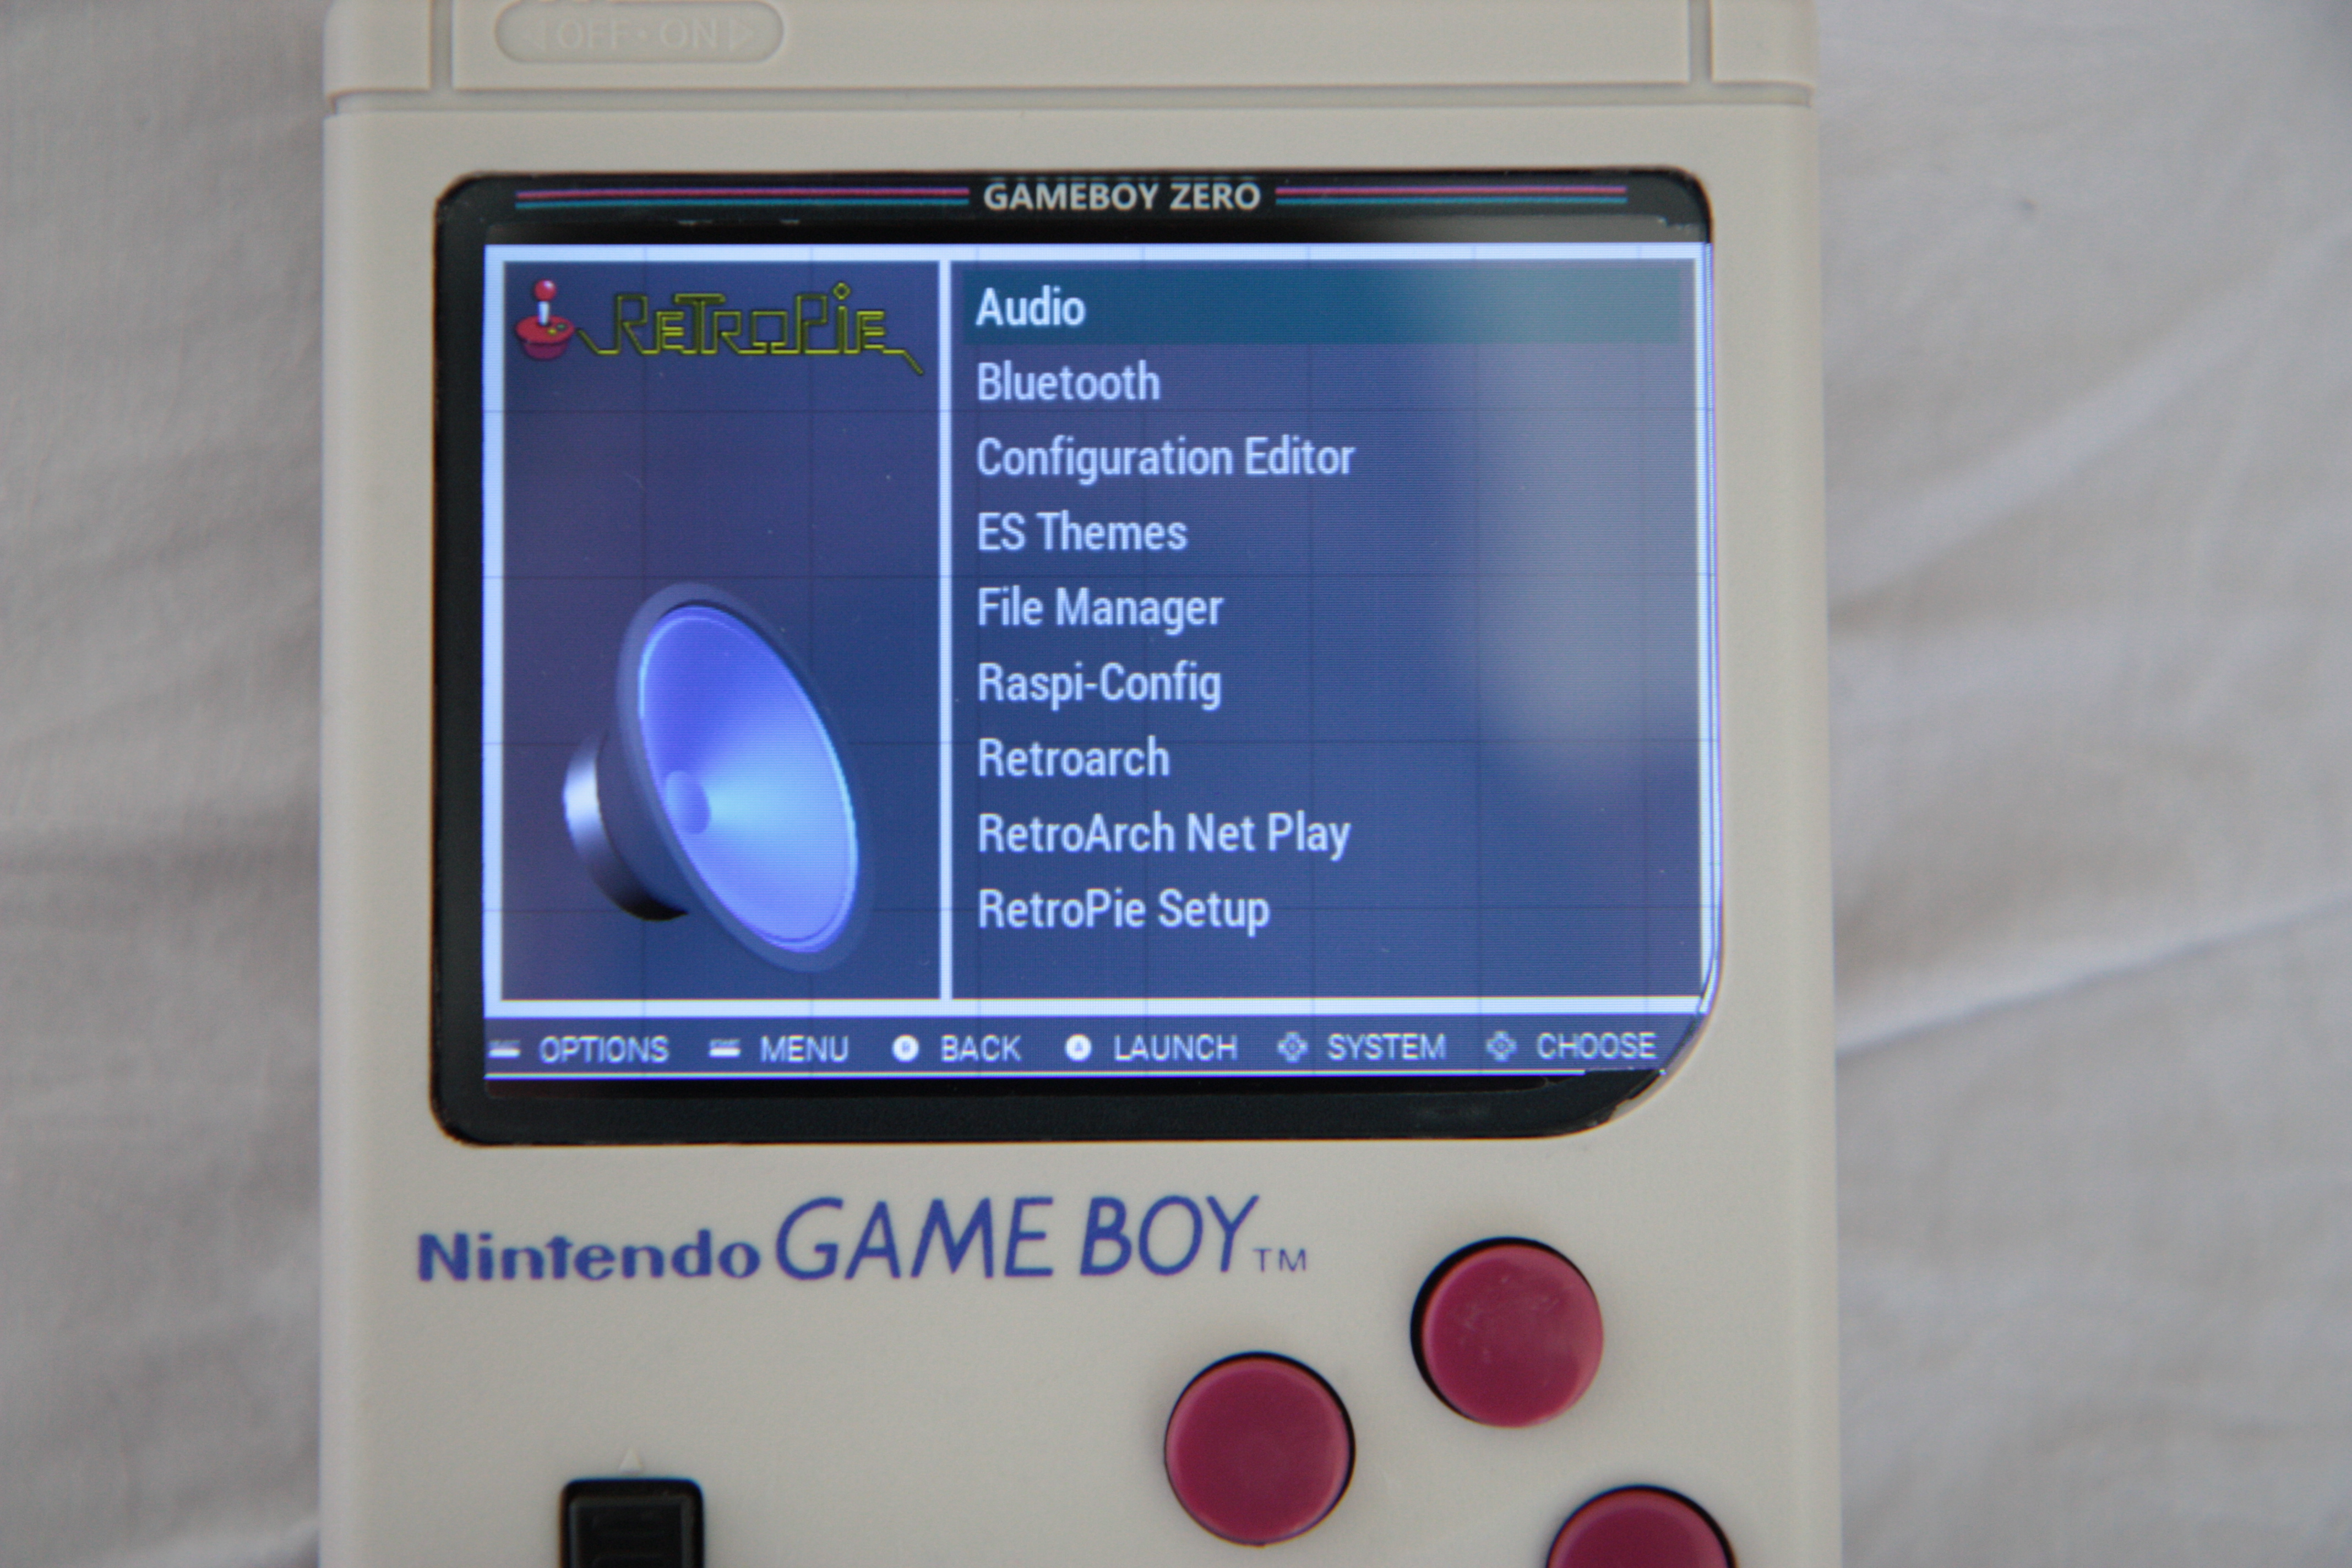
Thank you for waiting a couple of days...
Here some pictures of the HDMI display I used from aliexpress...
Hard to explain but the display looks more clear by eyes than the camera is capturing. Maybe caused by the screen refresh frequency. Not visible by eyes...
As I wrote previously in the other tread the screen ratio is something like 16:9 in stead of the 4:3 original... As I keep the cut-out from a previous BW display a managed to cover the space below and upon the display by a bigger screen label. Another argument for keeping the 4:3 cutout was to re-use my existing screen protection cover.
To get the right boarder visible I need to cut off the screen boarder label.
On addition I need to mention that I removed the touch layer (similar to another tread here). No need from my point of view during running retropie.
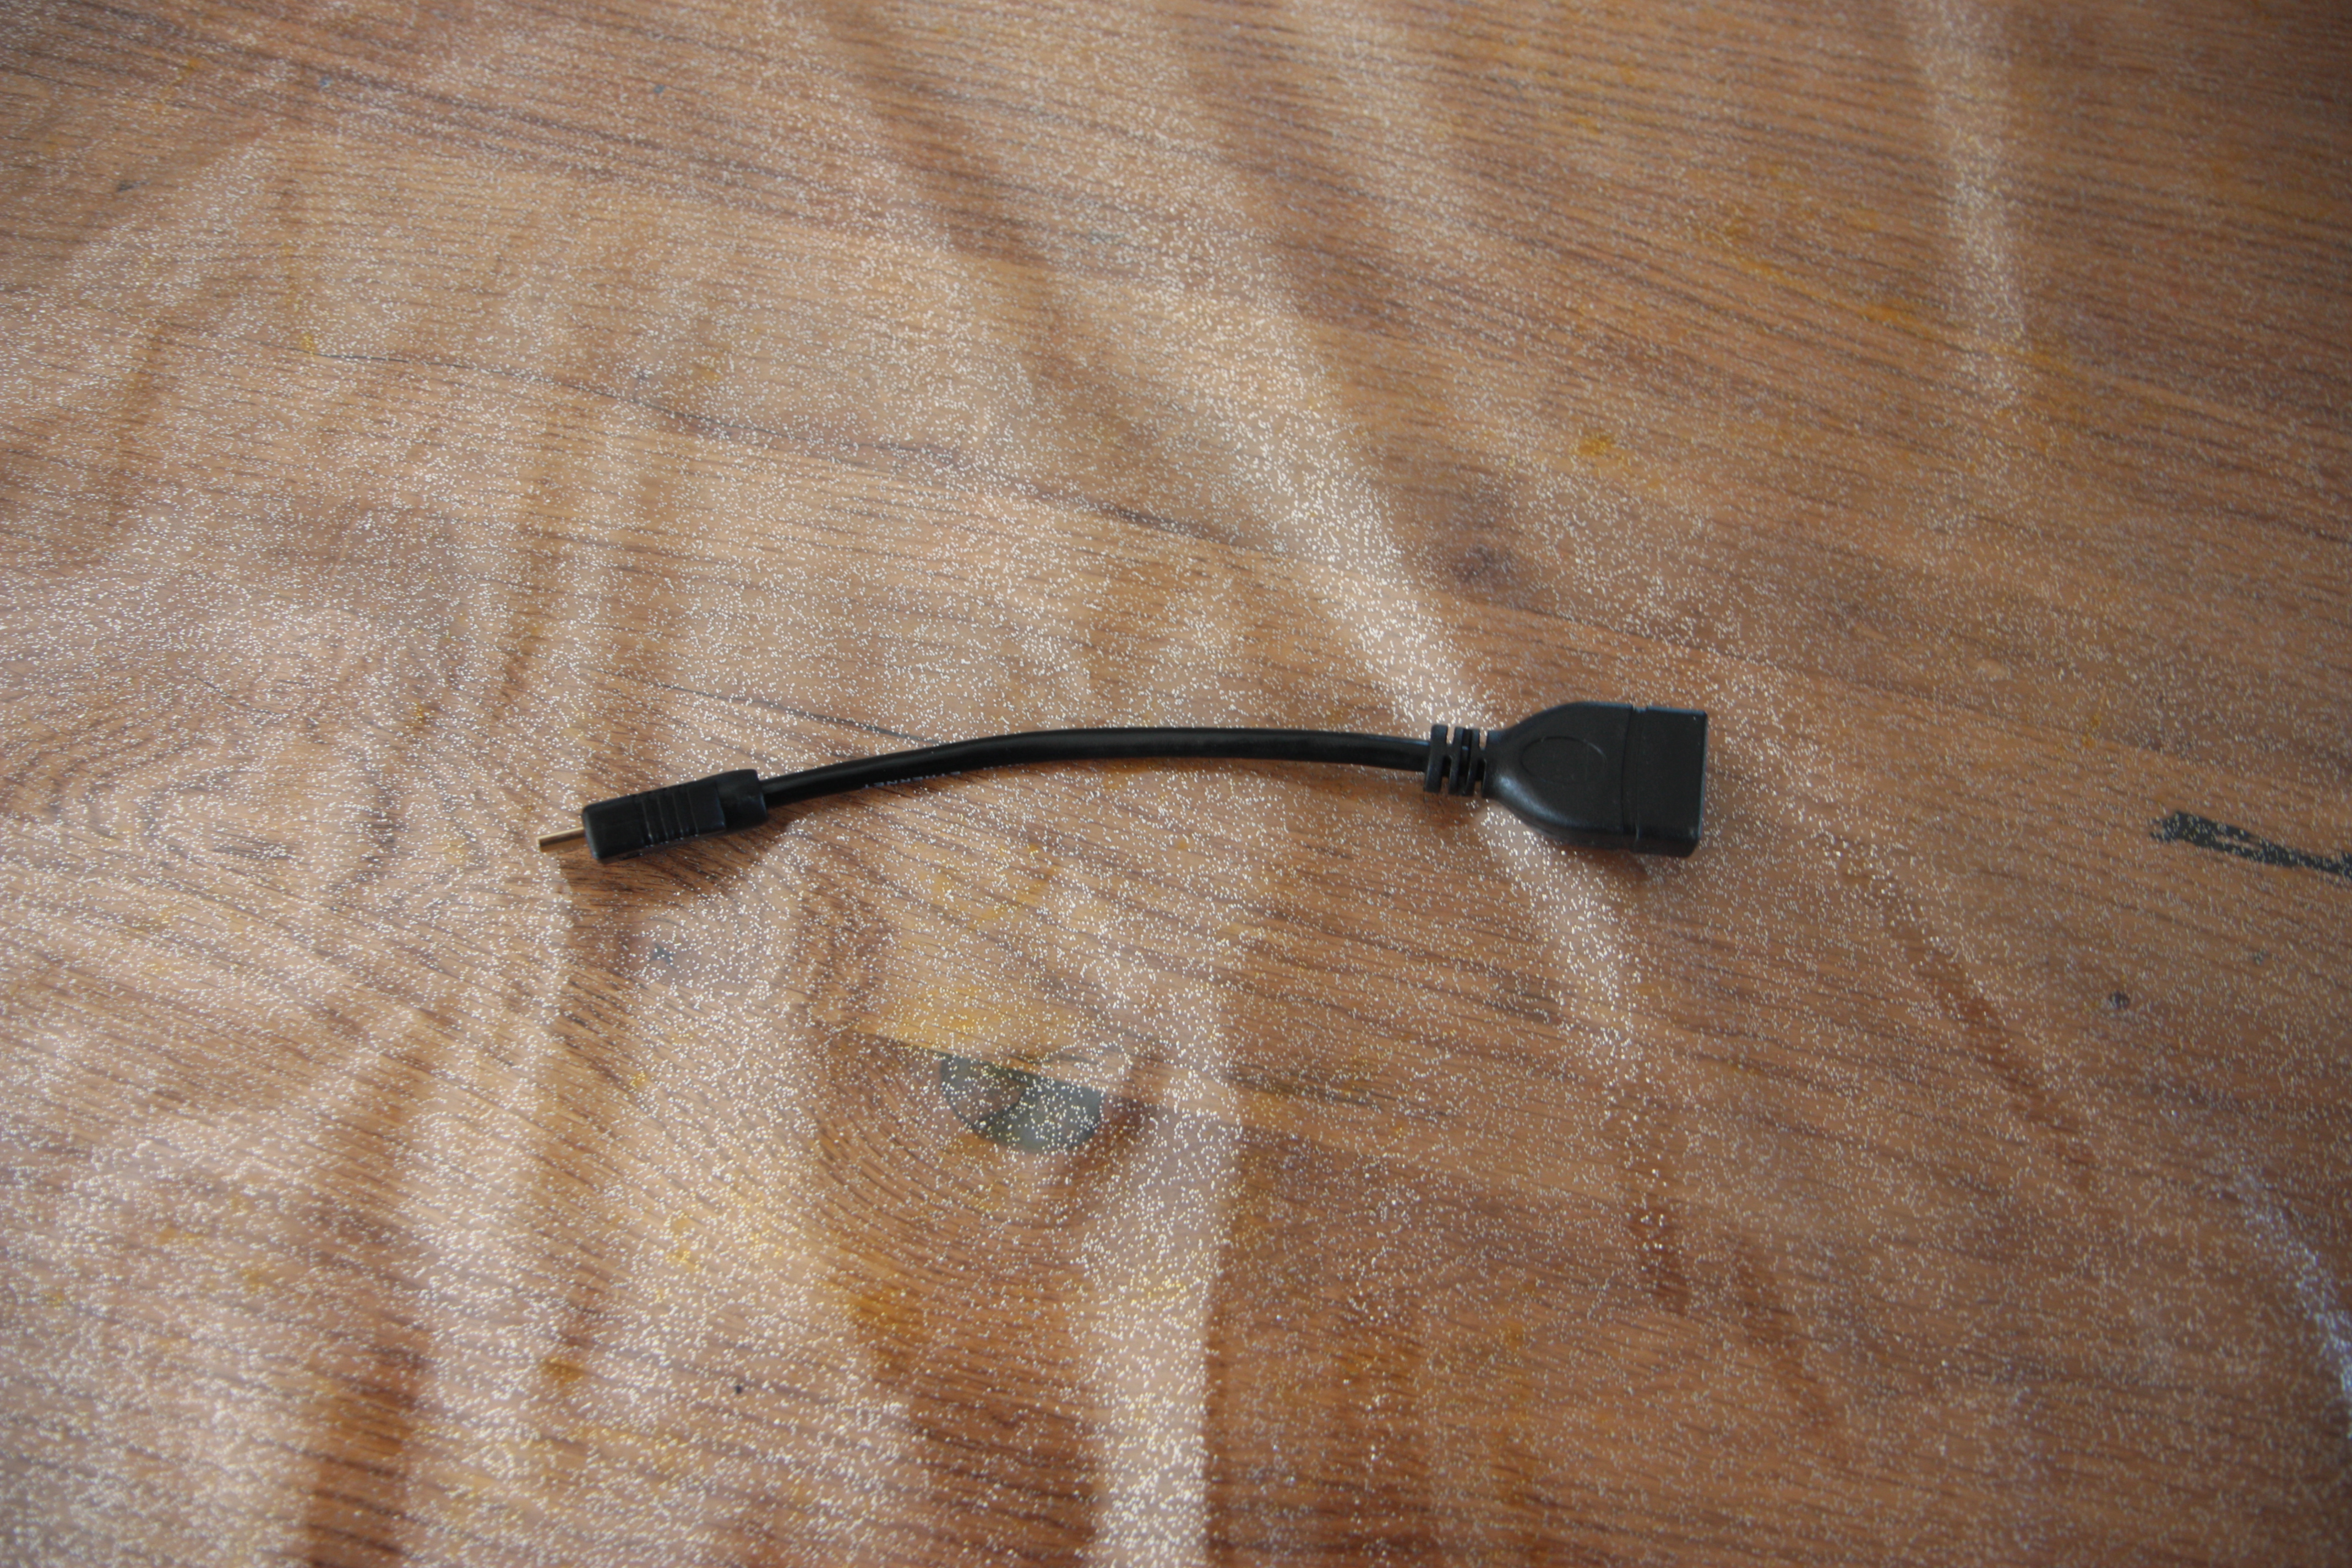
I installed the display 180 degrees turned to have the HDMI connector accessible from the bottom. My Pi Zero is located in the game catridge bay to have external access to the Micro SD Card. For wired HDMI connection I used an approx 15cm HDMI-Mini- to HDMI cable with stripped outer insulation and stripped off connector housing. (quite easy to remove with some help of heat and knife). The harness is internally insulated by aluminum foil. For avoid shortcuts to neighbor circuits I wrapped this harness afterwards by some tape.
I didn`t used the display board headphone output for using HDMI audio. As I wrote: this screen replaced an previous one, so I keep using my USB sound device.
Here my boot.txt file with HDMI settings specially for this display. Take care with other options I used e.g. SD card overclocking...
# For more options and information see
#
http://www.raspberrypi.org/documentatio ... fig-txt.md
# Some settings may impact device functionality. See link above for details
# uncomment if you get no picture on HDMI for a default "safe" mode
#hdmi_safe=1
# uncomment this if your display has a black border of unused pixels visible
# and your display can output without overscan
#disable_overscan=1
# uncomment the following to adjust overscan. Use positive numbers if console
# goes off screen, and negative if there is too much border
# overscan_left=-12
# overscan_right=-11
# overscan_top=-10
# overscan_bottom=-21
# uncomment to force a console size. By default it will be display's size minus
# overscan.
# framebuffer_width=320
# framebuffer_height=240
# uncomment if hdmi display is not detected and composite is being output
hdmi_force_hotplug=1
display_rotate=2
# uncomment to force a specific HDMI mode (this will force VGA)
hdmi_group=2
hdmi_mode=87
hdmi_cvt 480 320 60 6 0 0 0
# uncomment to force a HDMI mode rather than DVI. This can make audio work in
# DMT (computer monitor) modes
#hdmi_drive=2
# uncomment to increase signal to HDMI, if you have interference, blanking, or
# no display
config_hdmi_boost=4
# uncomment for composite PAL
# sdtv_mode=1
# sdtv_aspect=4:3
#uncomment to overclock the arm. 700 MHz is the default.
#arm_freq=800
dtparam=sd_overclock=100
# Uncomment some or all of these to enable the optional hardware interfaces
#dtparam=i2c_arm=on
#dtparam=i2s=on
#dtparam=spi=on
# Uncomment this to enable the lirc-rpi module
#dtoverlay=lirc-rpi
# Additional overlays and parameters are documented /boot/overlays/README
# Enable audio (loads snd_bcm2835)
dtparam=audio=off
gpu_mem_256=128
gpu_mem_512=256
gpu_mem_1024=256
overscan_scale=1
disable_splash=1
# Disable the ACT LED on the Pi Zero.
dtparam=act_led_trigger=none
dtparam=act_led_activelow=on
enable_uart=0
Internal pictures from the Gameboy will maybe follow during a couple of days, I will not open the gameboy now, just waiting for the safe-shutdown board to be installed.
From my point of view arguments regarding this screen:
Positive:
-for sure the clear view without any noise in the picture
-less current draw compared to my previous BW display.
-5 Volt out of the box (you could power by micro USB but I soldered somewhere to the board to keep space)
Negative:
-As usual the shipping time: I waited approx. 2 weeks for delivery to France
-some setup necessary regarding the screen orientation and proportion
-Gameboy display cutout maybe to be adapted against the "standard" screens.
-Display controller board does not fit into the gameboy: needs to be cut for some mm. (not difficult)
-I found NO way to adjust the brightness!!! There is no push-button on the board! Could be maybe adjusted via software by GPIO connection. (which I removed on my board

) But the display brightness is quite ok, even with daylight. I don`t know this technique name when the entering light is being reflected behind the LCD layer? Looks to be the managed on by display.
-no external accessible HDMI connection without use of additional devices: for me there is no need of external connection anymore.
Feel free for questions...

- IMG_20170414_154241.jpg (2.44 MiB) Viewed 21433 times

- IMG_20170414_154229.jpg (3.1 MiB) Viewed 21433 times

- IMG_0021.JPG (5.33 MiB) Viewed 21433 times

- IMG_0020.JPG (3.84 MiB) Viewed 21433 times
