This project was something I've wanted to do for awhile and I was finally able to get around to it. I've always liked the soft-clicky feel of the GameBoy Advance SP's buttons. I also wanted to use up a bunch of extra components I've accumulated over the past couple of years, including some 4.3in composite screens, speakers, headphone jacks, volume wheels, etc. With a 3D printed shell and RPi0w, I figured I could also keep it incredibly inexpensive.
So I started by designing the shell for the 4.3in screen, as well as the ABXY and shoulder buttons, all 3D printed without requiring supports. It took a lot of iterations (11 revisions for the front shell, 6 for the rear, and a few for each of the buttons):

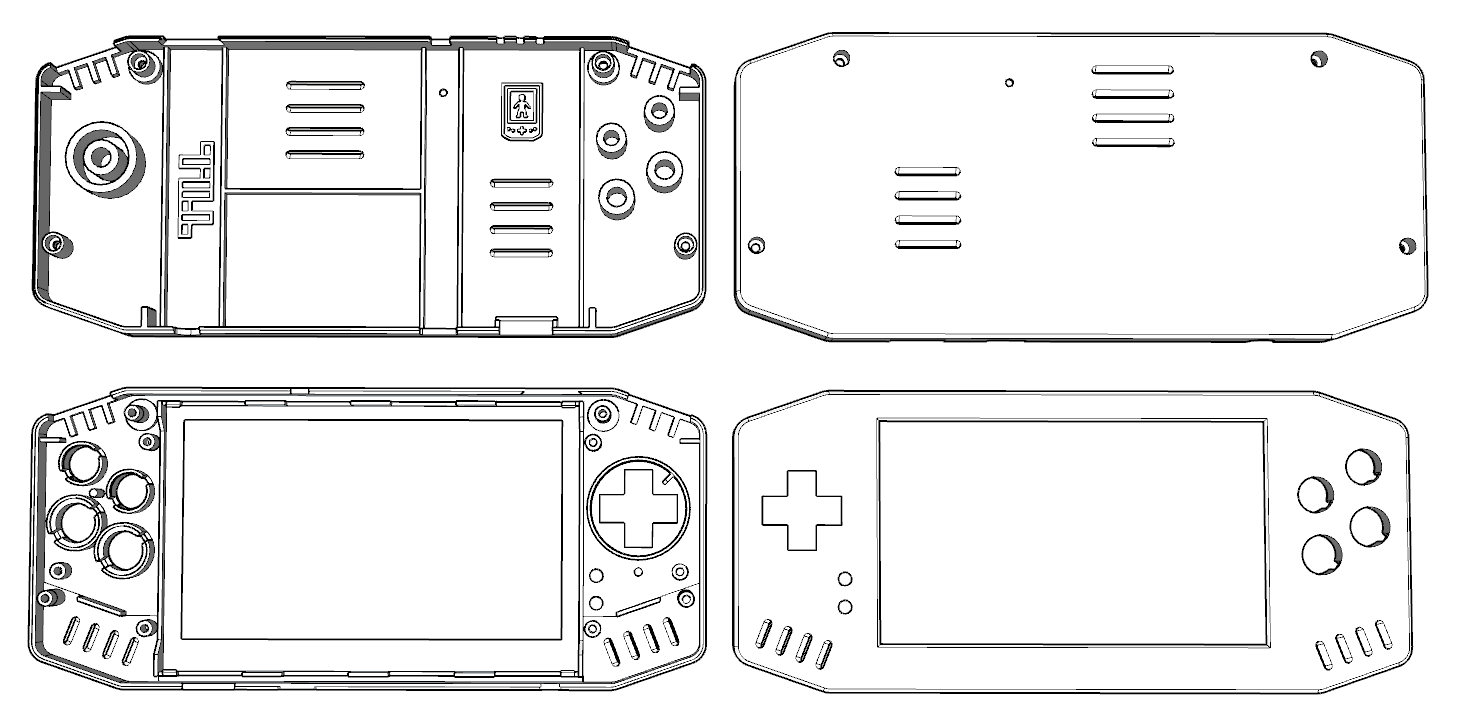
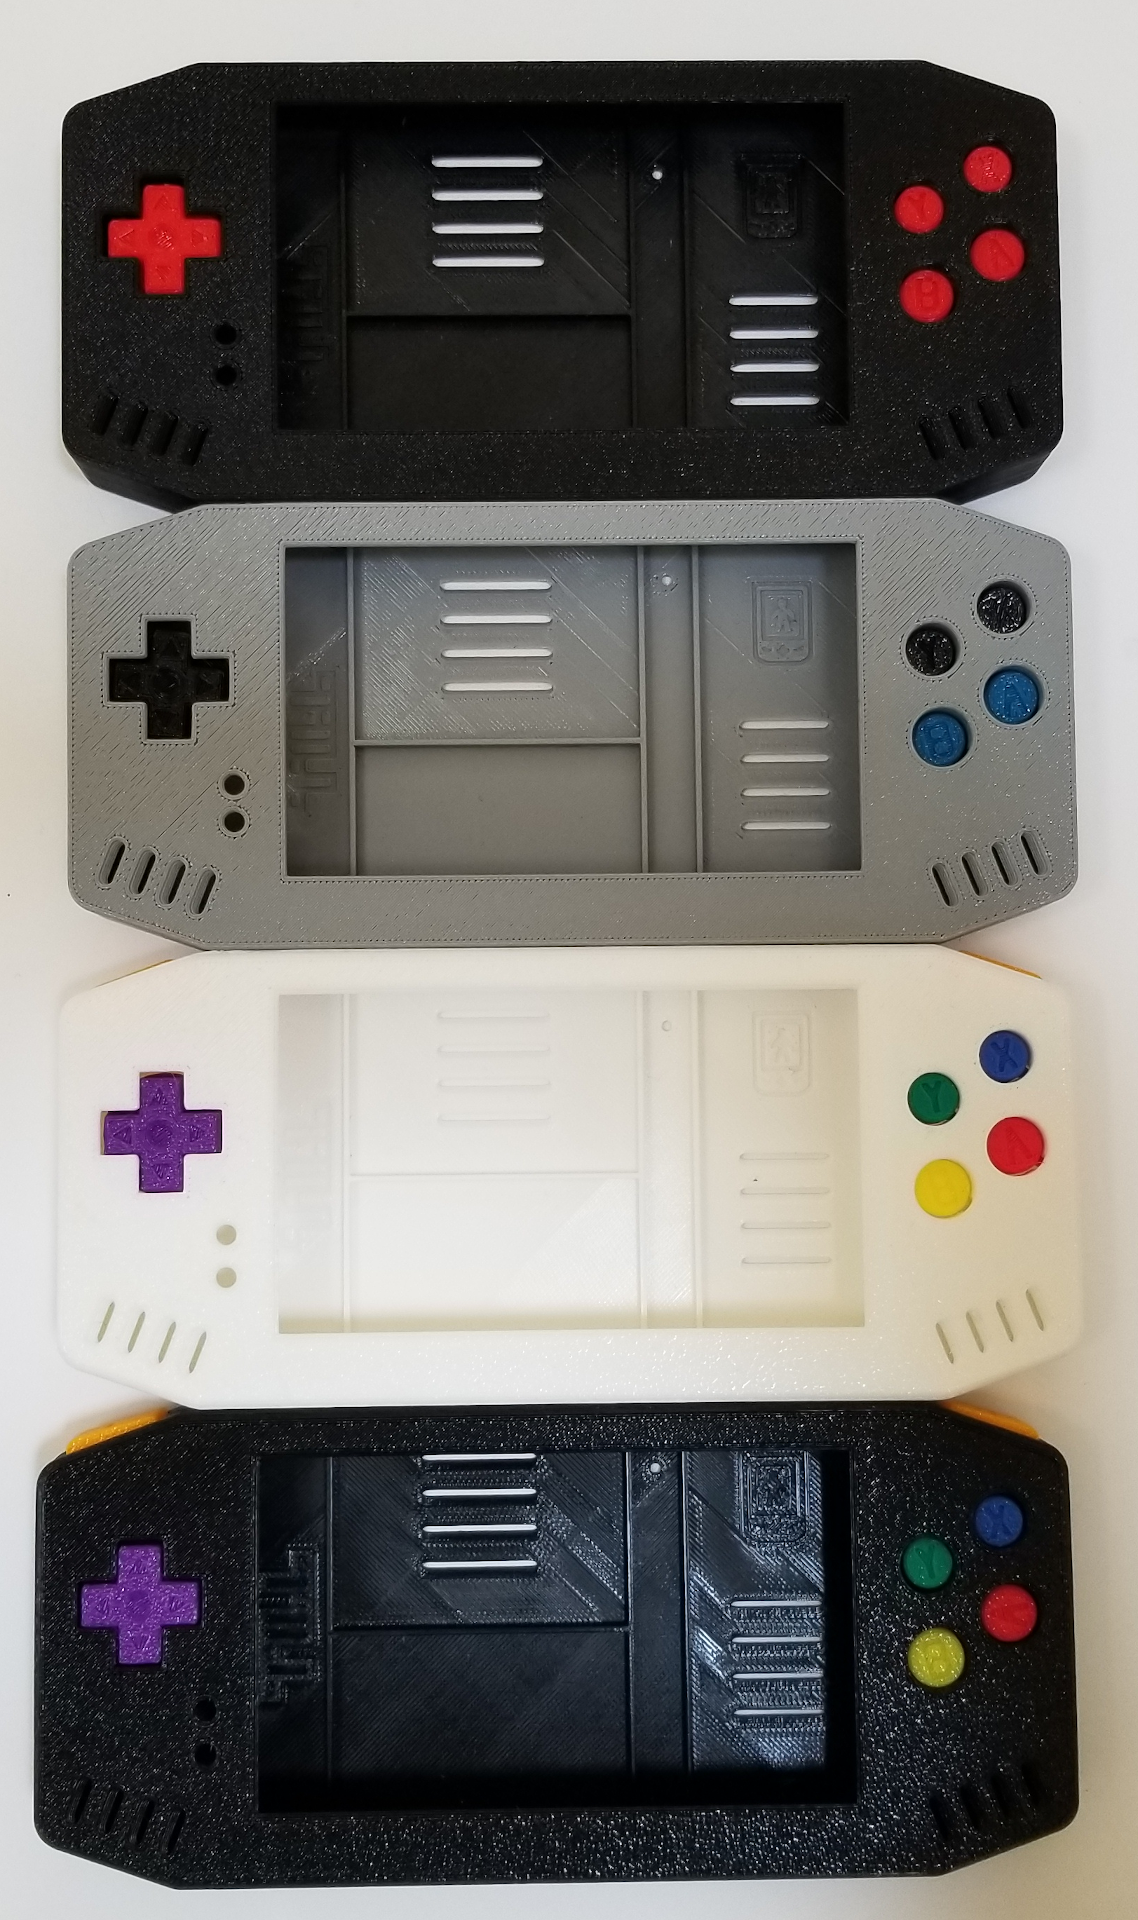
This is the layout I eventually decided on, which takes about 4 hrs to print the front and rear shells:
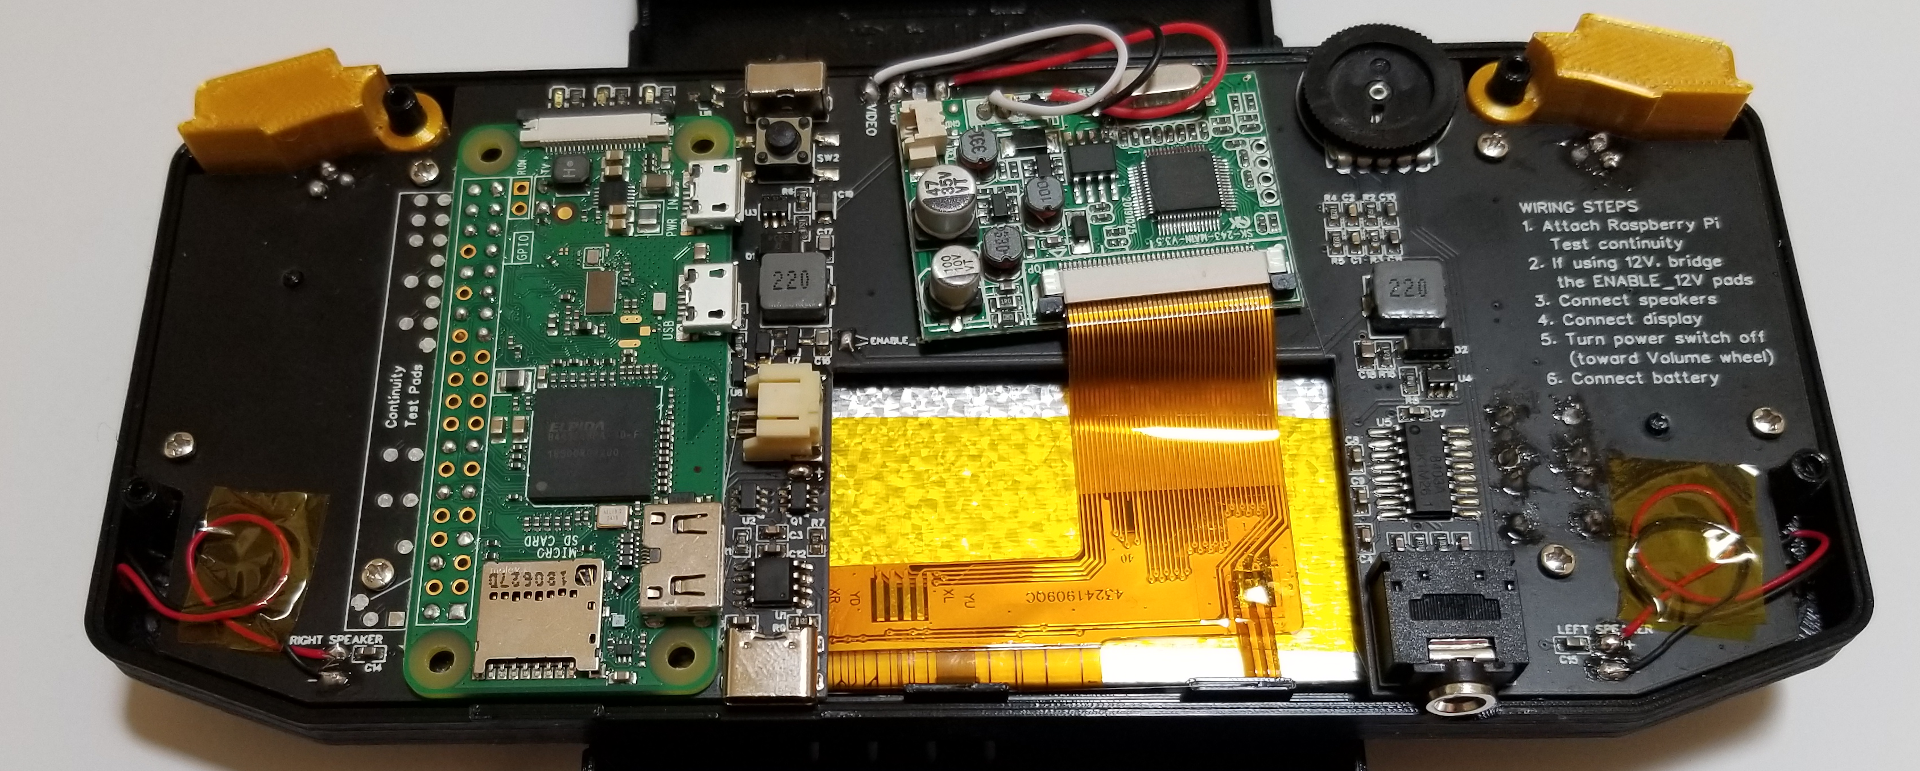
Next was to design the board to tie everything together and provide a solid backing for the clicky buttons. But I also wanted to make it possible to avoid requiring a 5V mod for the screen, so the board includes two boost converters, for 5V and 12V, although the 12V is completely optional. It took a few days to get the board laid out well enough to order a prototype. After some tweaks and another week of waiting for the revised board, this is how it ended up:
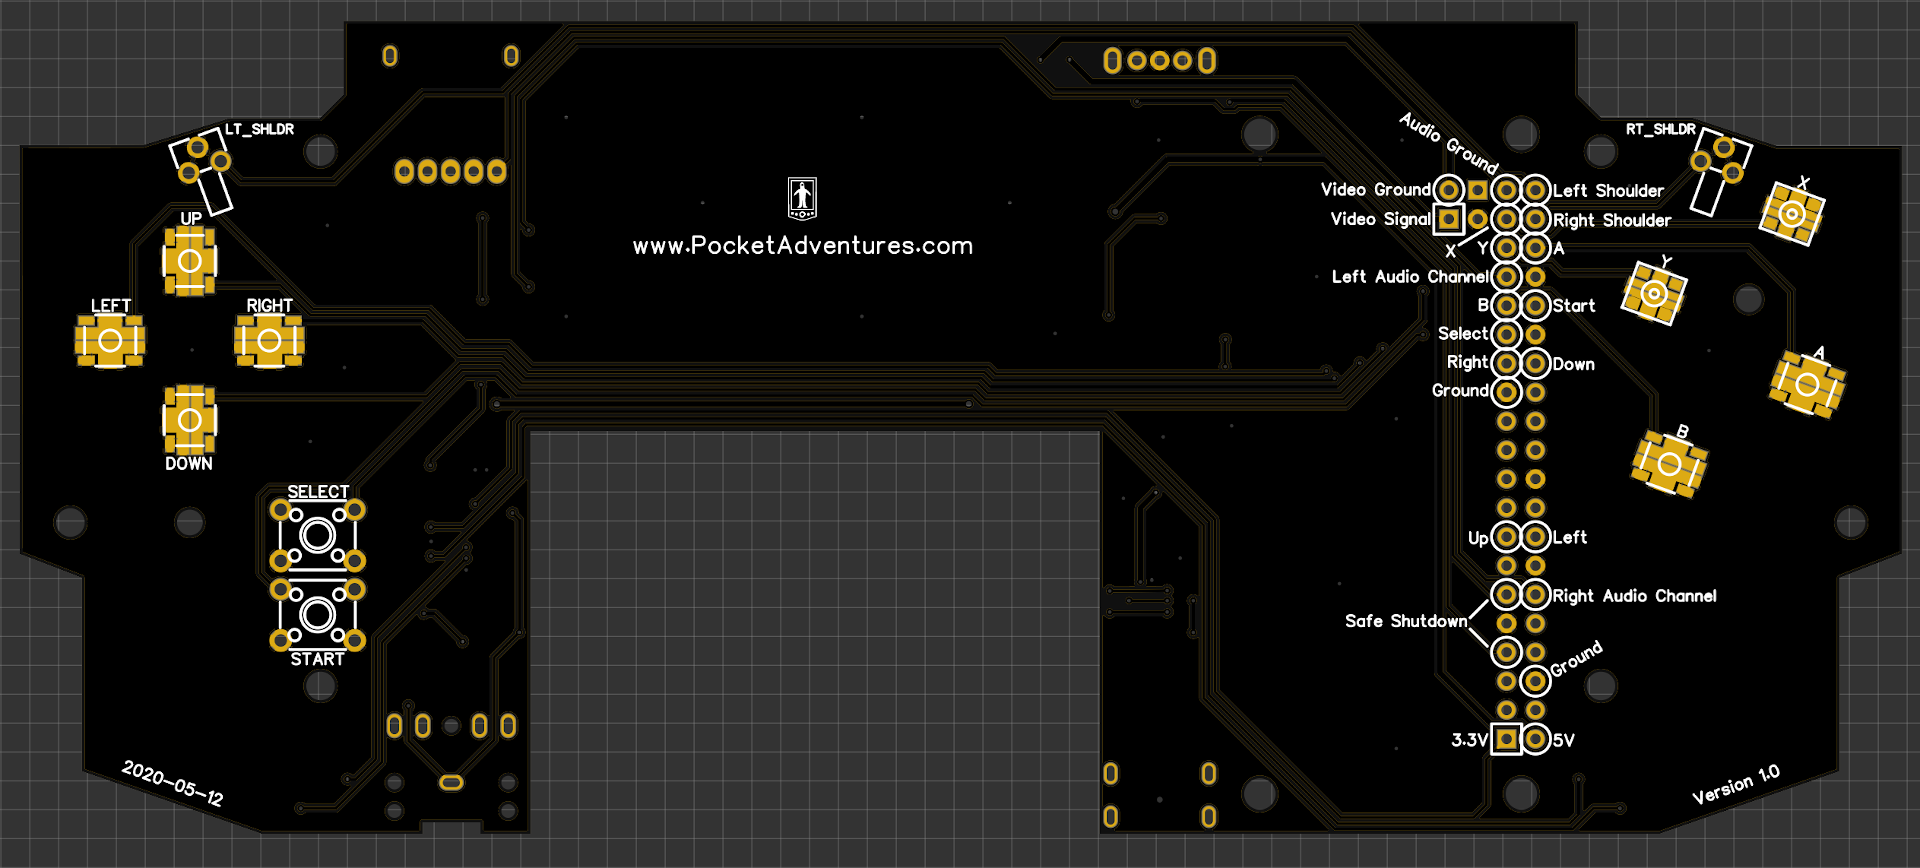
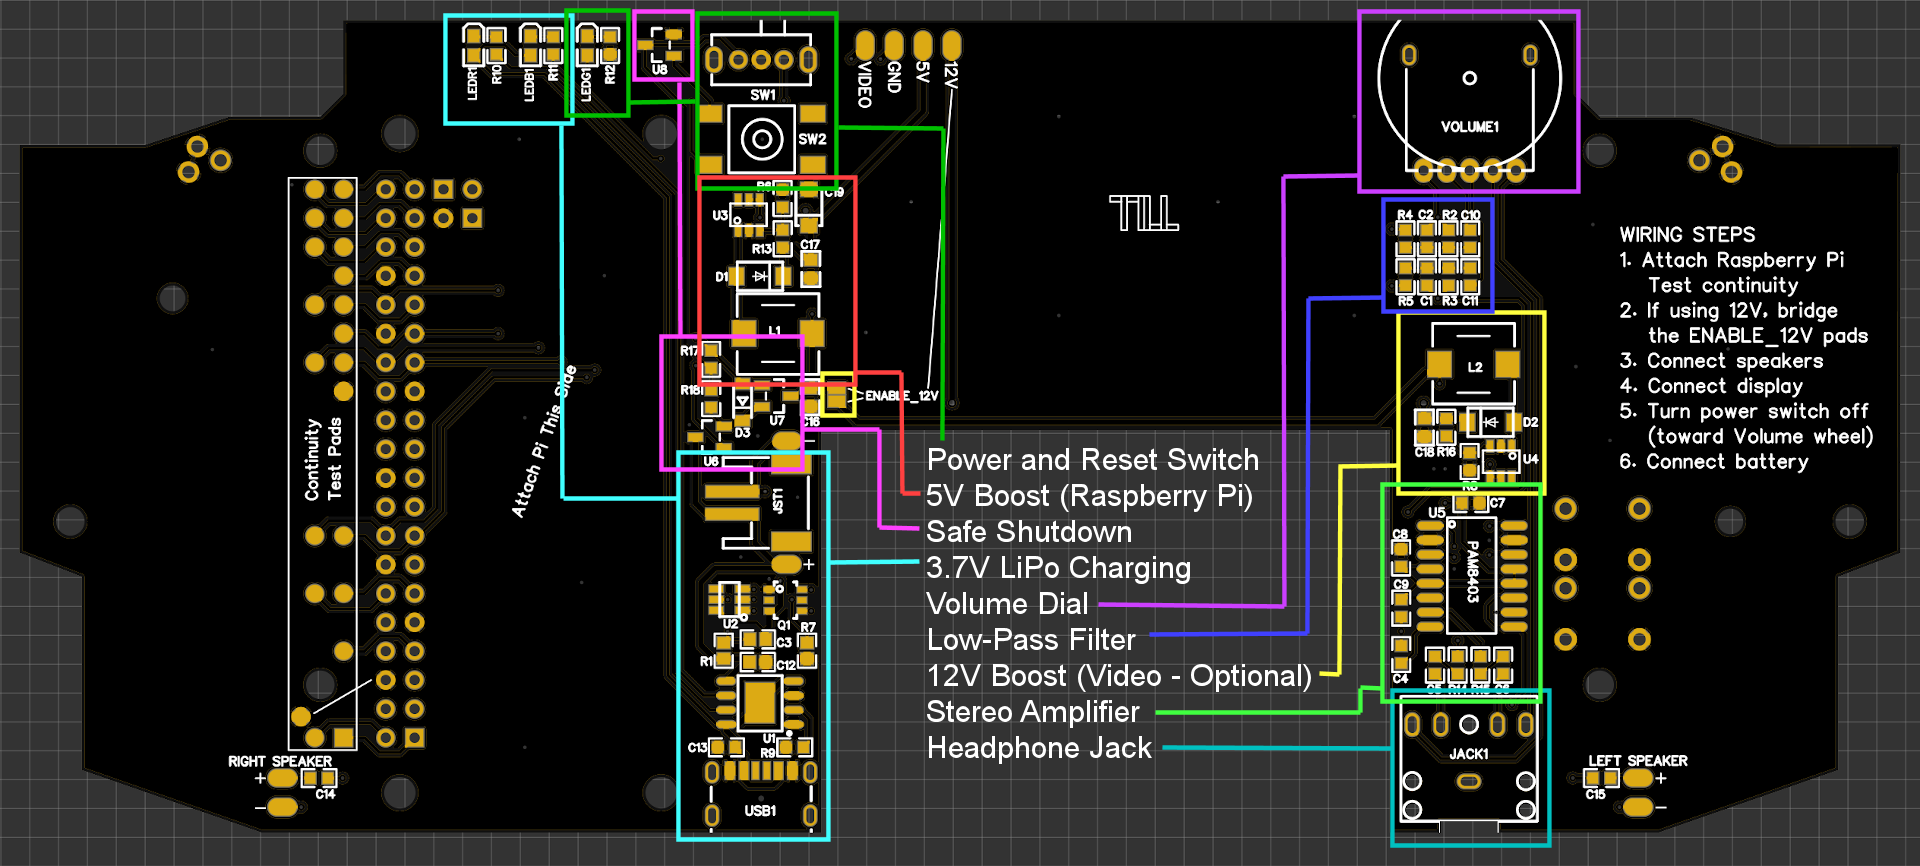
You can see the buttons are all placed on one side of the board, while the rest of the components go on the other. The tricky part here is that the clicky buttons are SMT components as well, so after the board gets baked in the reflow oven, those need to be attached with hot air, and then all of the through-hole components are hand-soldered, which includes: the power switch, shoulder buttons, start/select buttons, headphone jack and volume wheel.
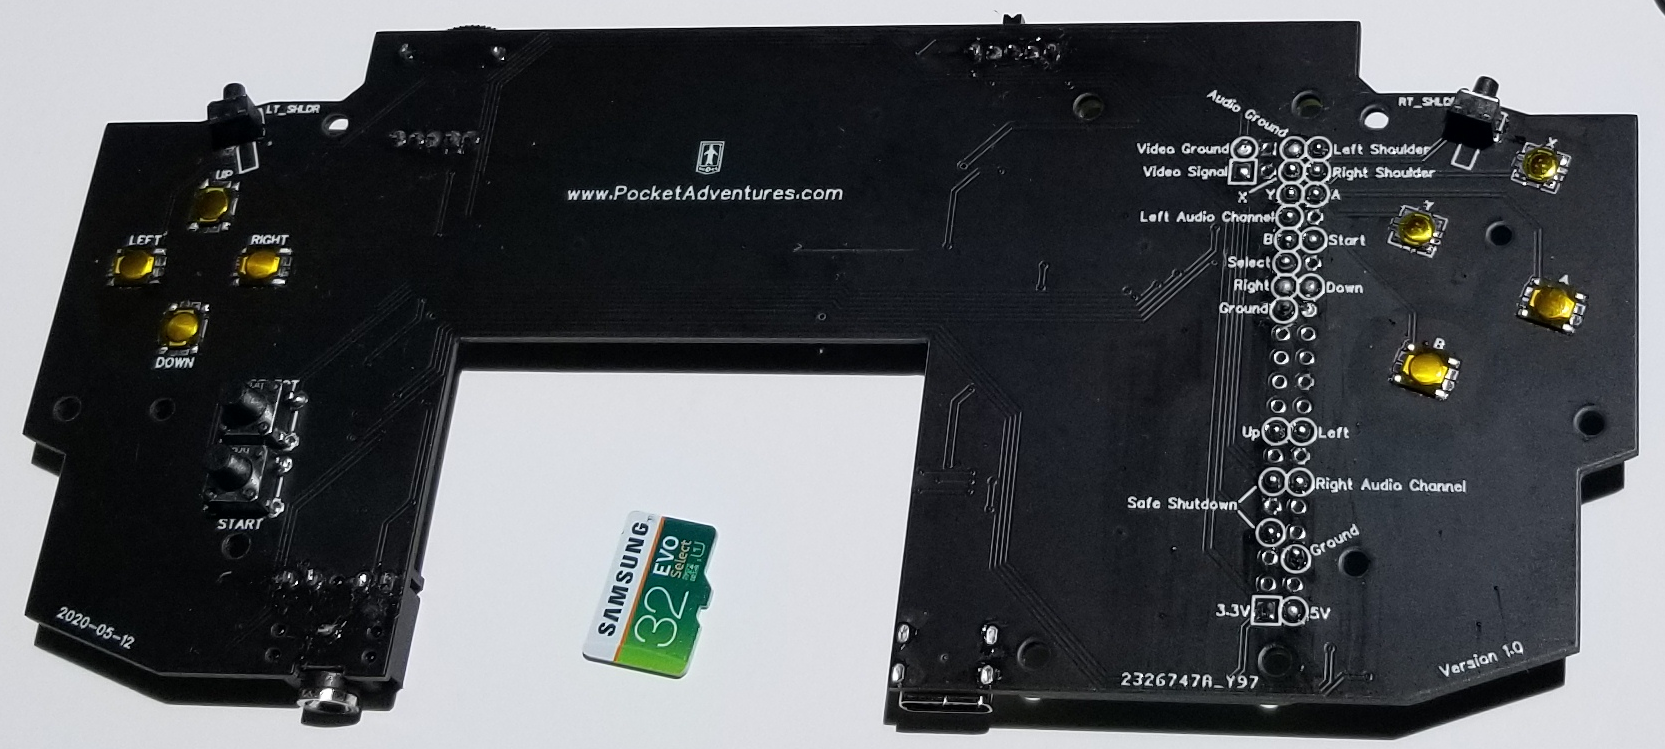
So here's everything that goes into the device (and you can see the Raspberry Pi Zero also attached to the board):
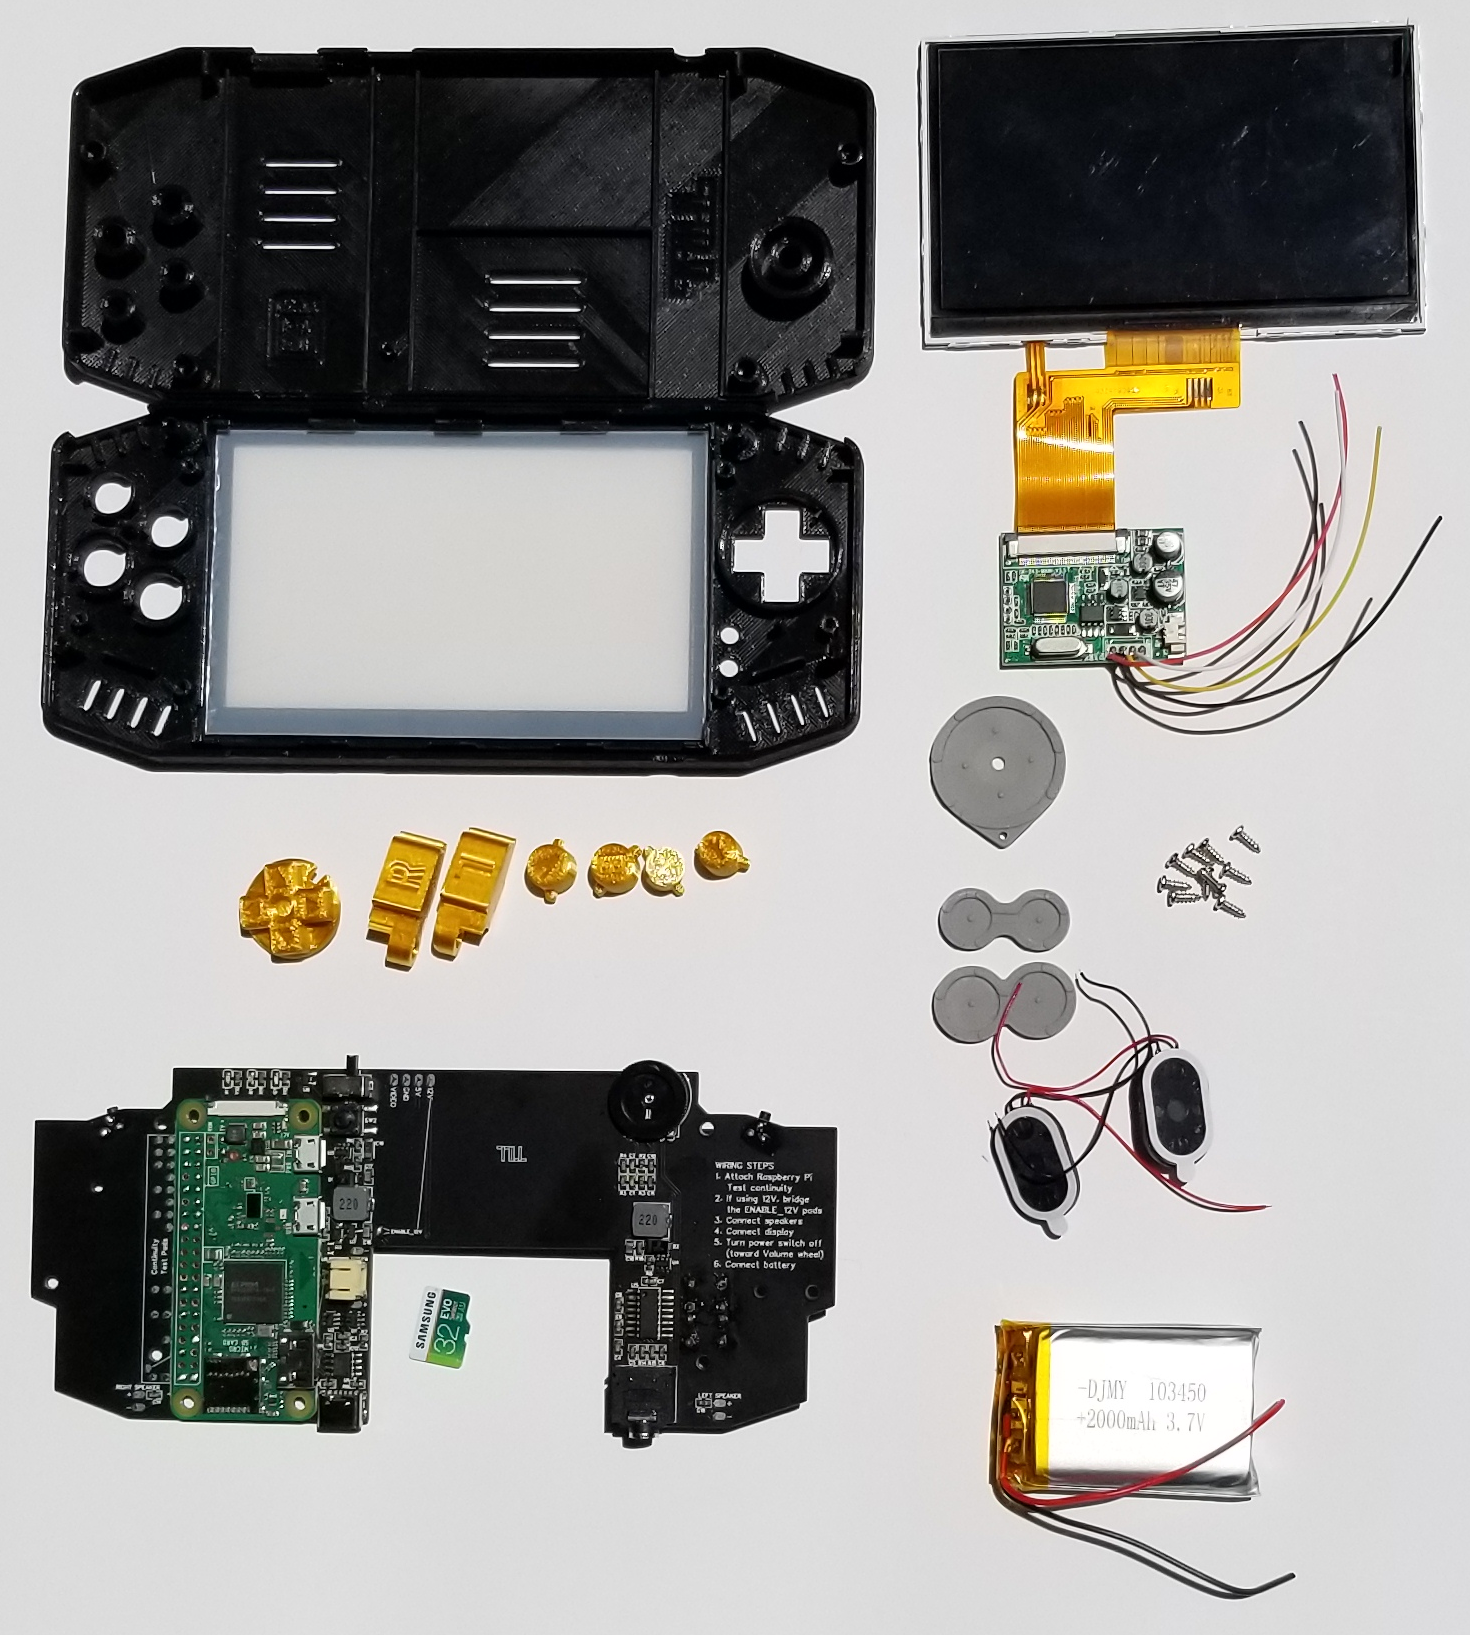
For size considerations, and because I already had extras from my Atari cartridge experiment, I went with a 103450 2000mAh battery, which fits into that large notch in the board. With the default backlight settings, WiFi turned on, and using the 12V boost for the screen, it lasted around 2.5-3 hrs when I tested it by repeating the Link's Awakening intro. That's pretty much what I expected.
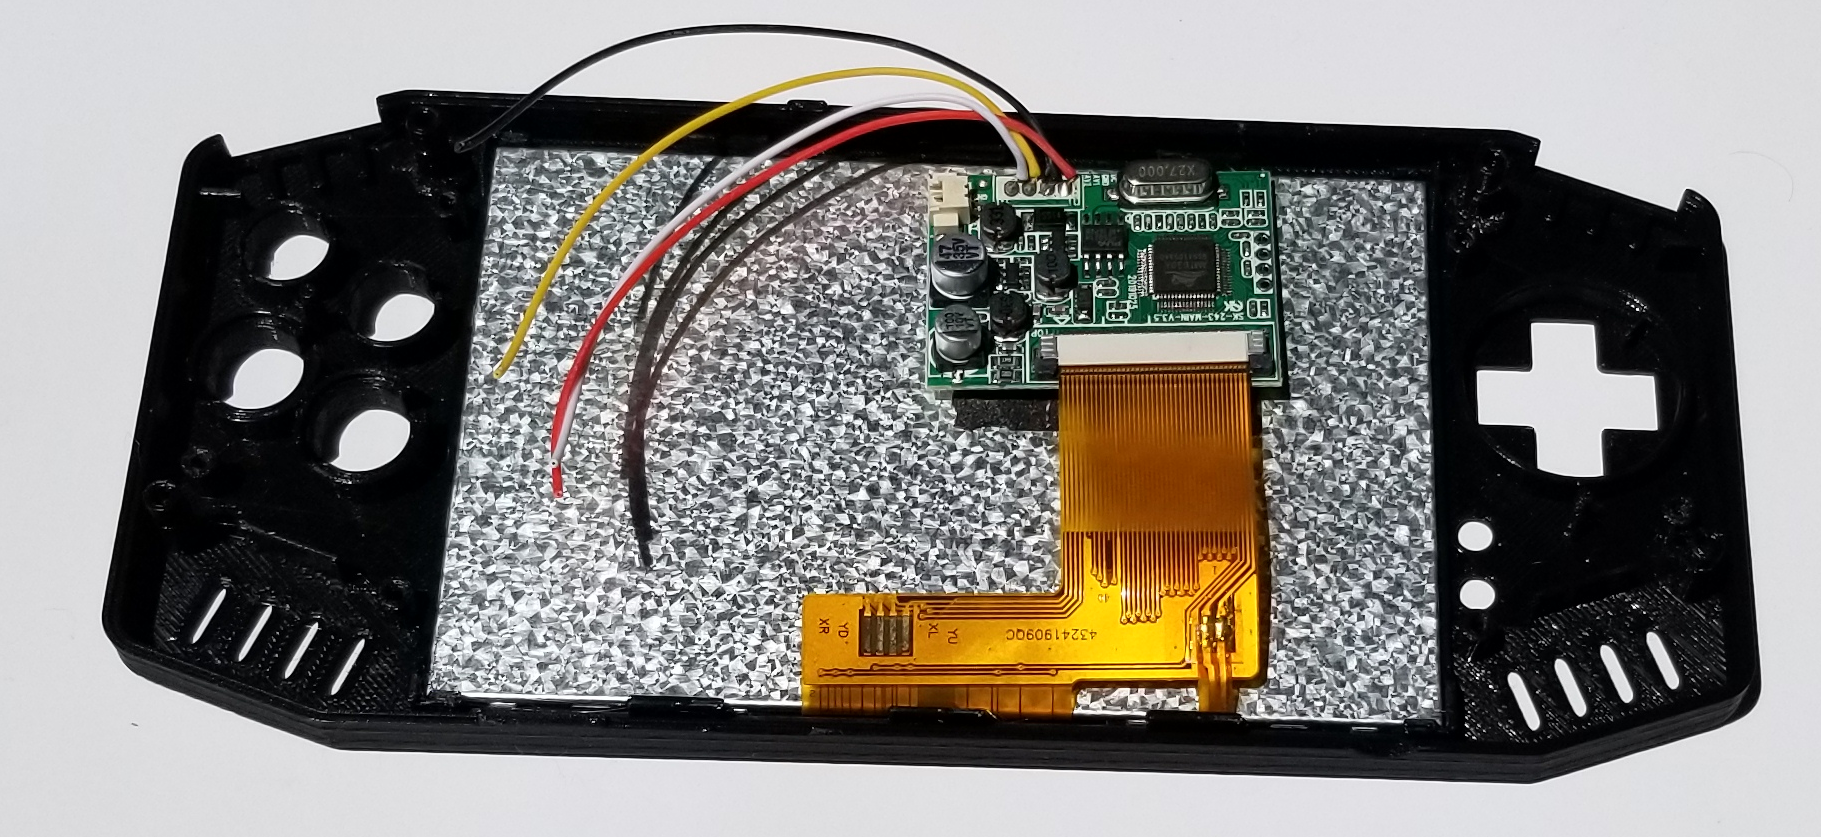
For assembly, here's how the pieces went together. First, the screen (there's also a very thin clear plastic "protector" below it):
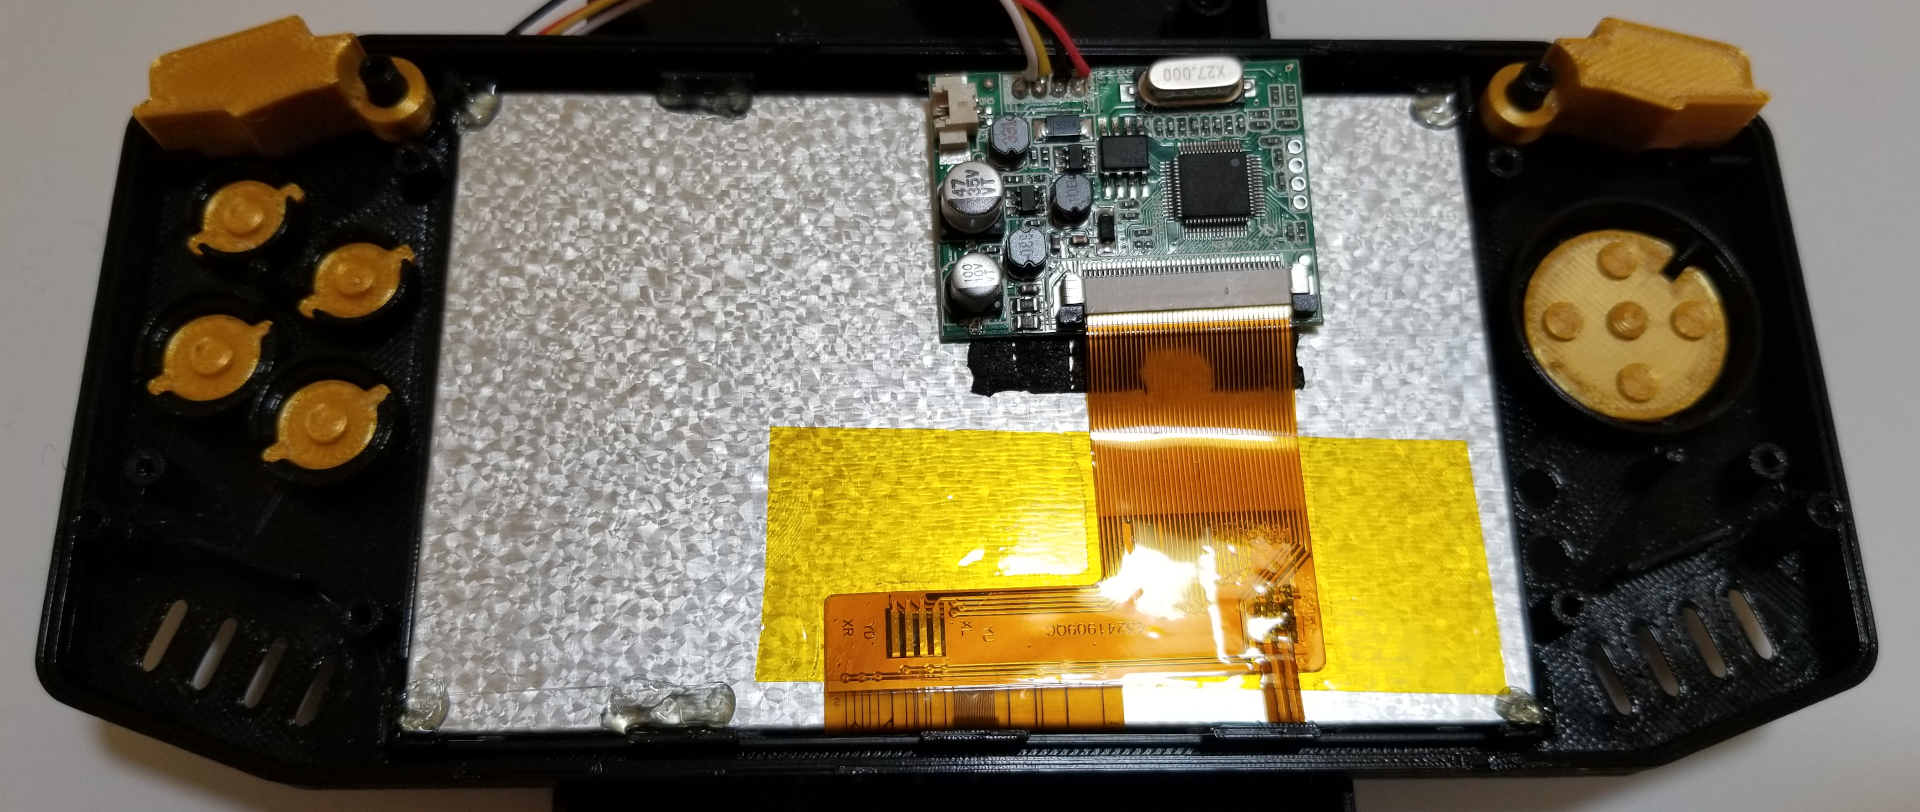
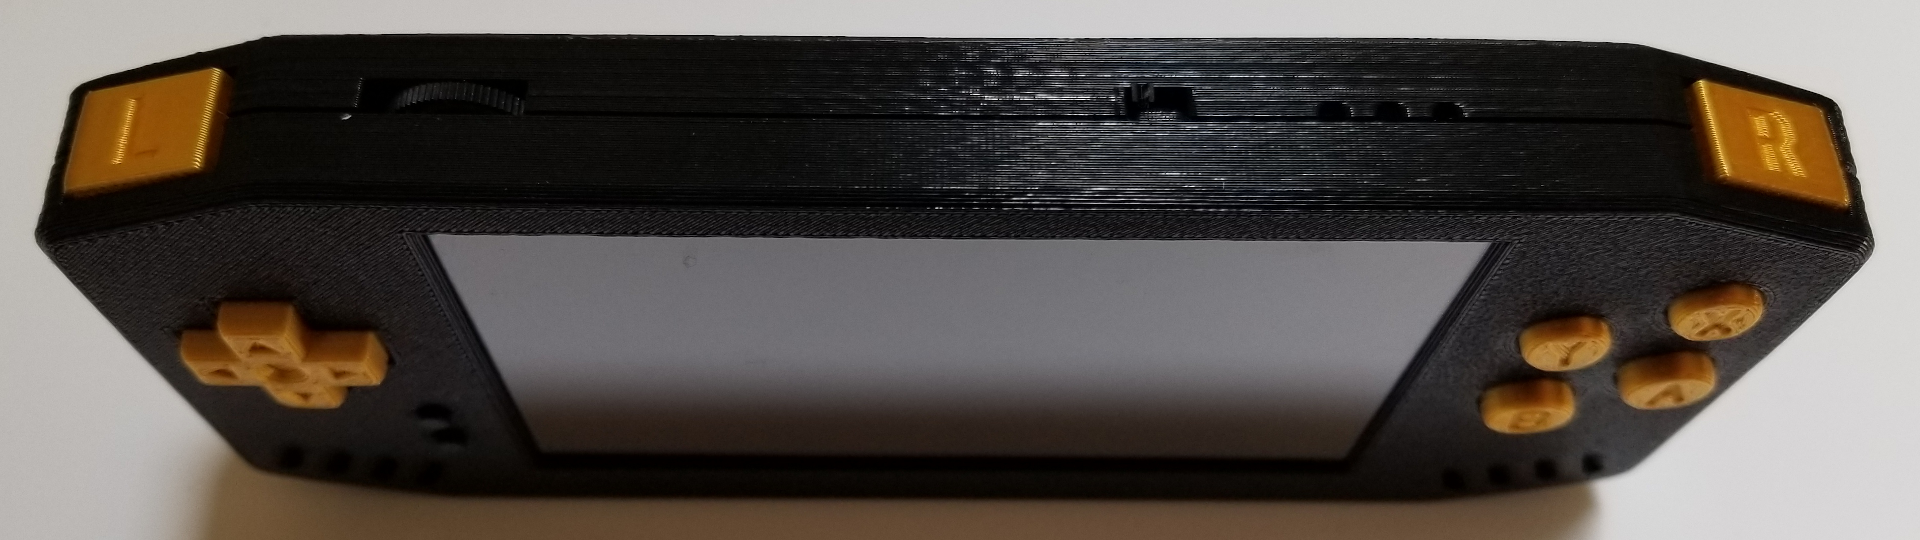
Then the buttons drop in. You can see that the shoulder buttons use the screw posts for pivoting:
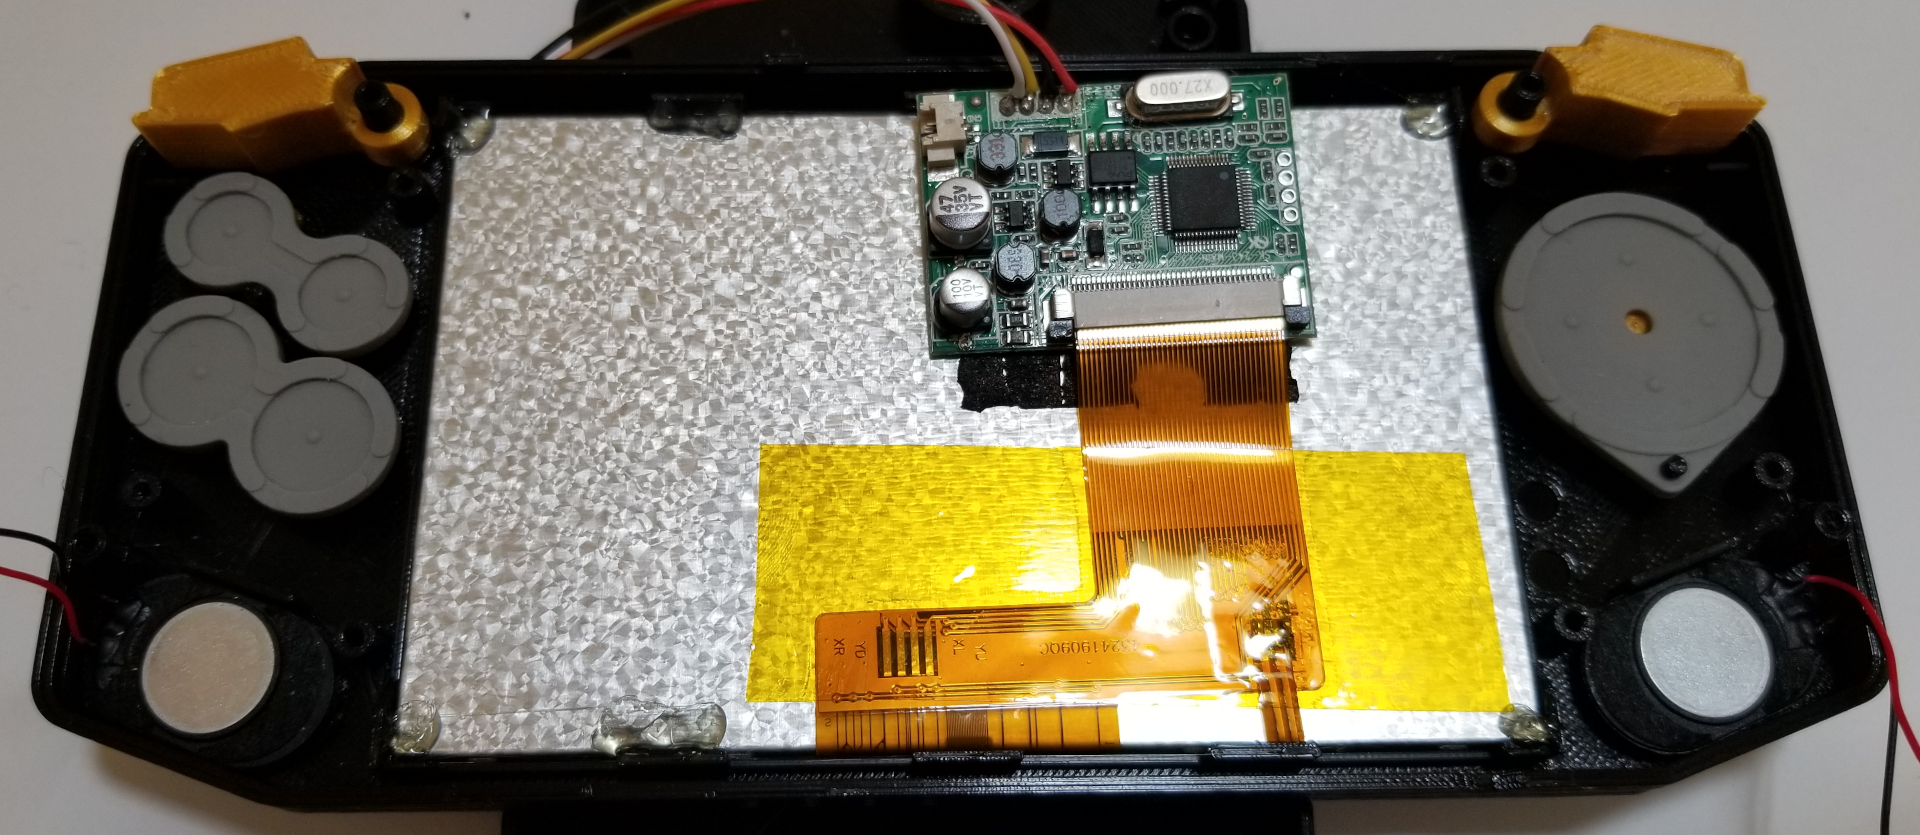
Next, the silicone pads and speakers finish off the "bottom" layer (everything below the circuit board):
The circuit board is then attached with six screws to the front of the shell:
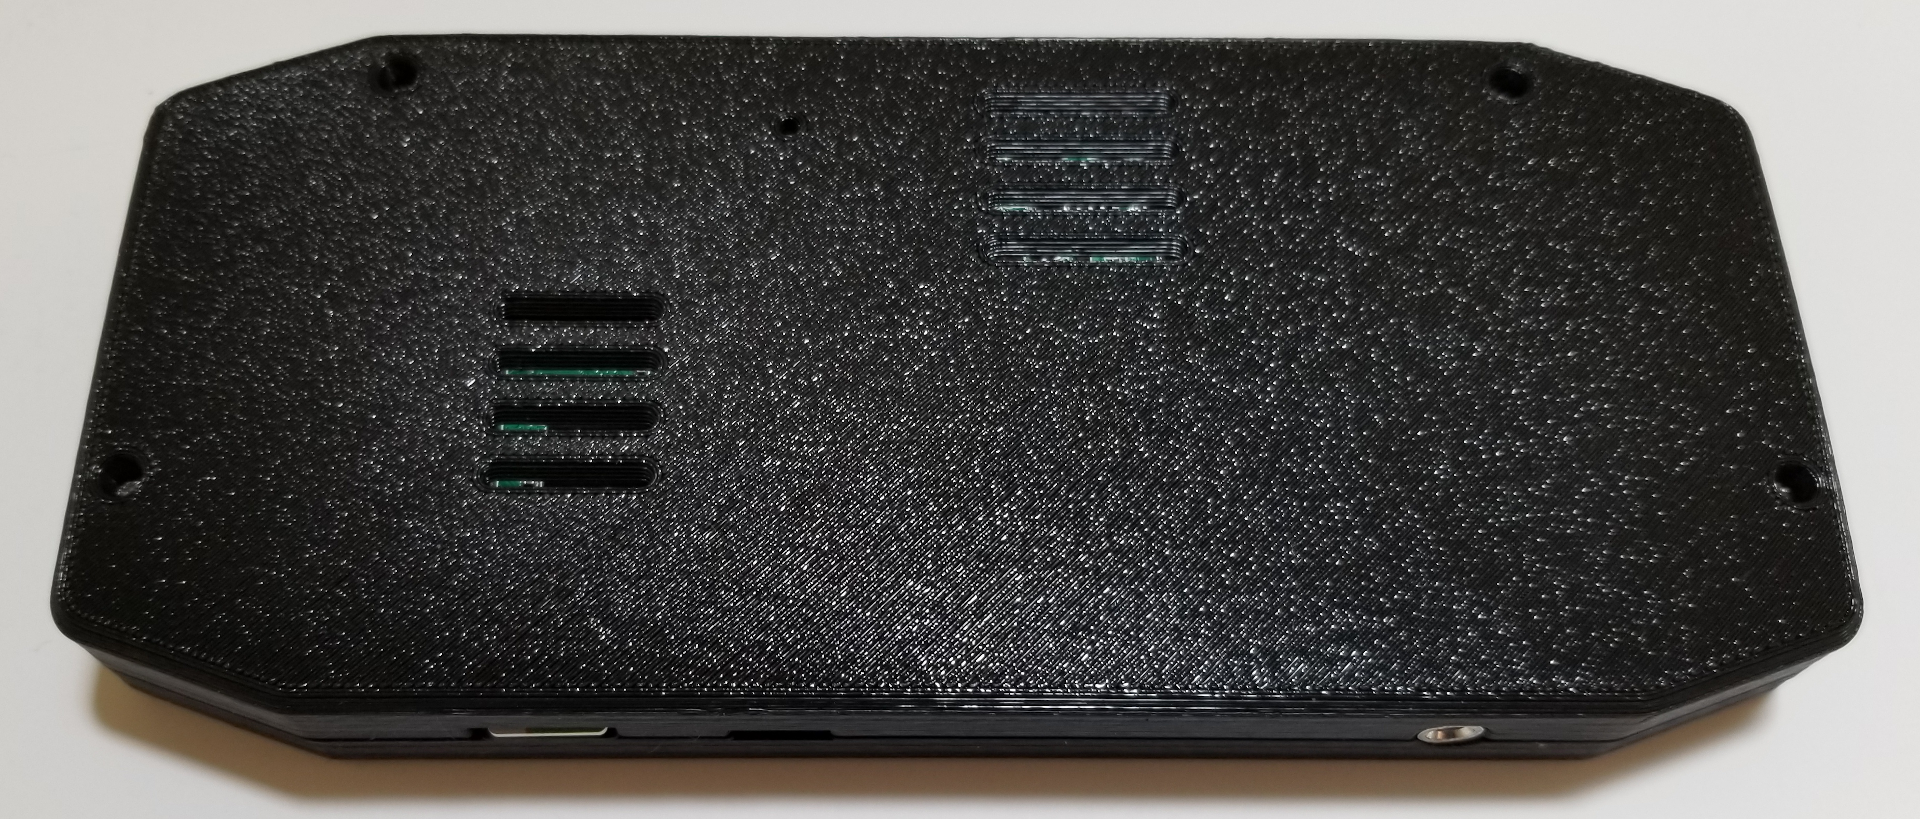
The battery goes in that gap, and then the bottom shell is attached to finish assembly:
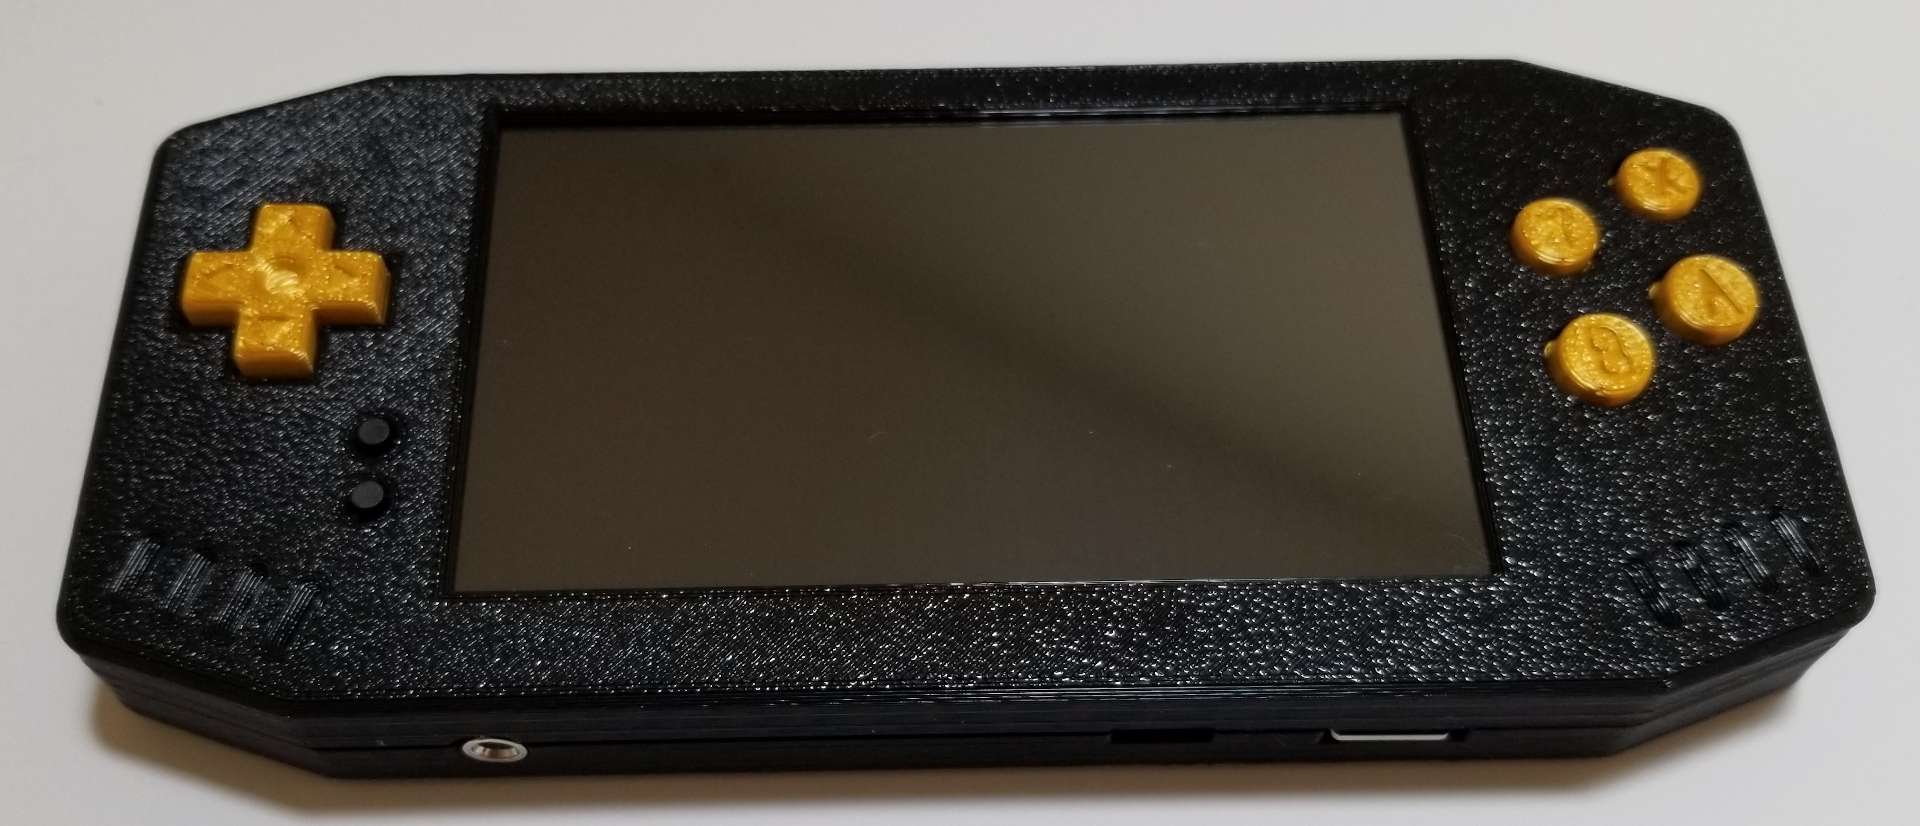
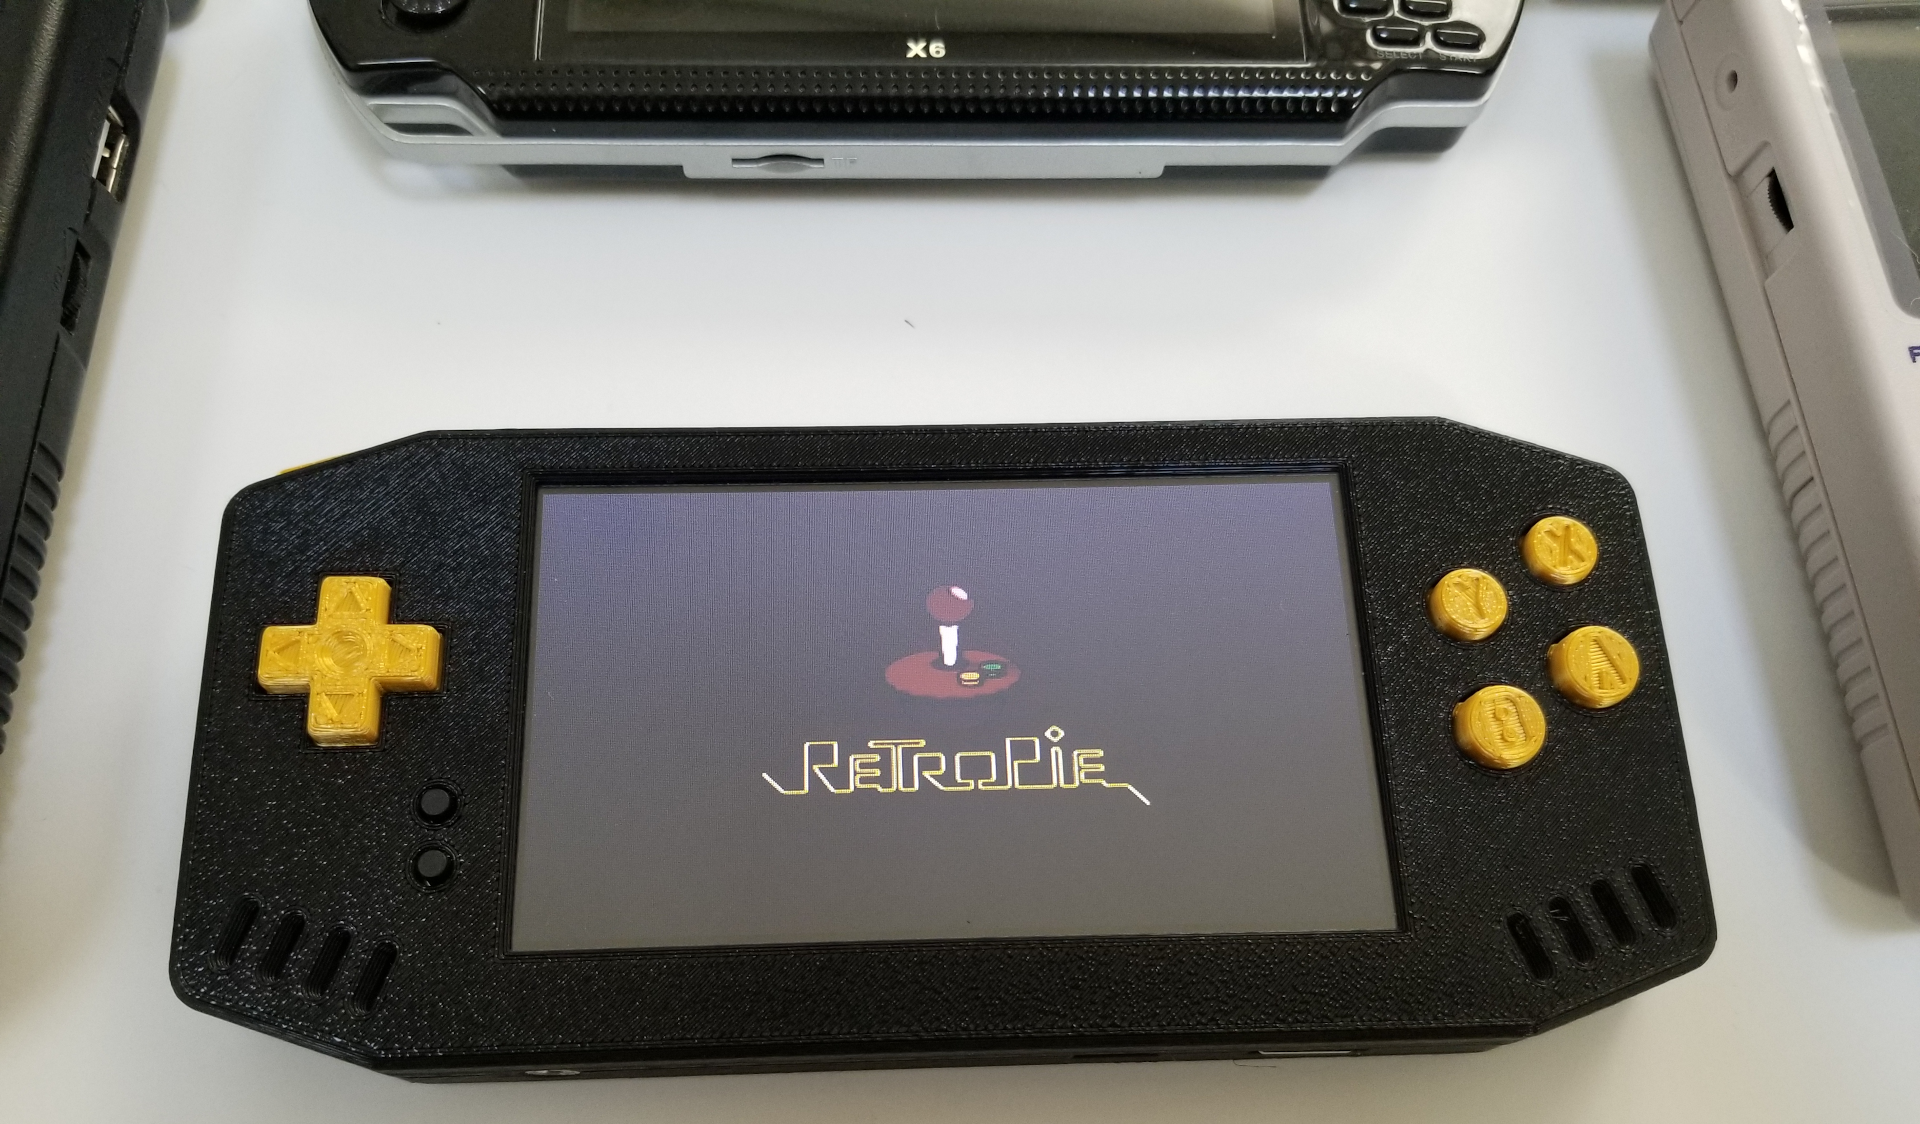
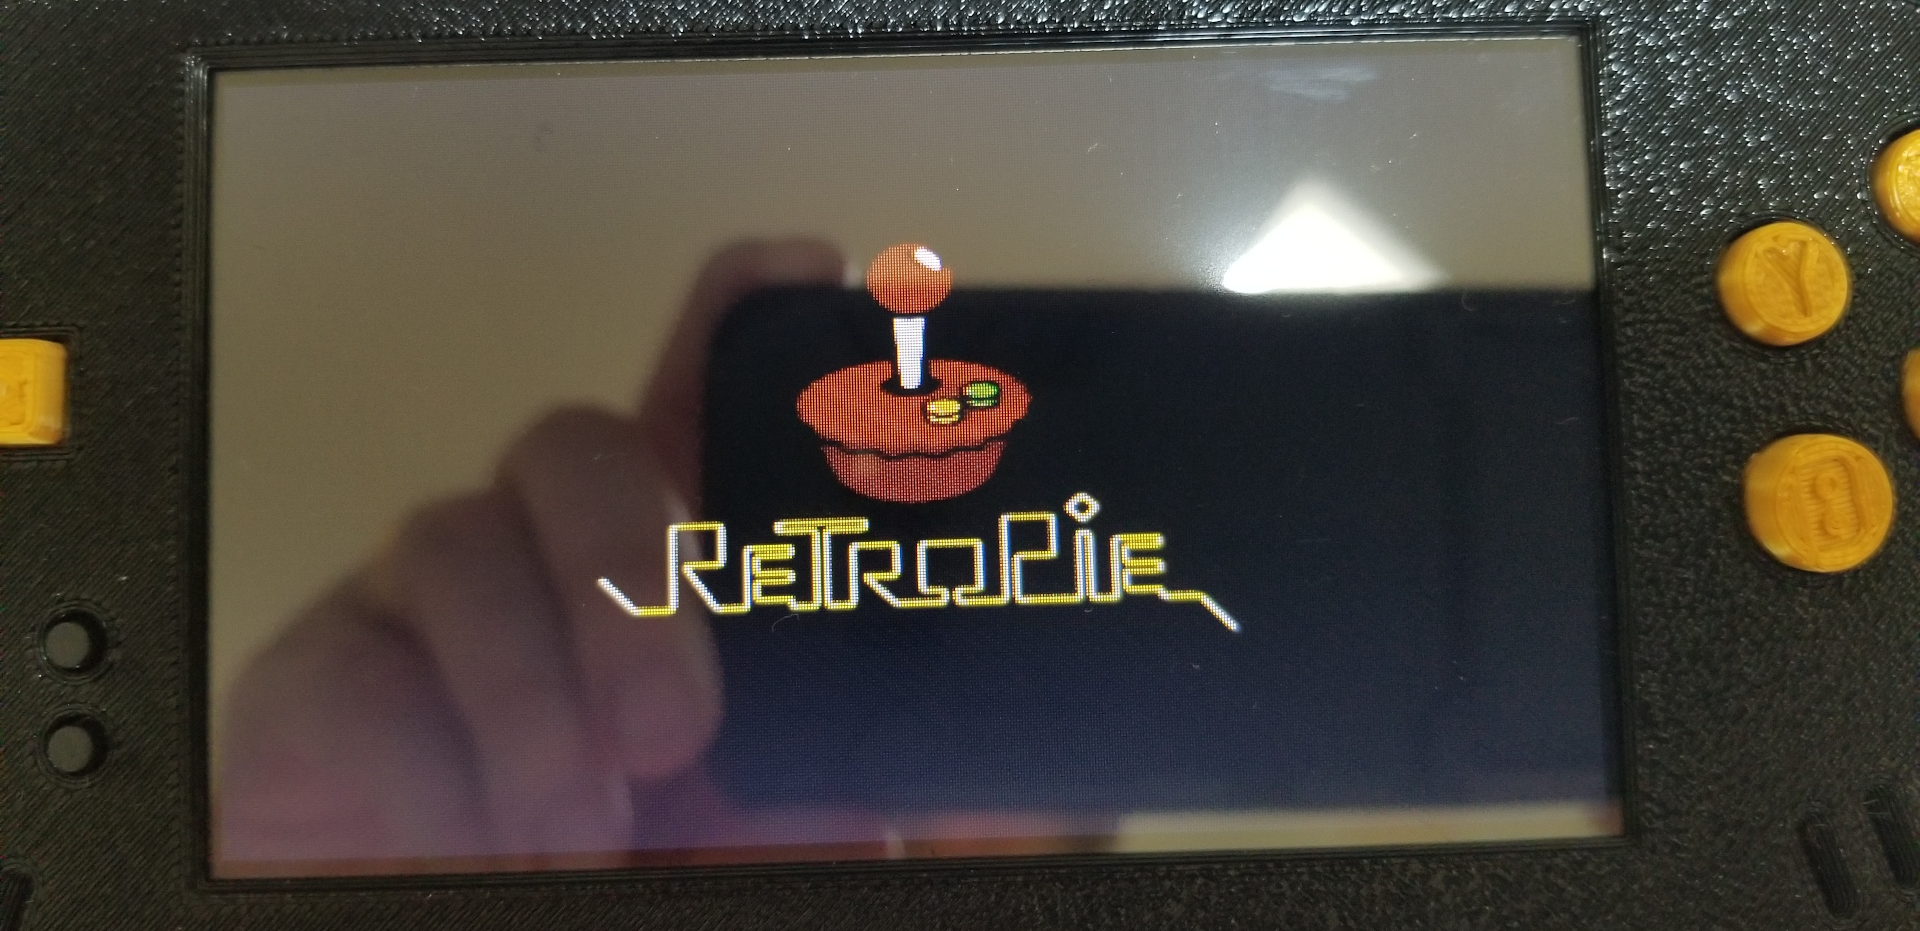
As expected with a rear-view composite screen, the quality isn't that great and can't compare to the sharpness of an SPI or DPI display, but the size is nice and when you're looking at it directly, it's not too bad, especially for the price:
Of course, the color options are basically limitless:
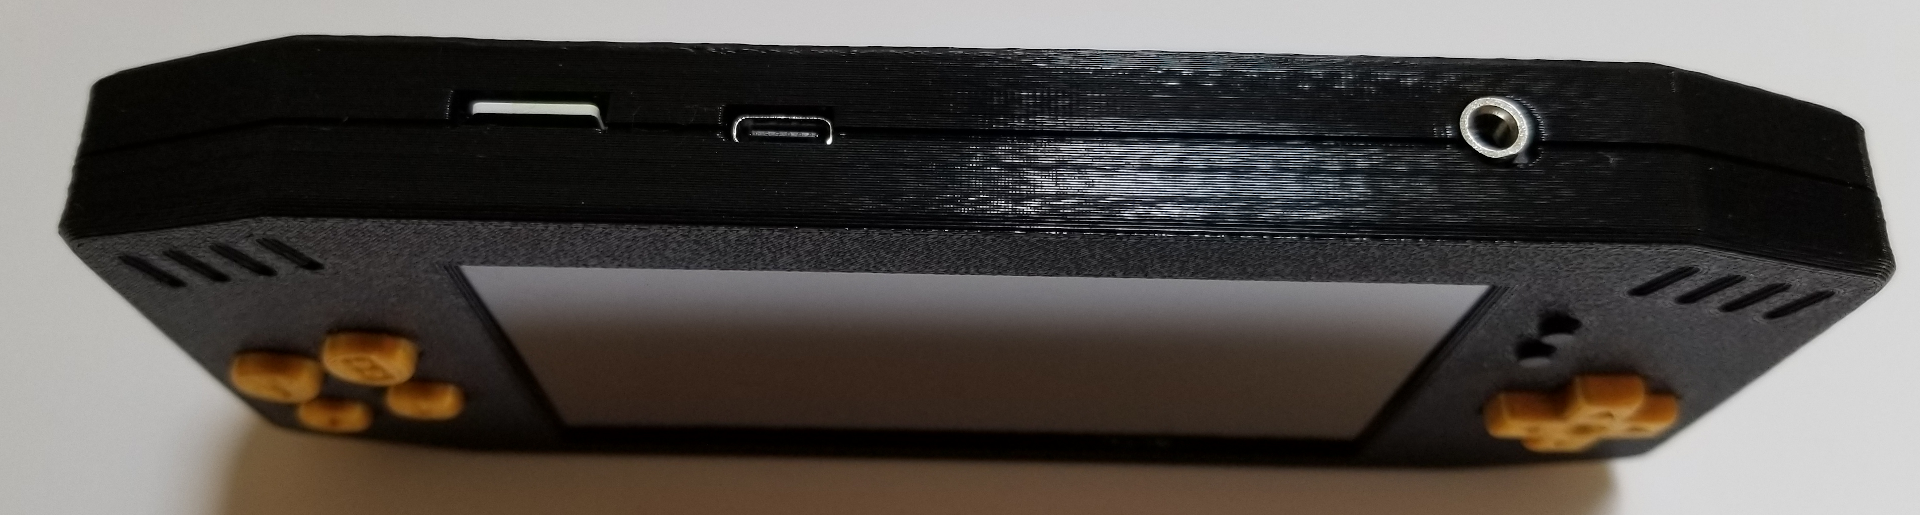
And finally, here's how it compares to some other landscape handheld devices:
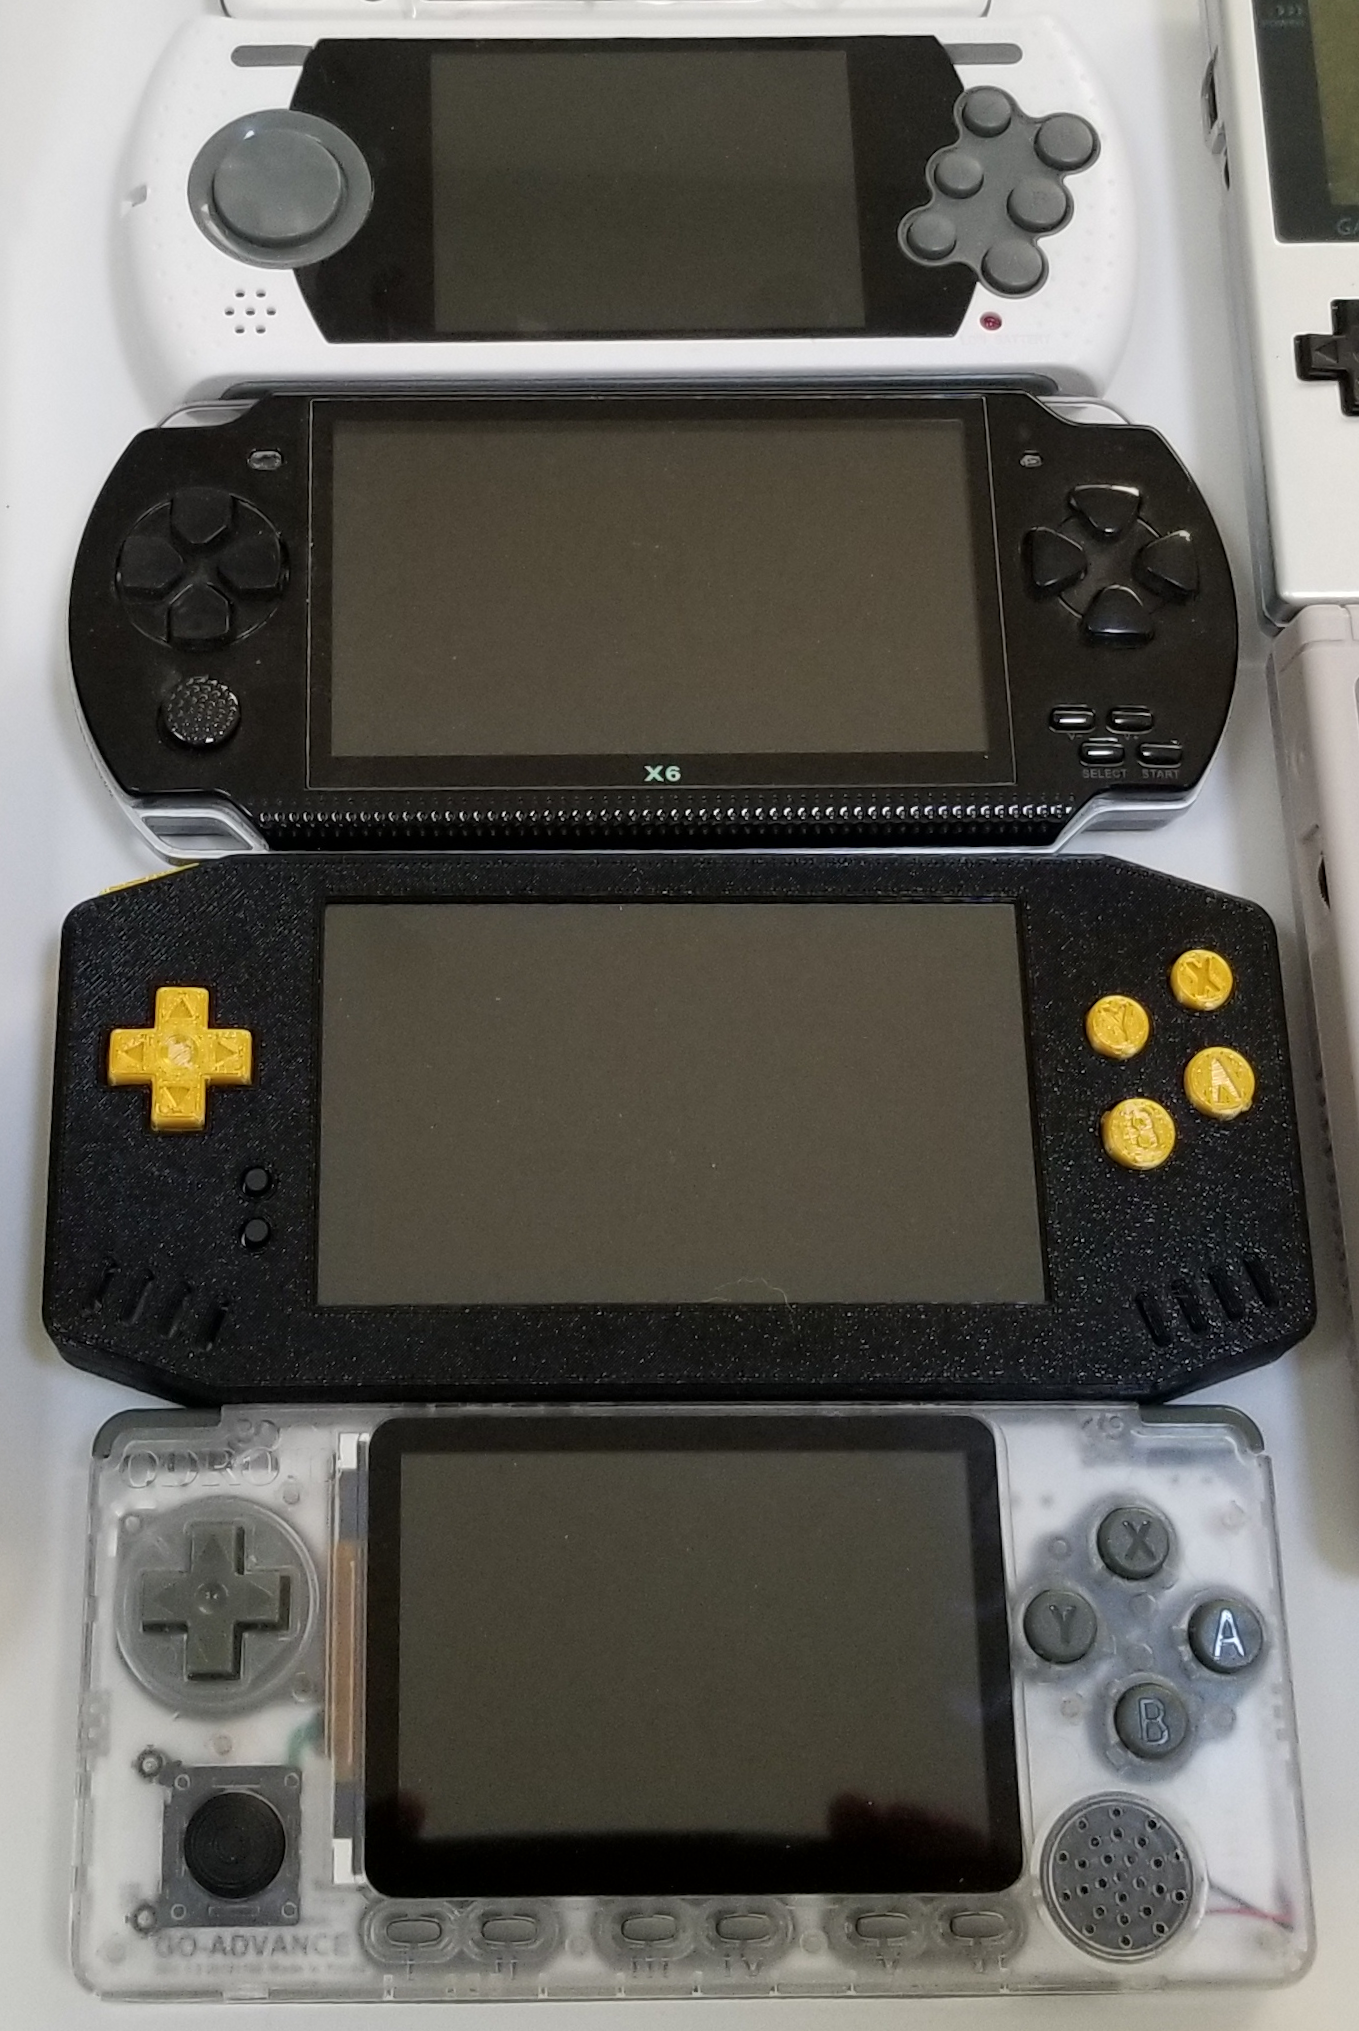
If you want a closer view of any of these pictures, you should be able to drag them up to your browser's tabs to open them full-size.
And if there's any interest, I am planning to make a batch of these boards available. As I stated in the intro, I've still got a bunch of components that need some good homes.


